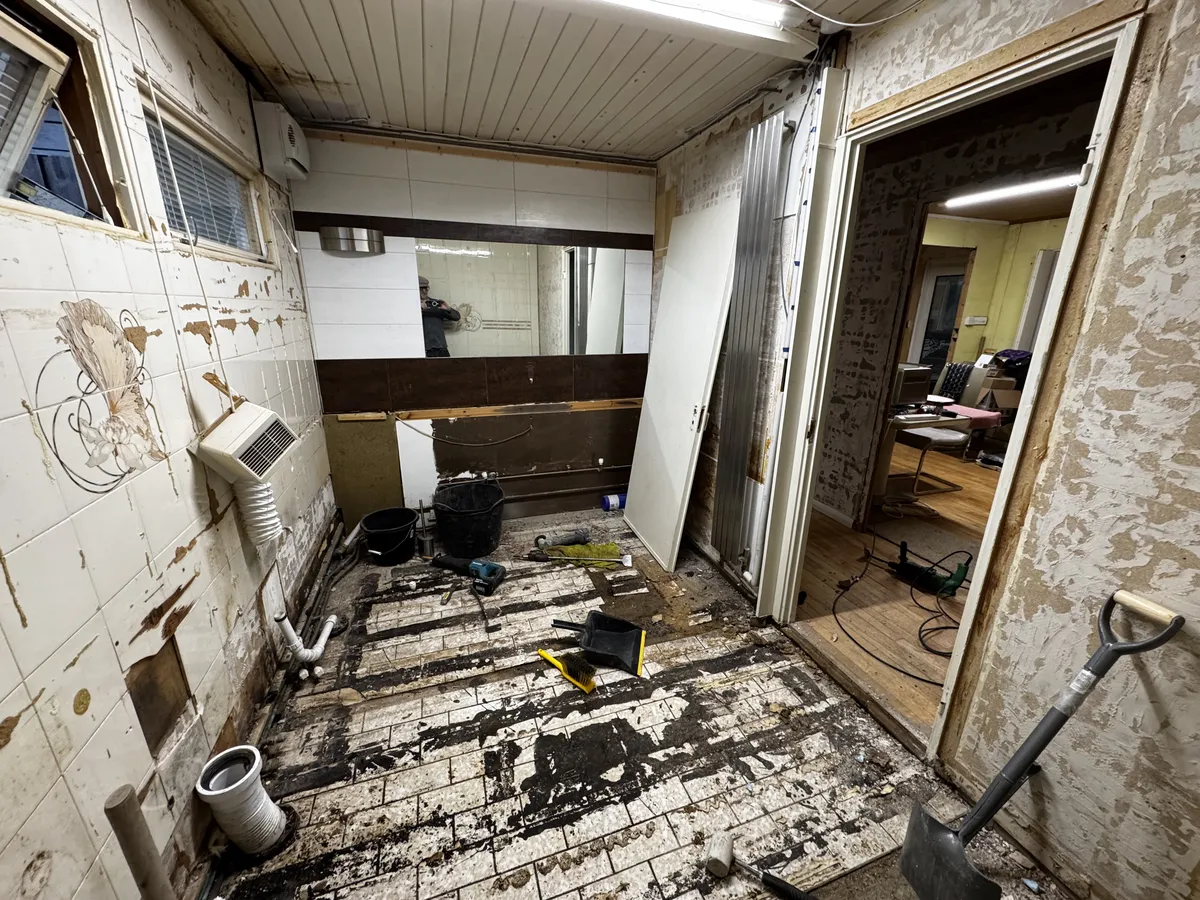
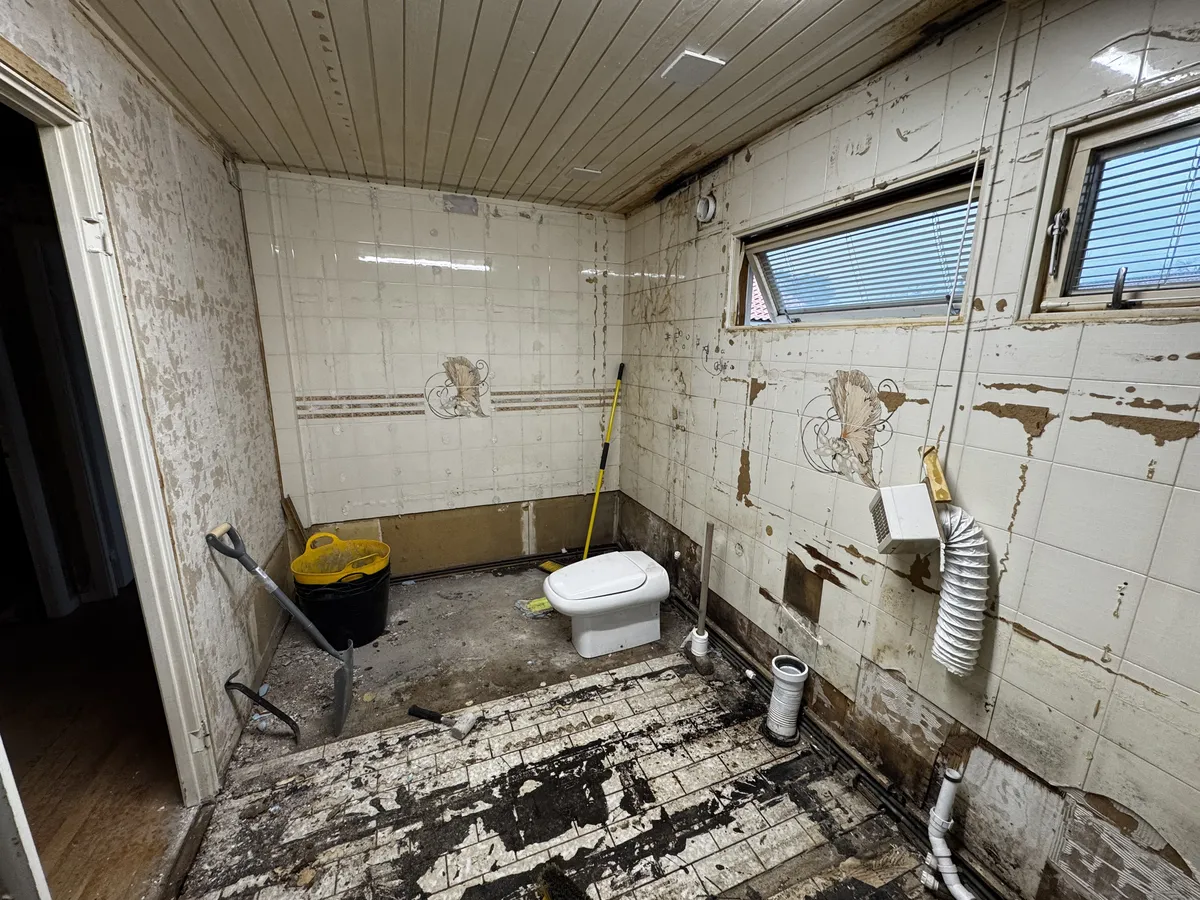
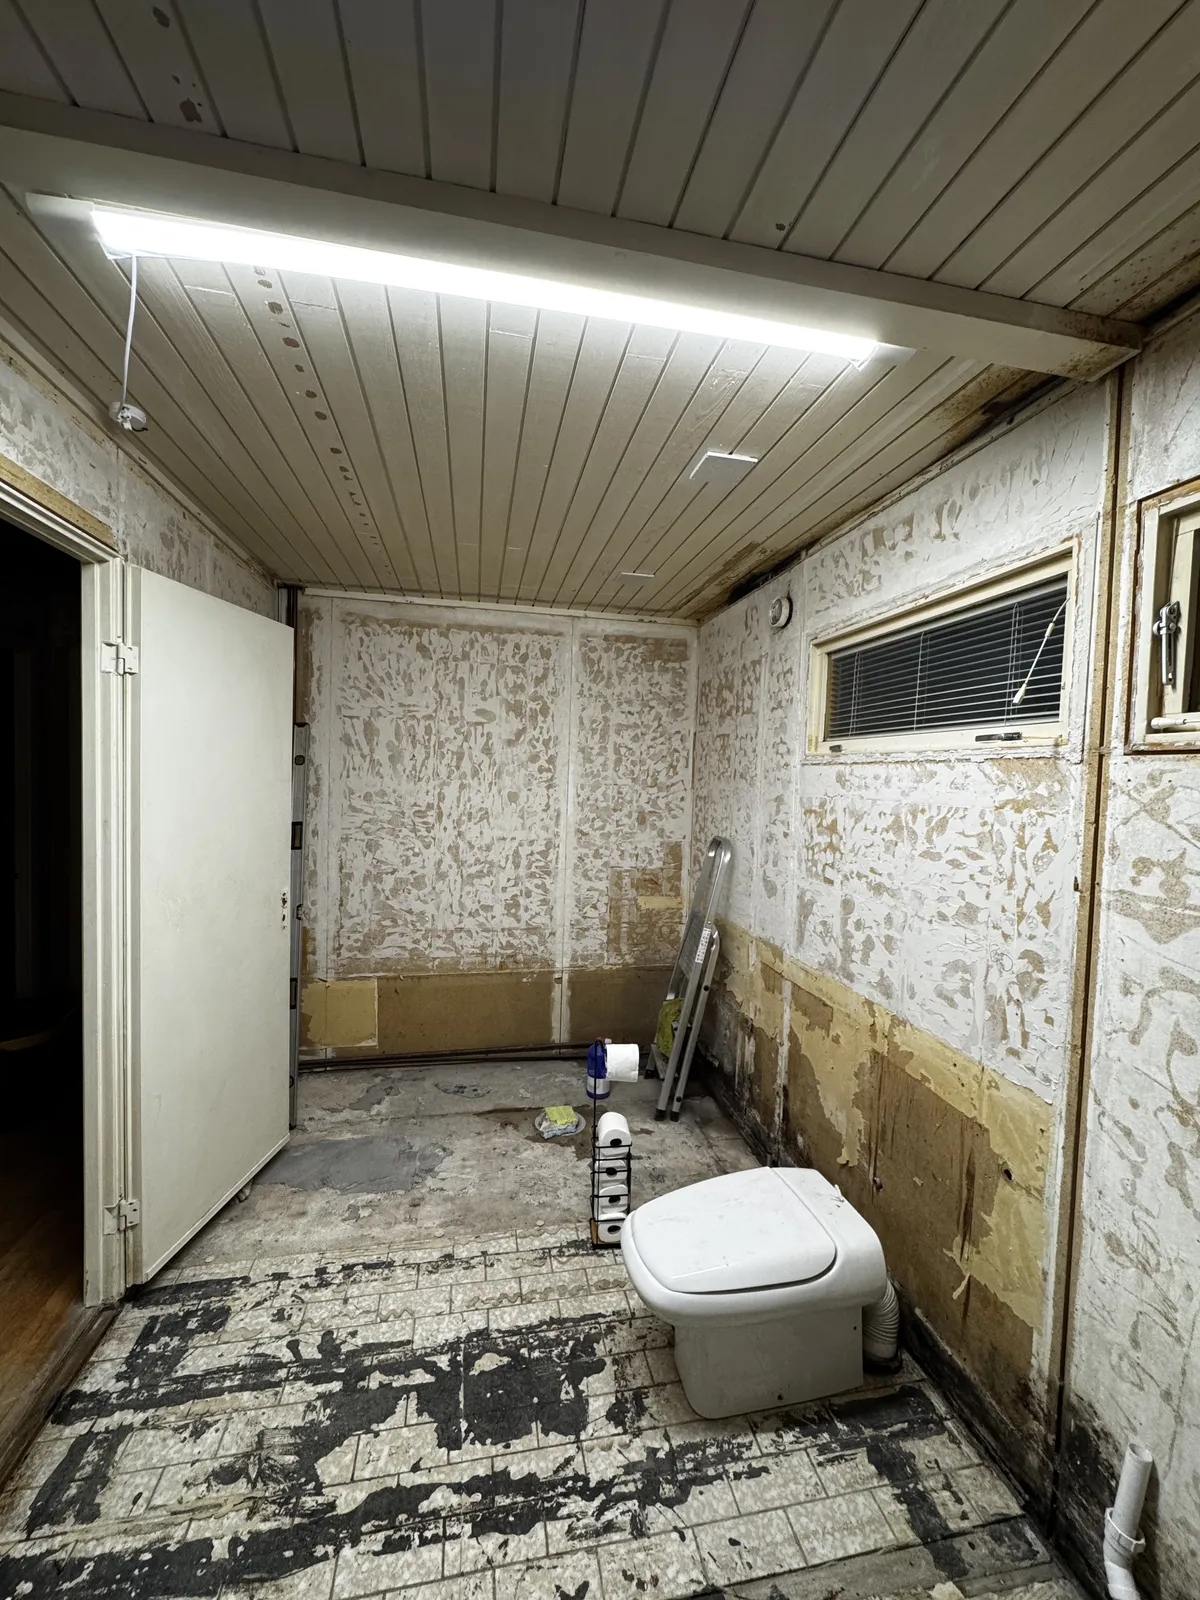
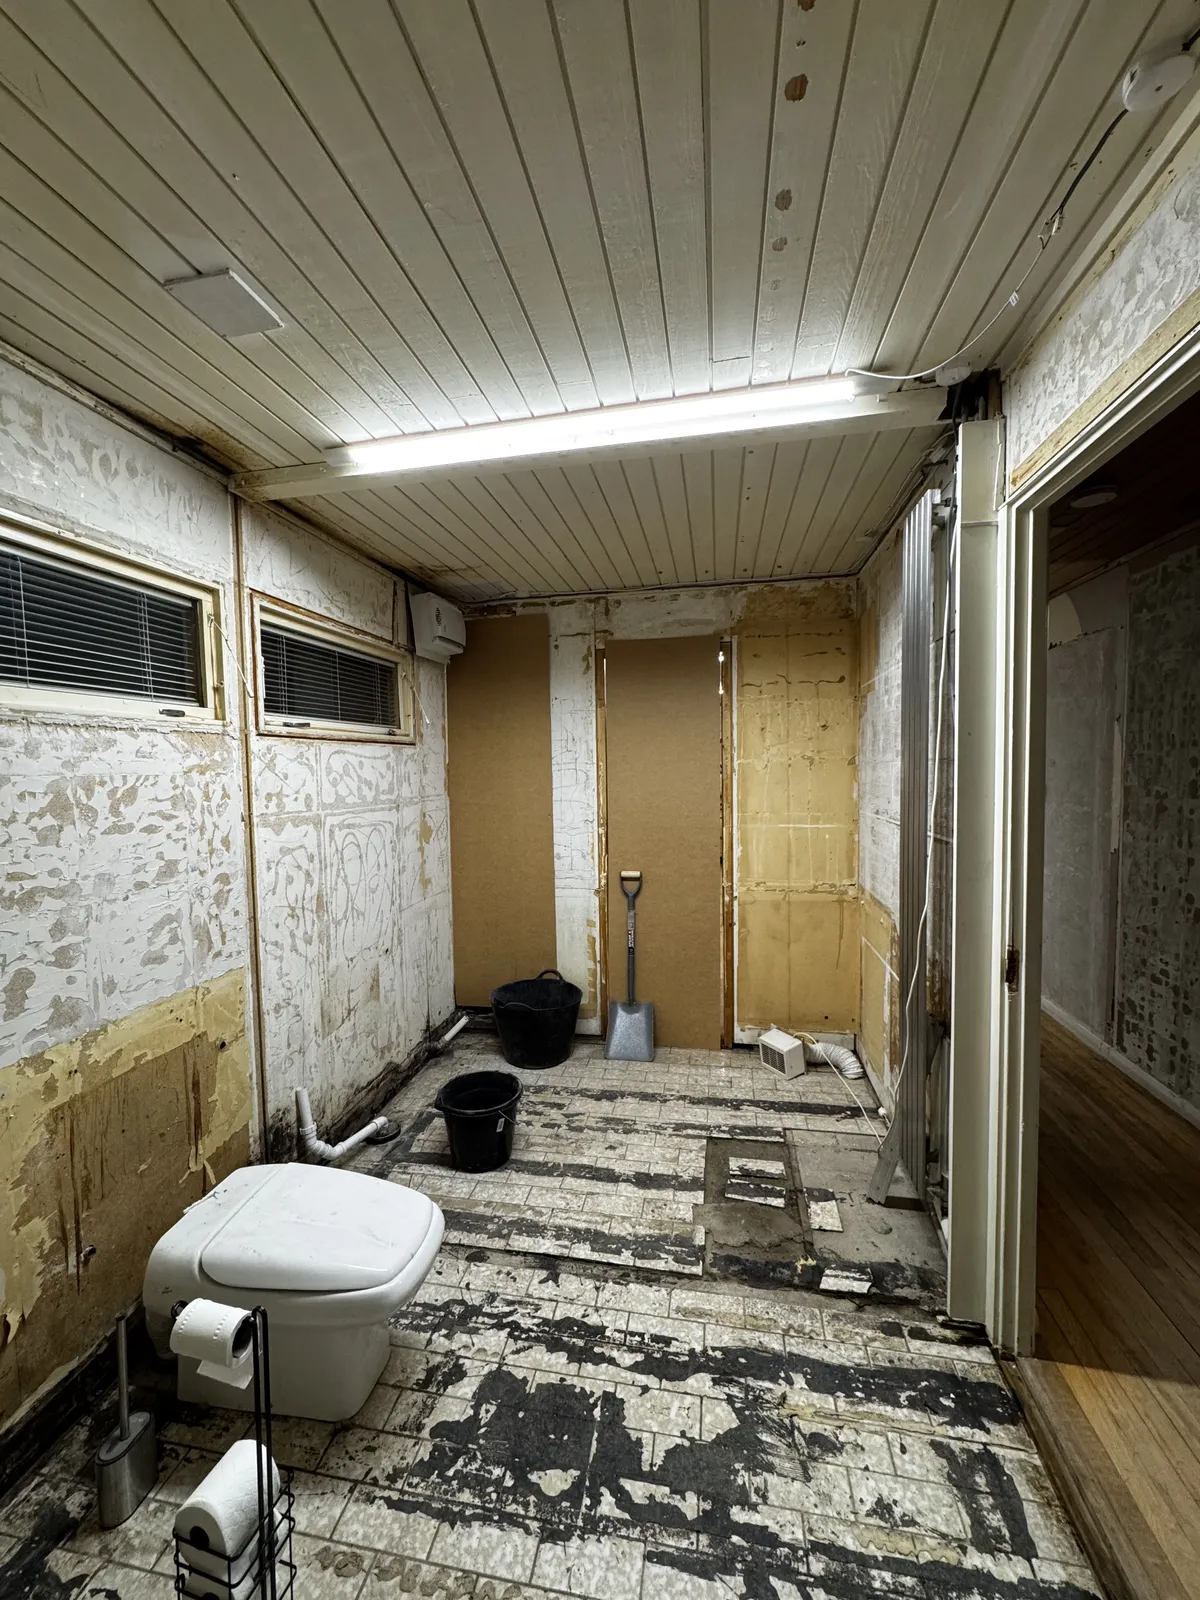
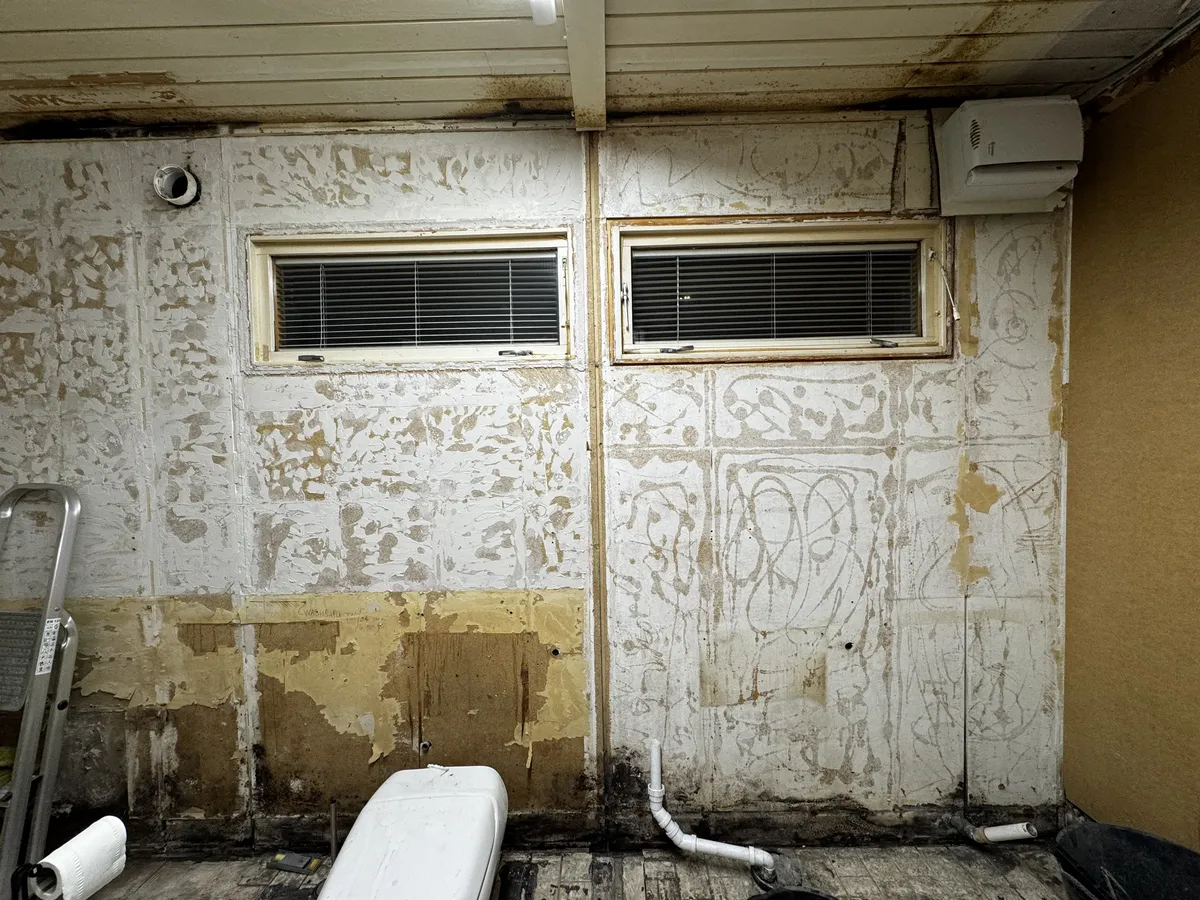
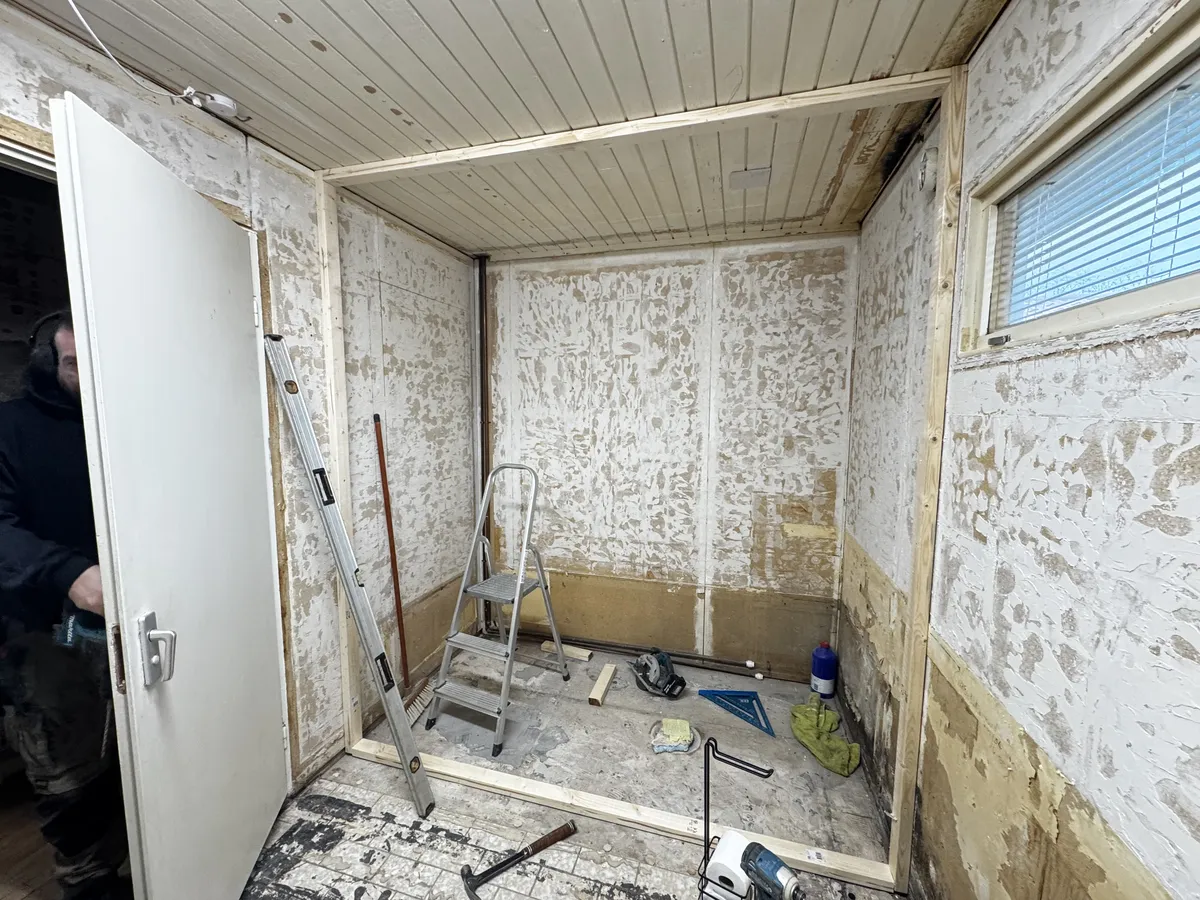
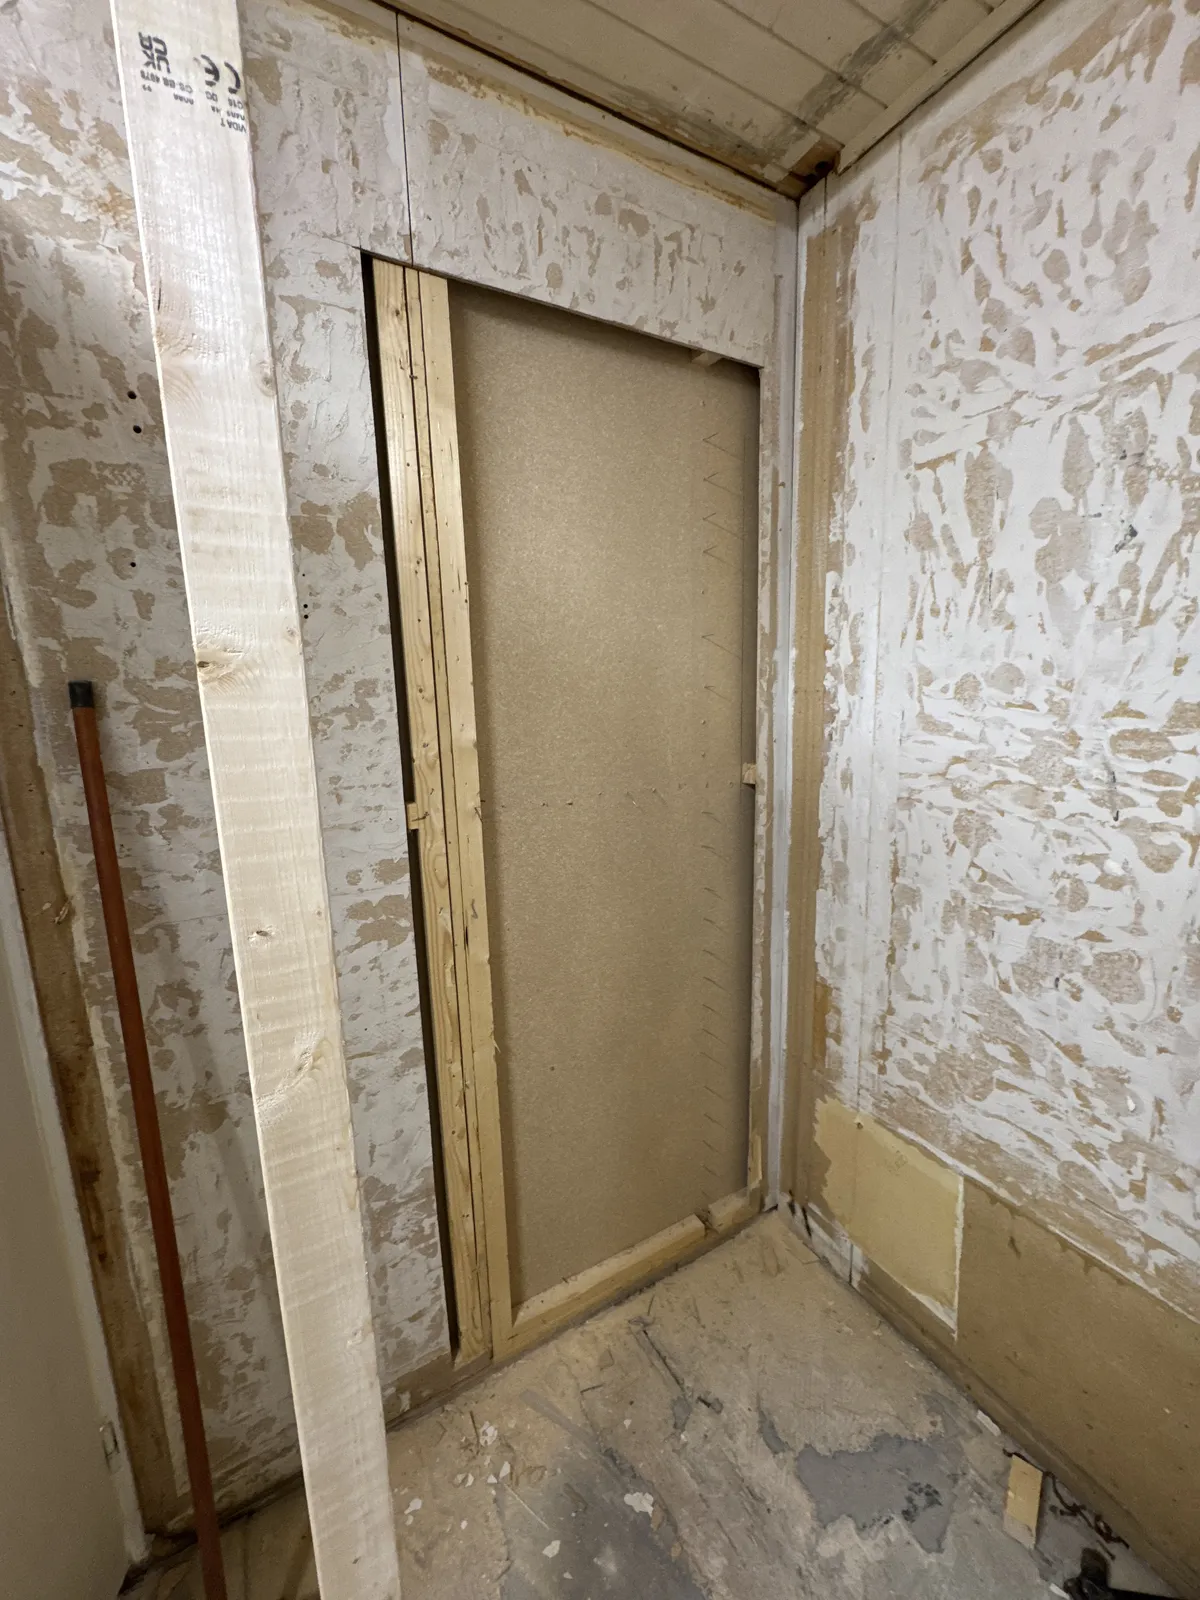
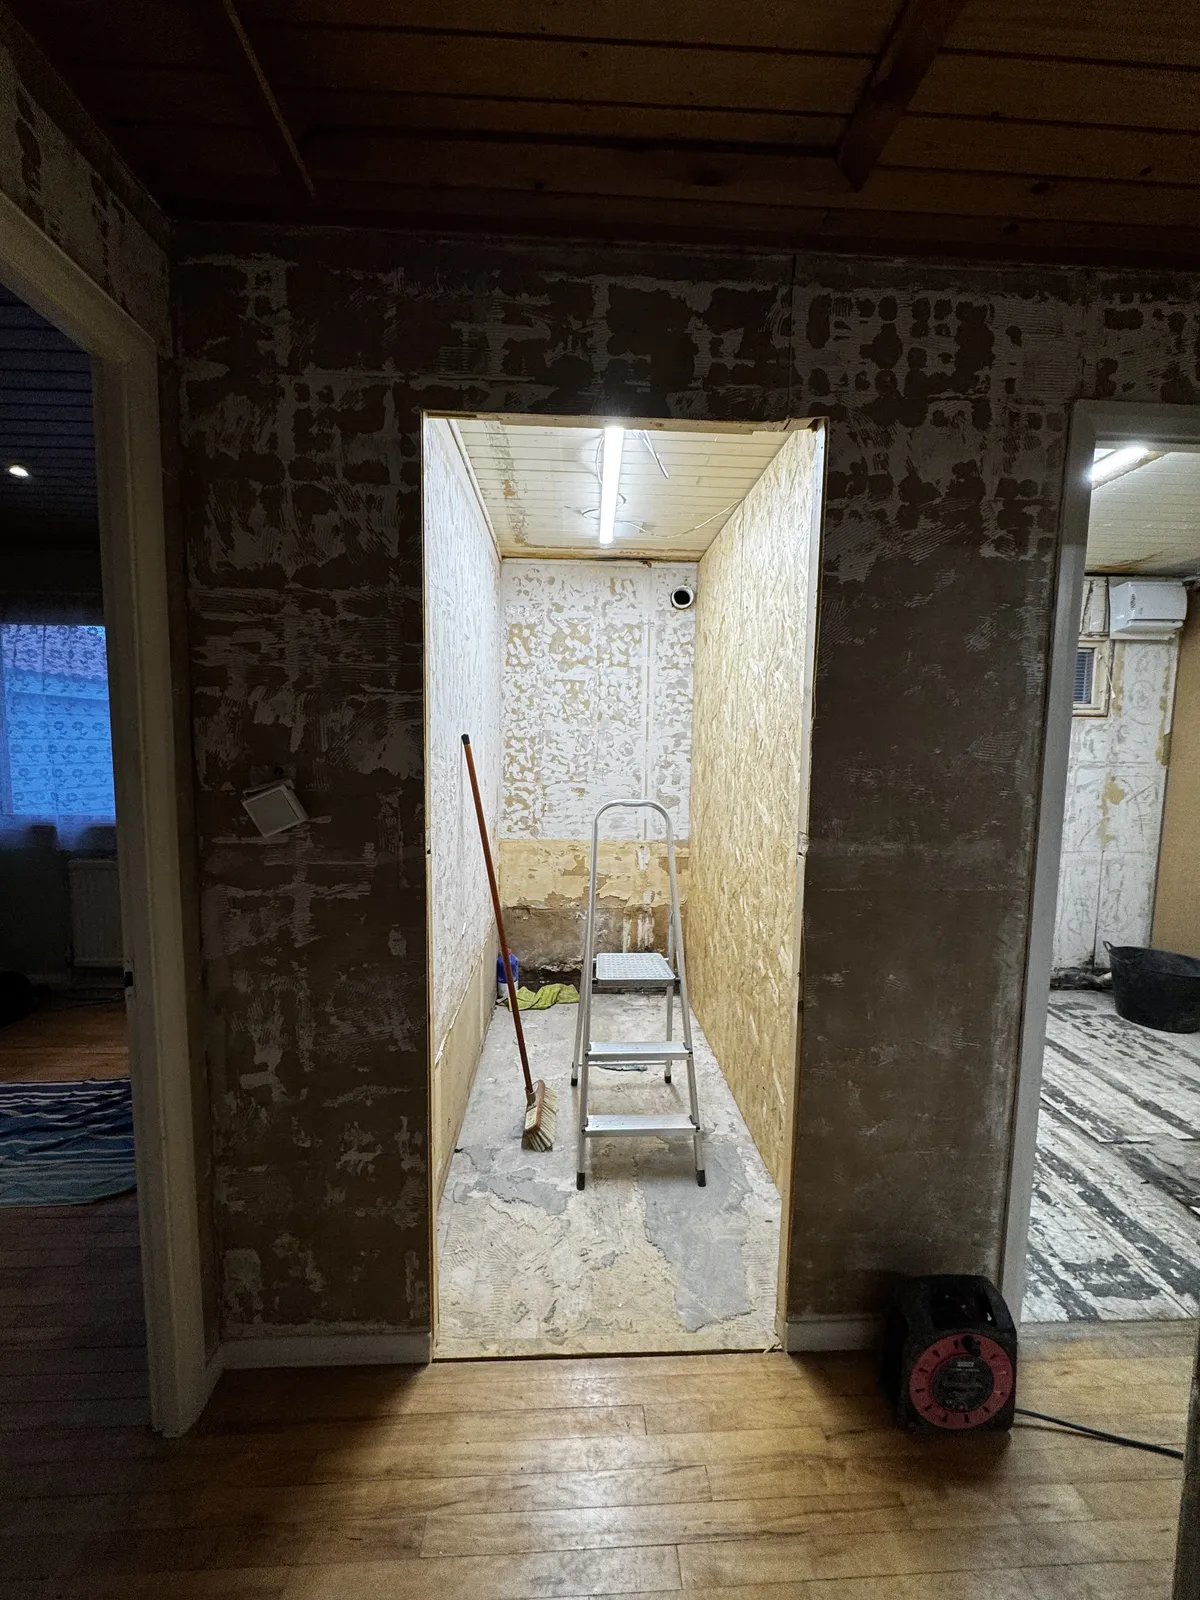
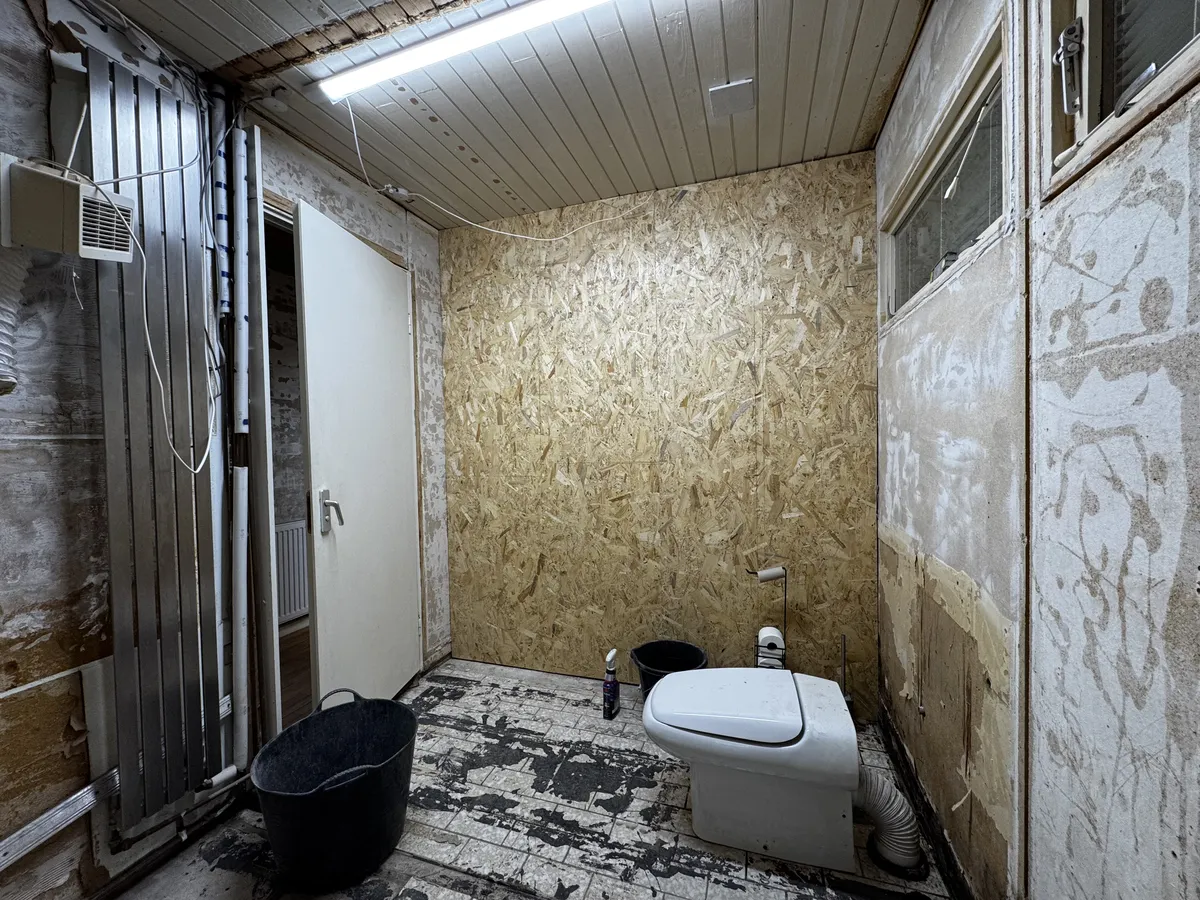
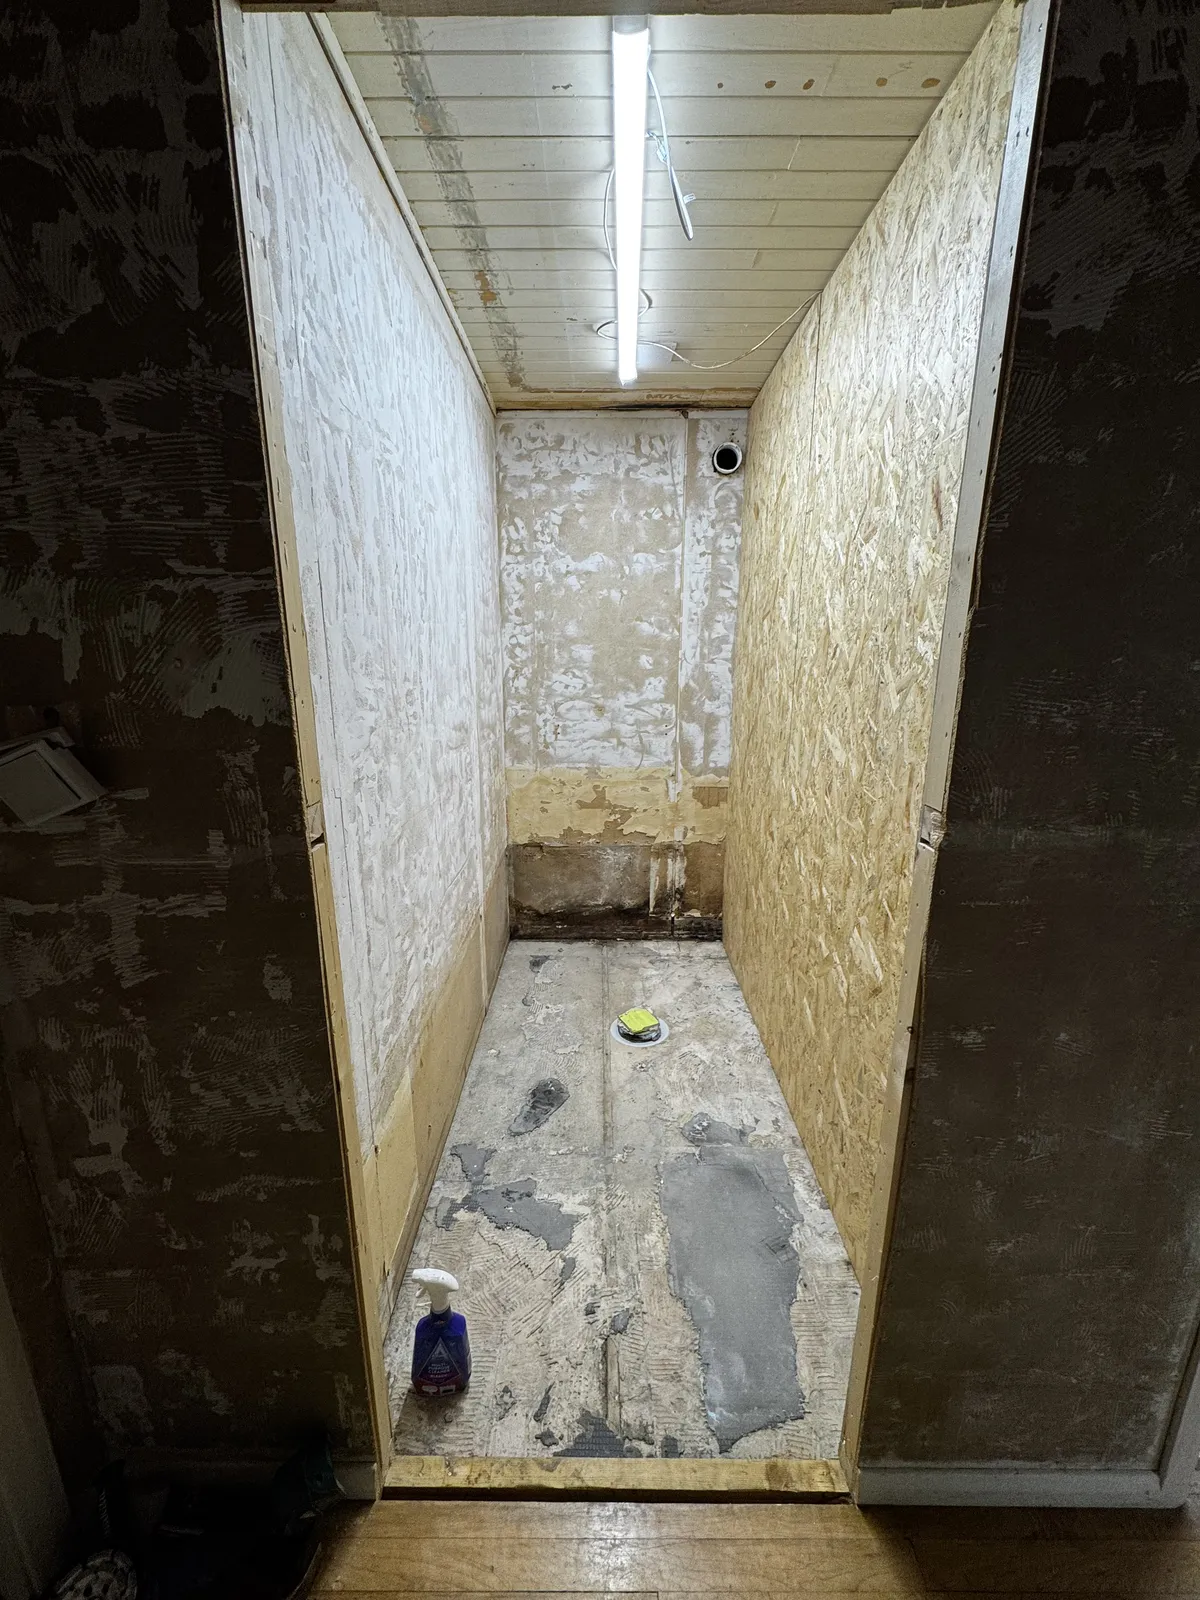
shower room rip out
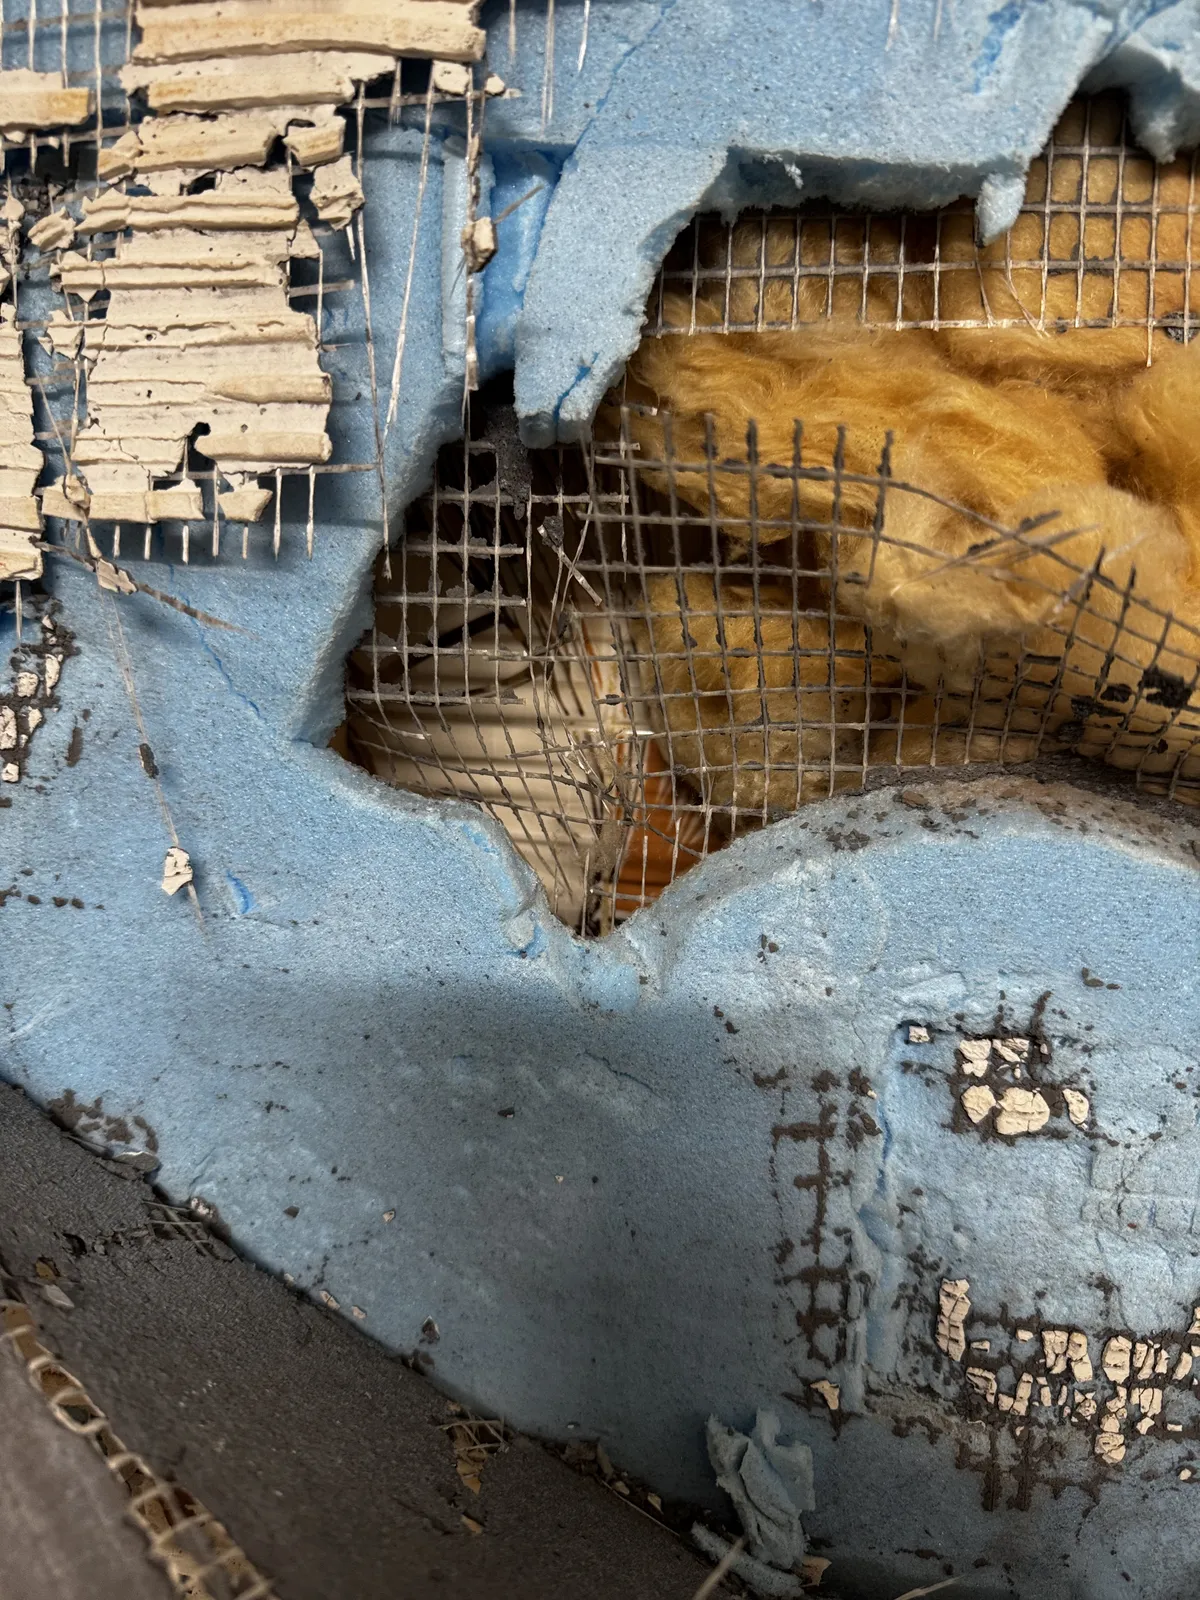
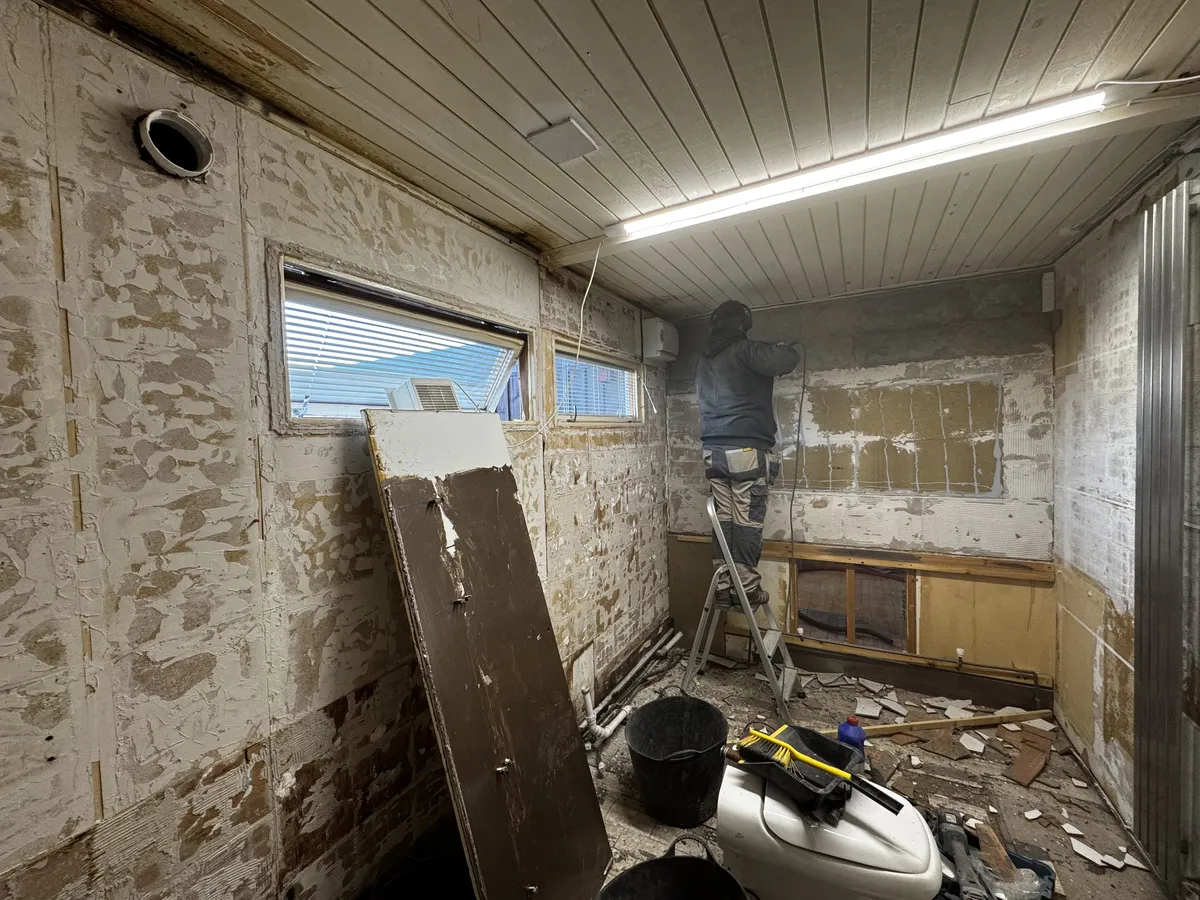
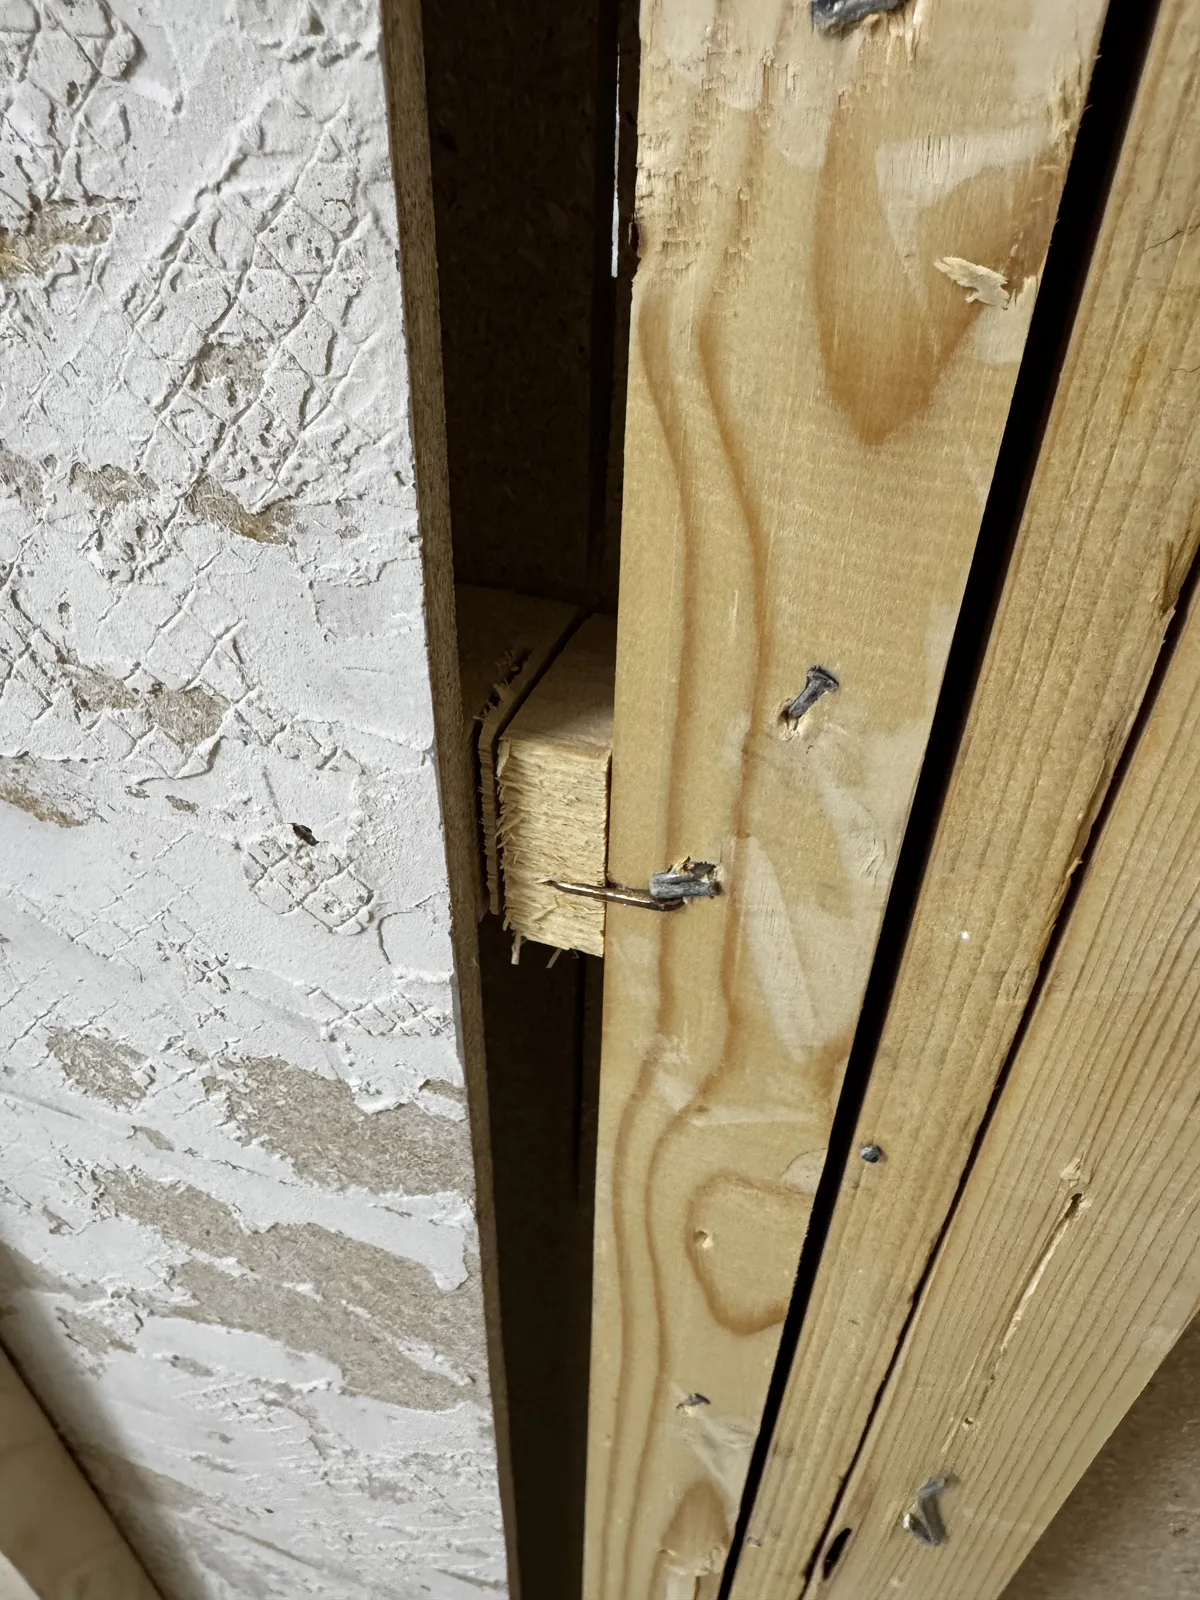
Will and I have put in 4 day's hard graft and we have removed up to three layers of tiles including another layer of mirror tiles, stud walls a revolting, absolutely sodden chipboard and wooden support from under the floor in the shower room. It had forms of life growing on and in it I never what to encounter again.
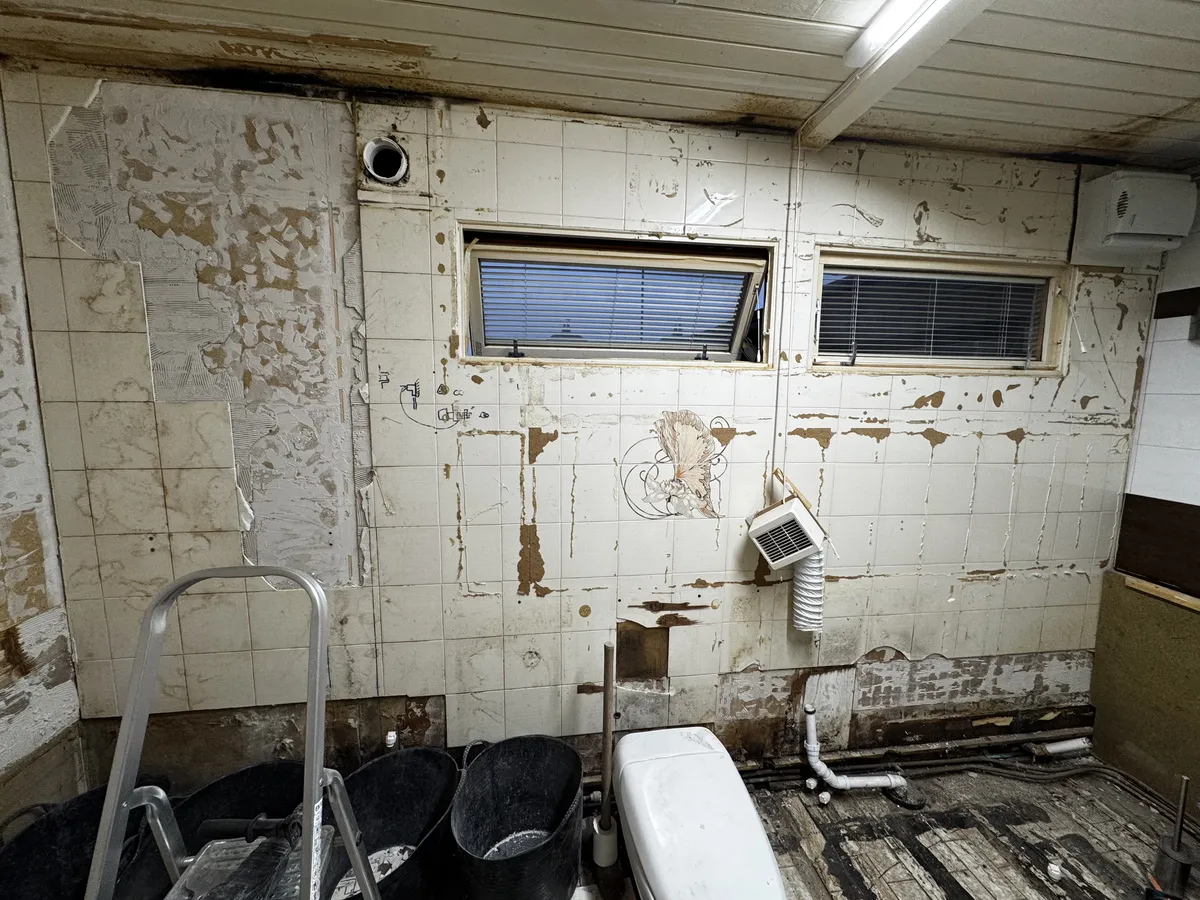
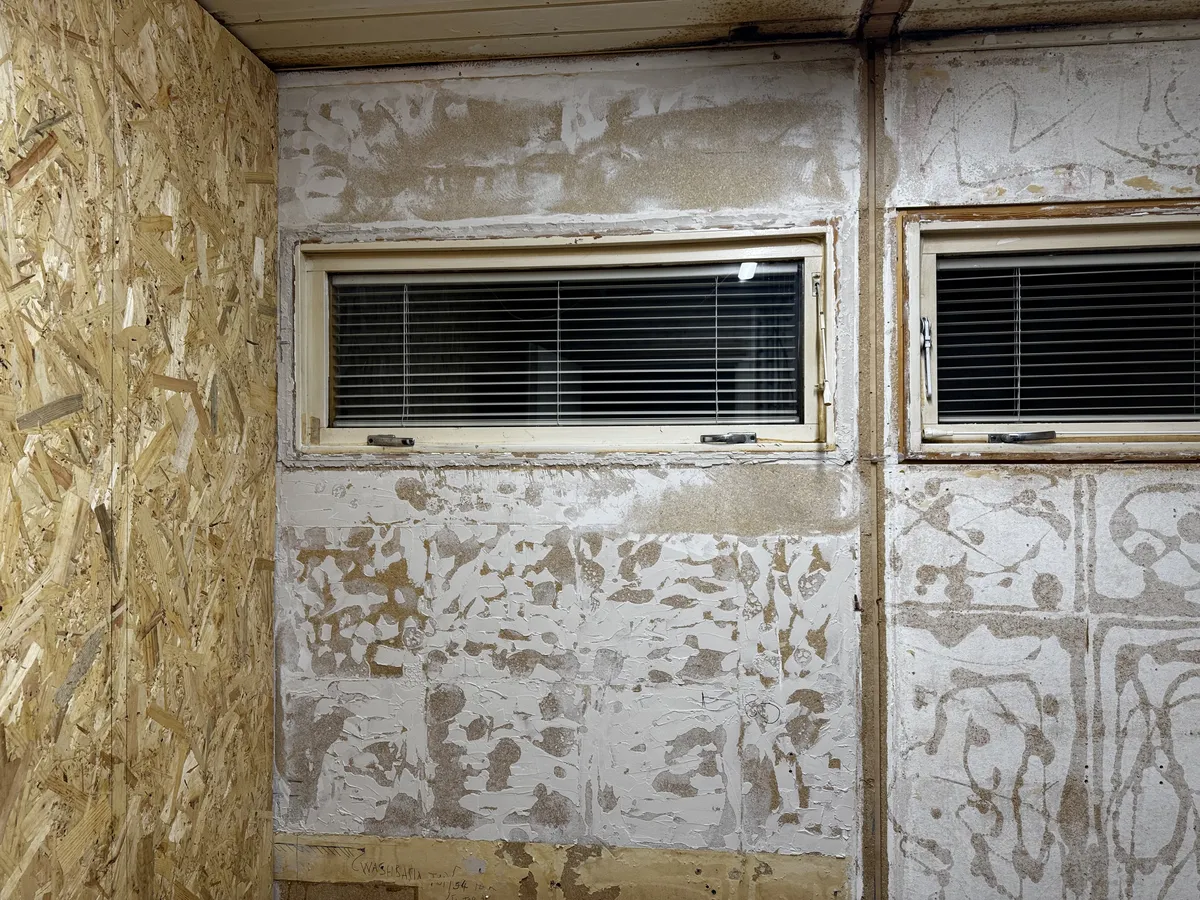
It turns out it just looked like a wet room and the waterproof membrane only lined the shower area although water sprayed and pooled most of the way across the room. So was just soaking through the tiled floor and pooling on the concrete slab. You could ring the wooden underfloor out like a sponge it was so soft. Thankfully the damp and standing water hadn't made its way to the walls and rotten them. That would have been a massive structural problem and cost. I think we have been very lucky again.

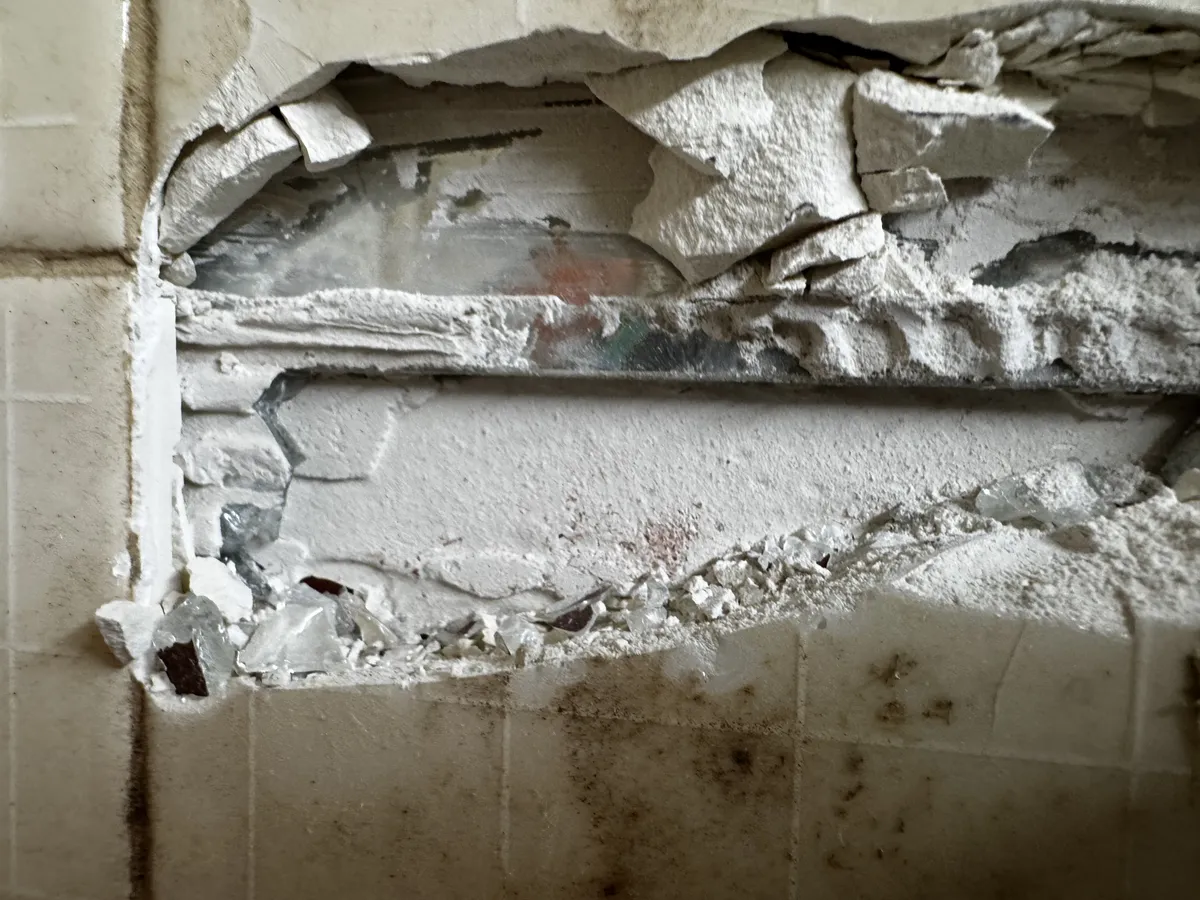
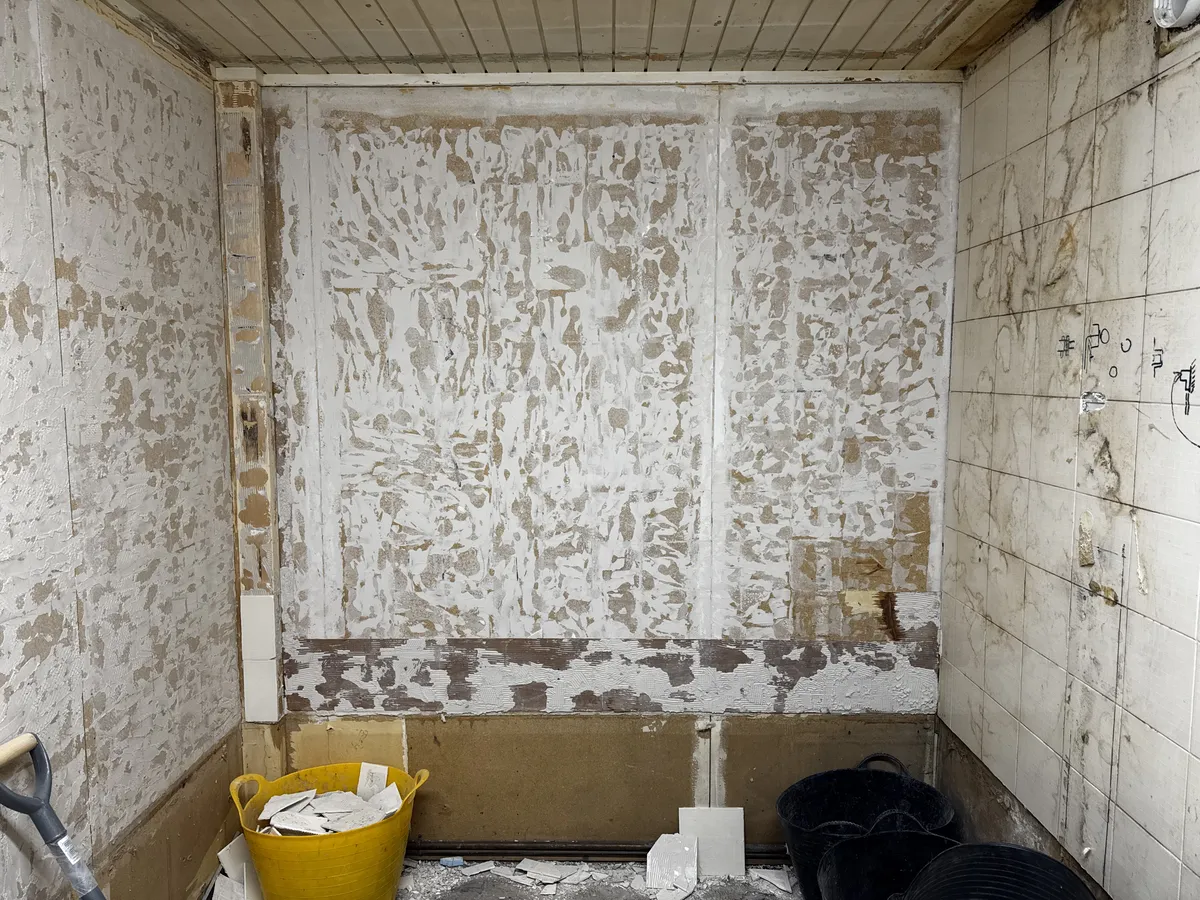
One fantastic tip I picked up online somewhere was to wrap glass and mirrors with that thick sticky plastic you can get for carpets. It worked a treat on the shower wall. We double wrapped it smashed the corner and it collapsed on the floor and we were able to roll it up and carry 90% of the gas out to the skip. the mirror tiles under another layer for ceramic tiles were not so forthcoming and Will and I were showerd in copious quantities of glass shards from them. horrible. But they are all gone now! the big mirror came away without a fight and the plastic kept most of it contained.
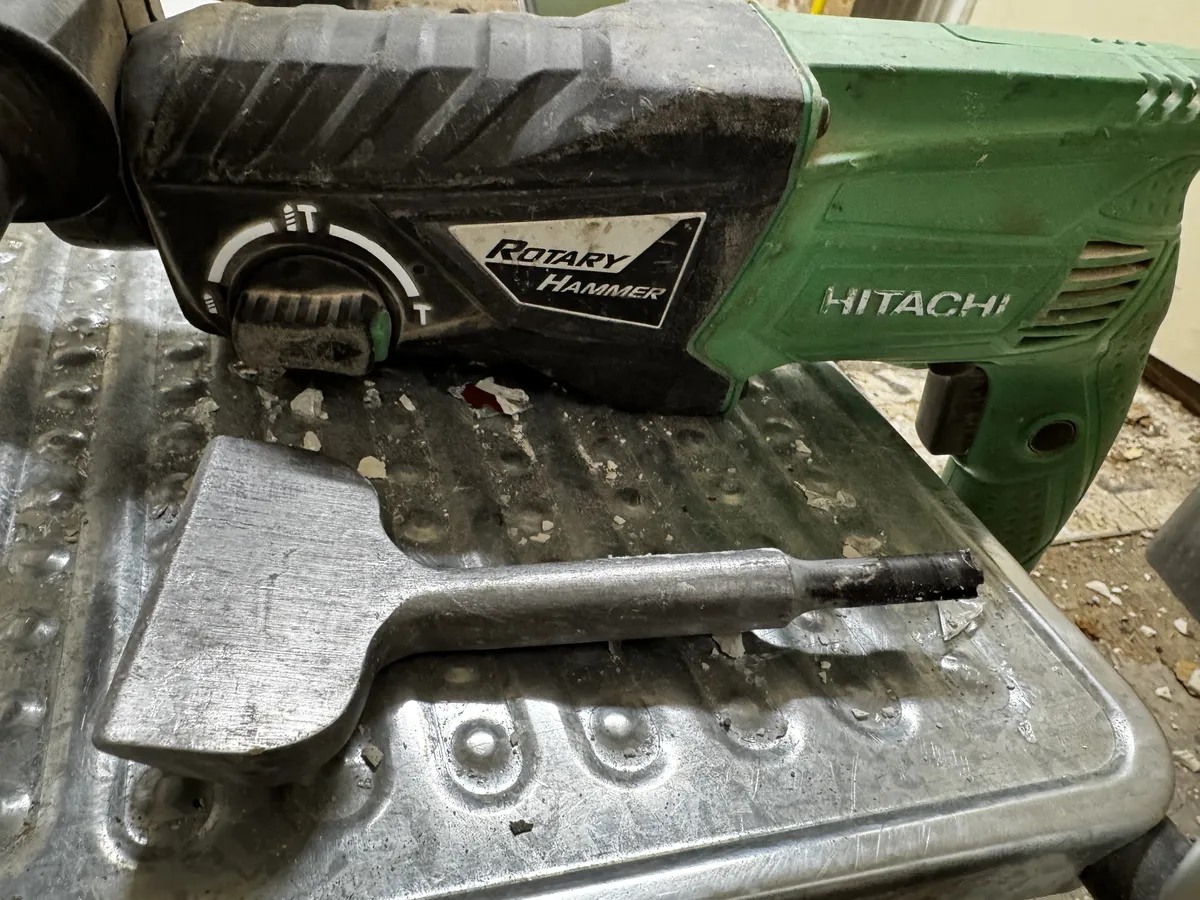
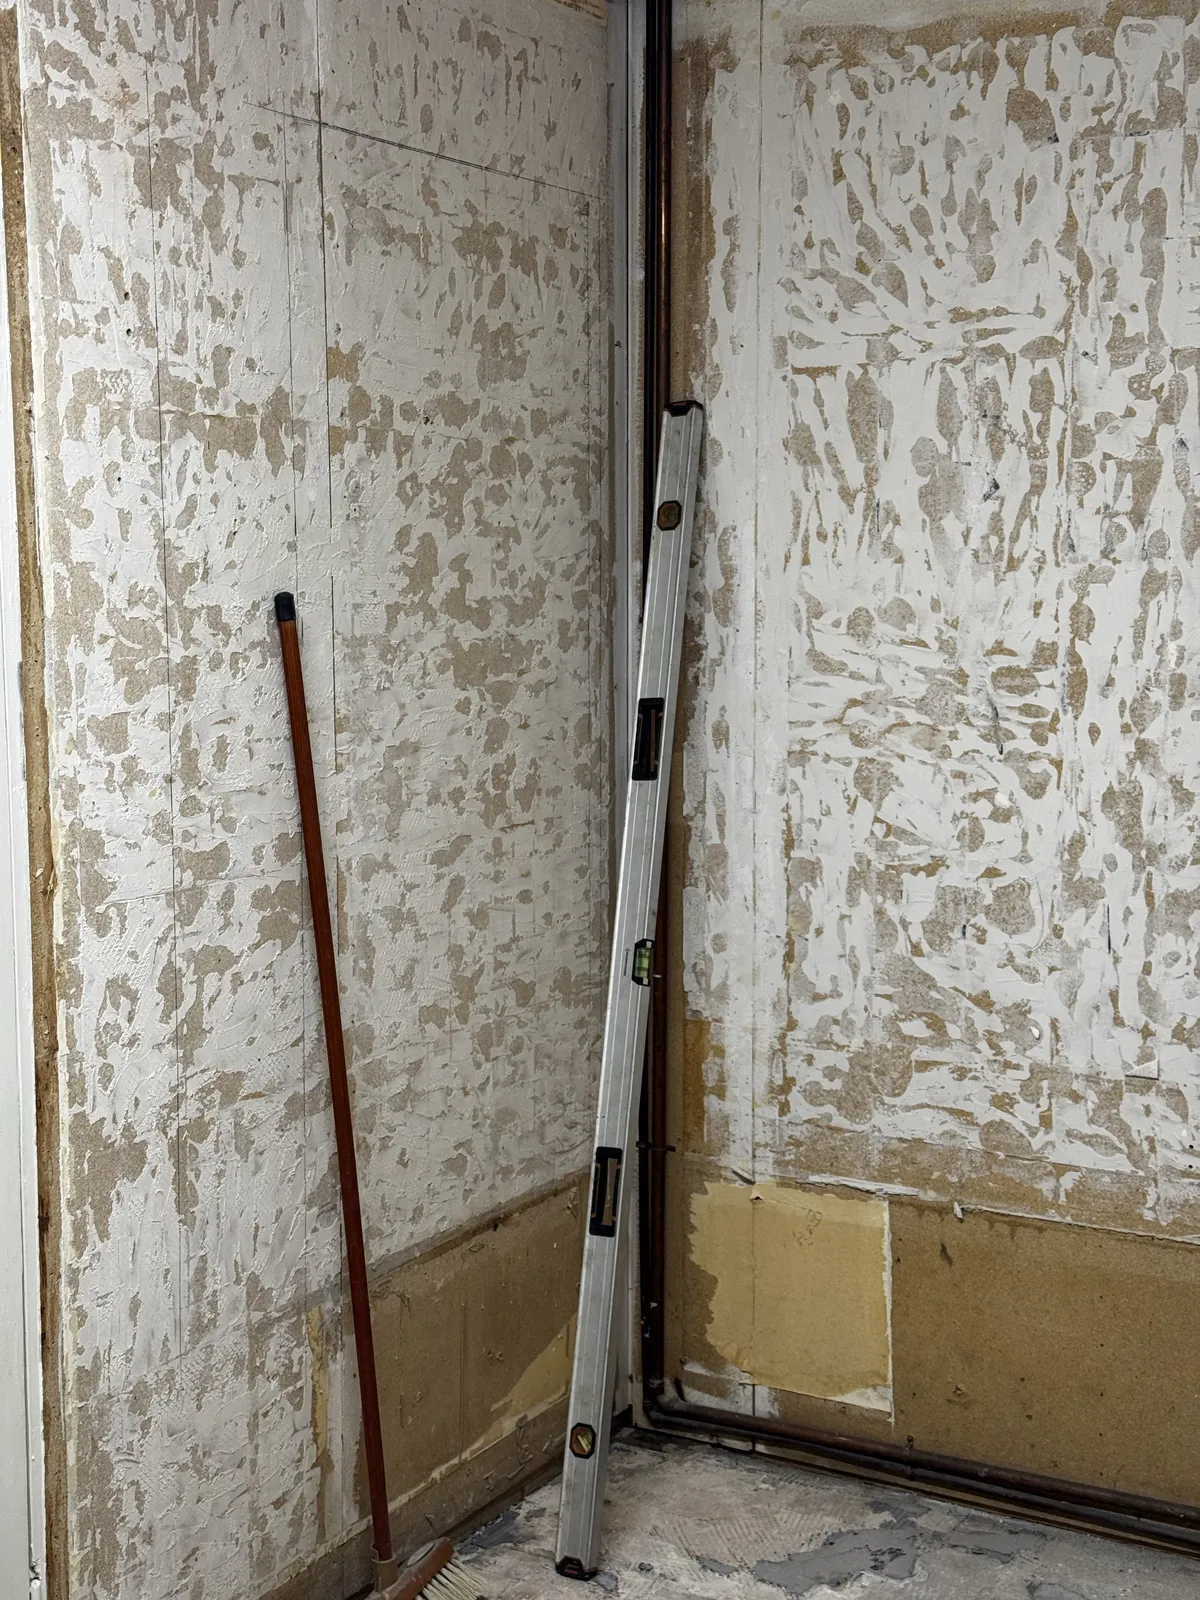
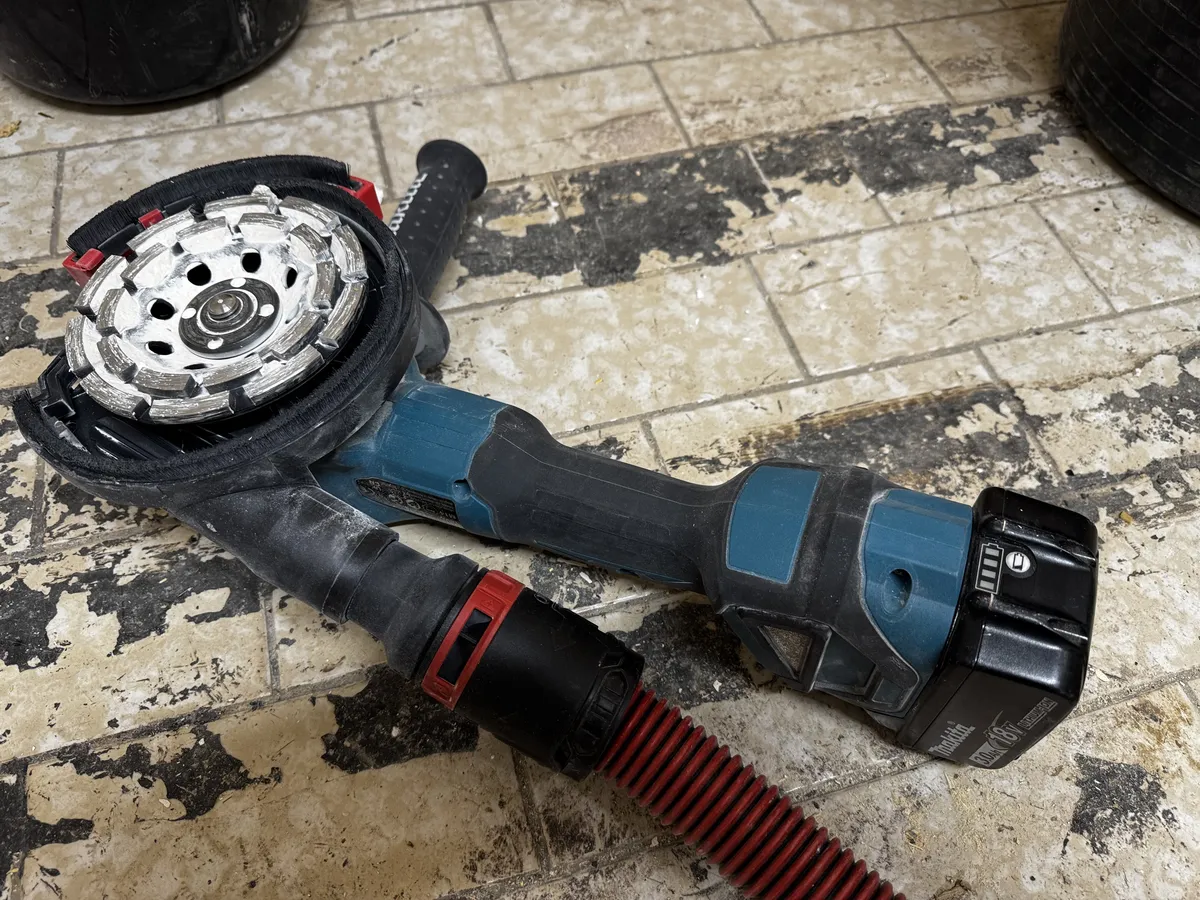
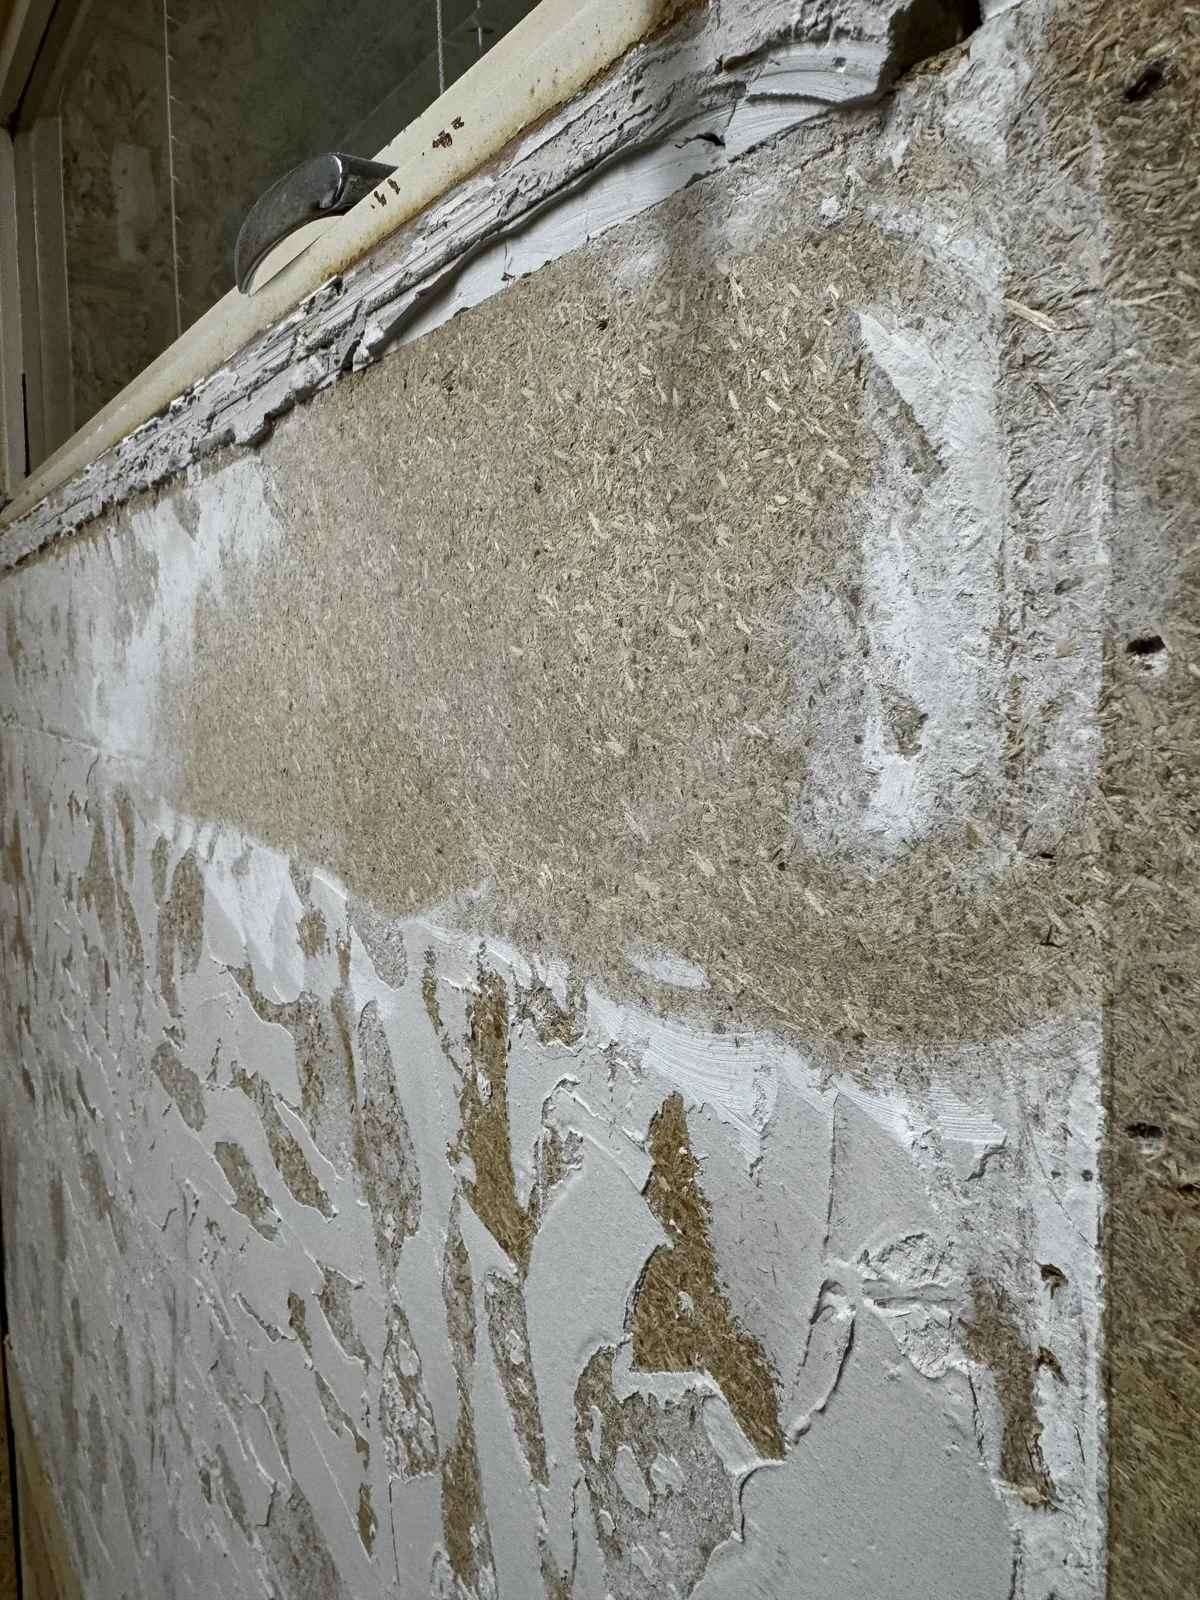
I did try the heat gun and scrape method to remove the tile adhesive on the walls but I was too exhausted to scrape (or it is a different adhesive) and I had to resort to the grinder. And it turns out the dust extractor vacuum is more that up the the job of preventing the dust escaping and it bags it up nicely and I can dispose of it cleanly in the skip.

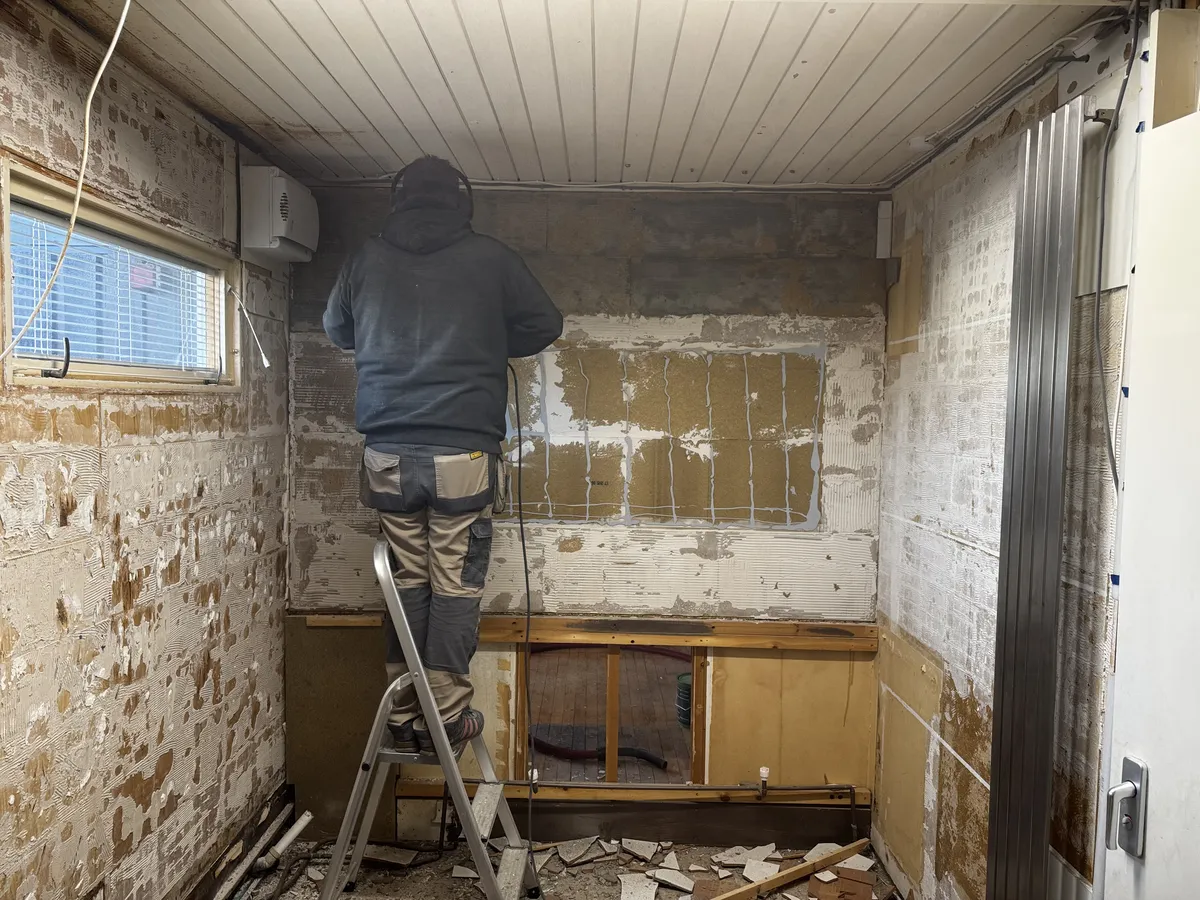
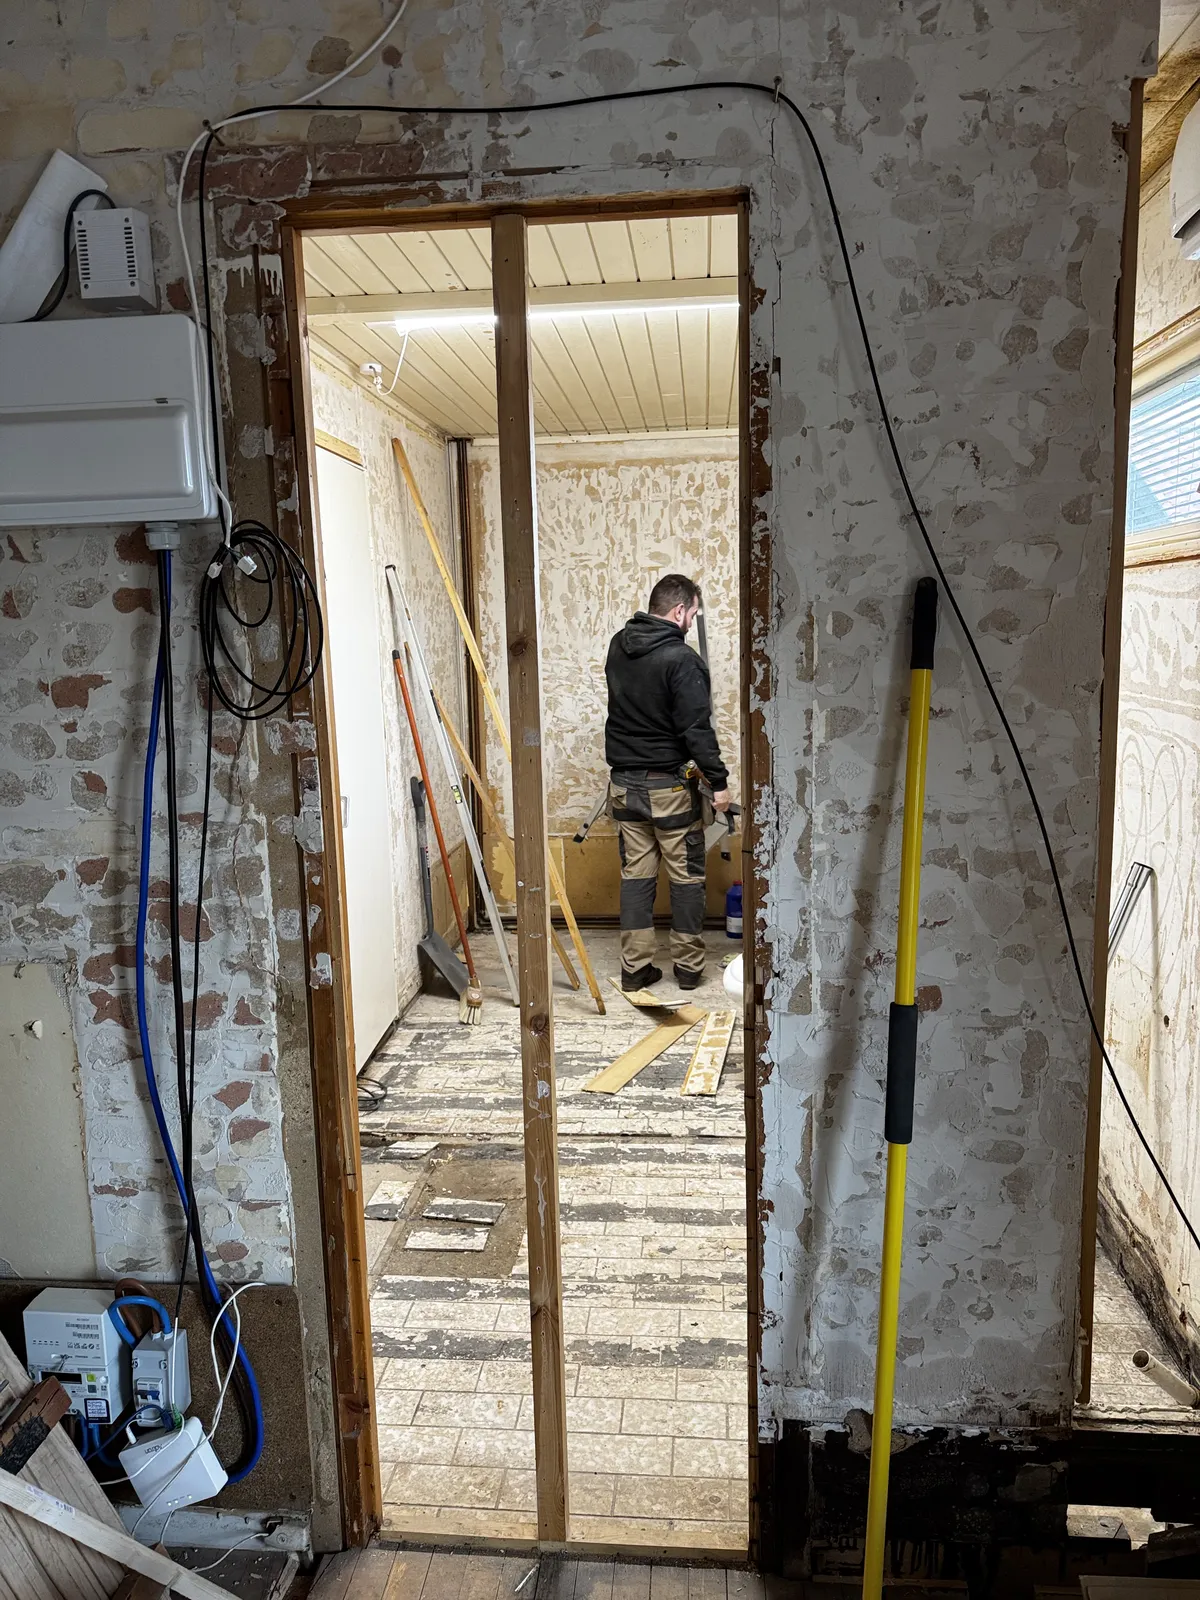
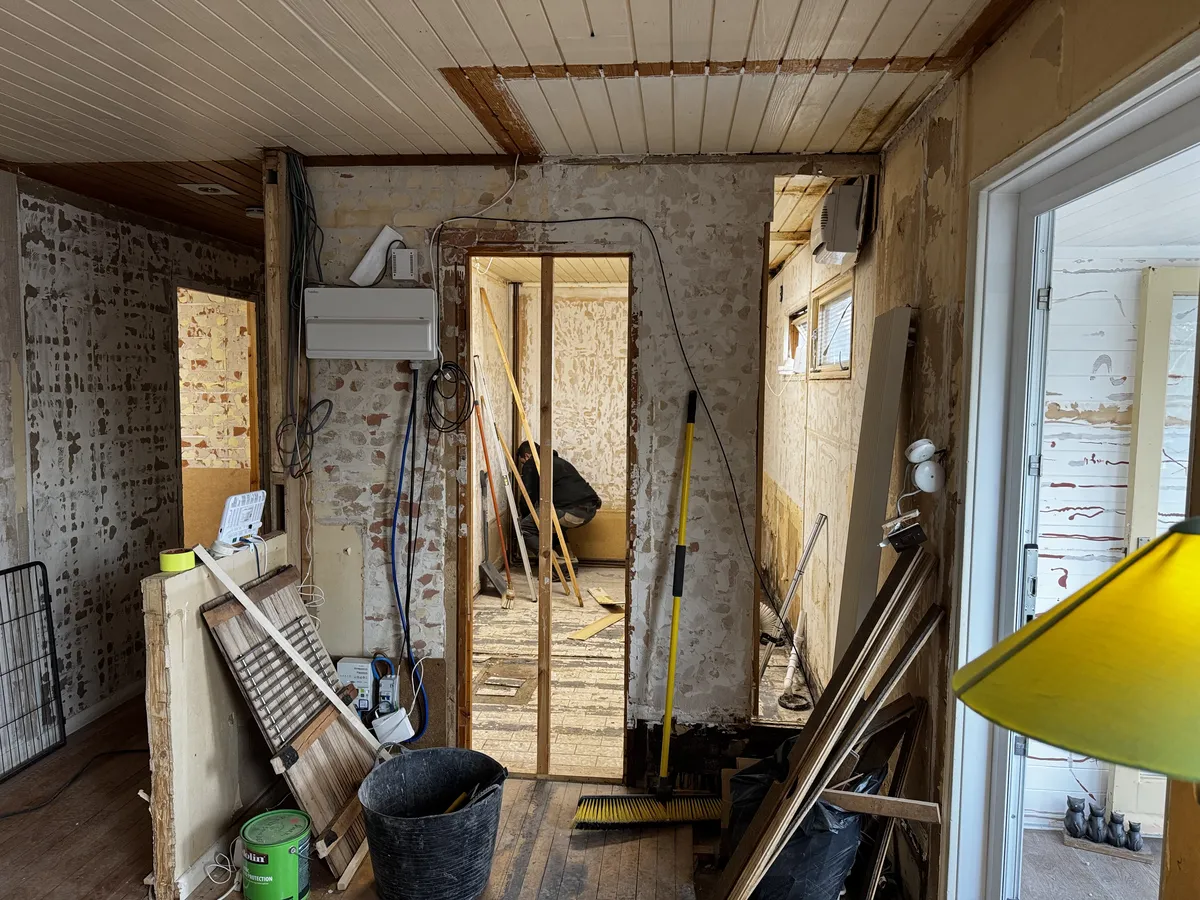
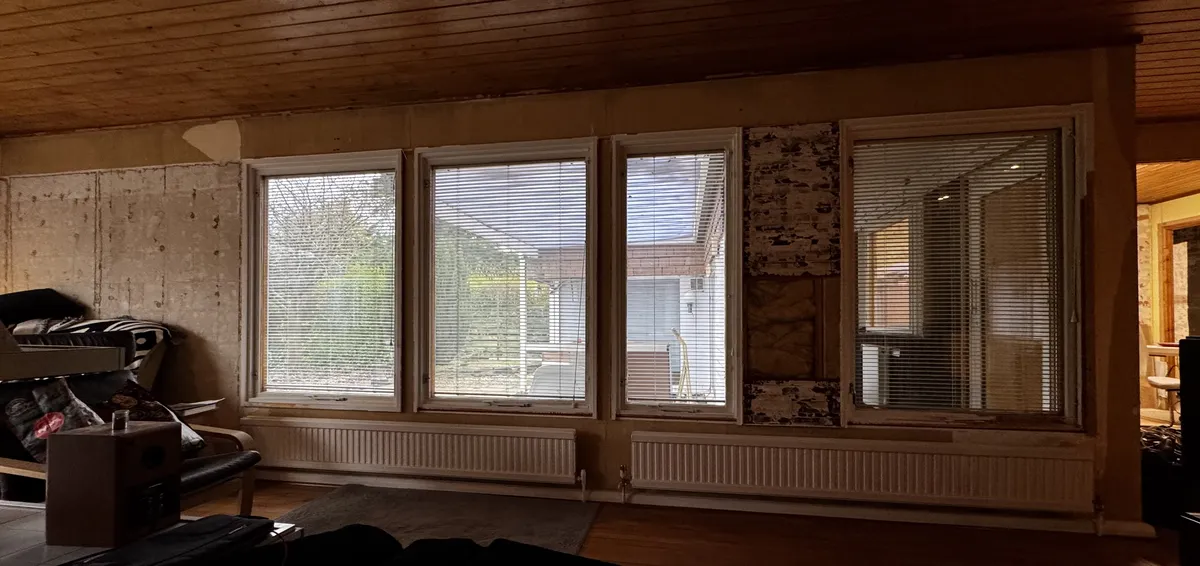
As for what's next after the shower room and wc remodel which Will is cracking on with next week, its 300 sq metres of T&G for me to get on the walls, which is sat in the living room acclimating, while I work out how much other wood in as fewer shapes and sizes as possible, that the wood yard has plenty of stock of, so if I under order they will not need to order anything in special.
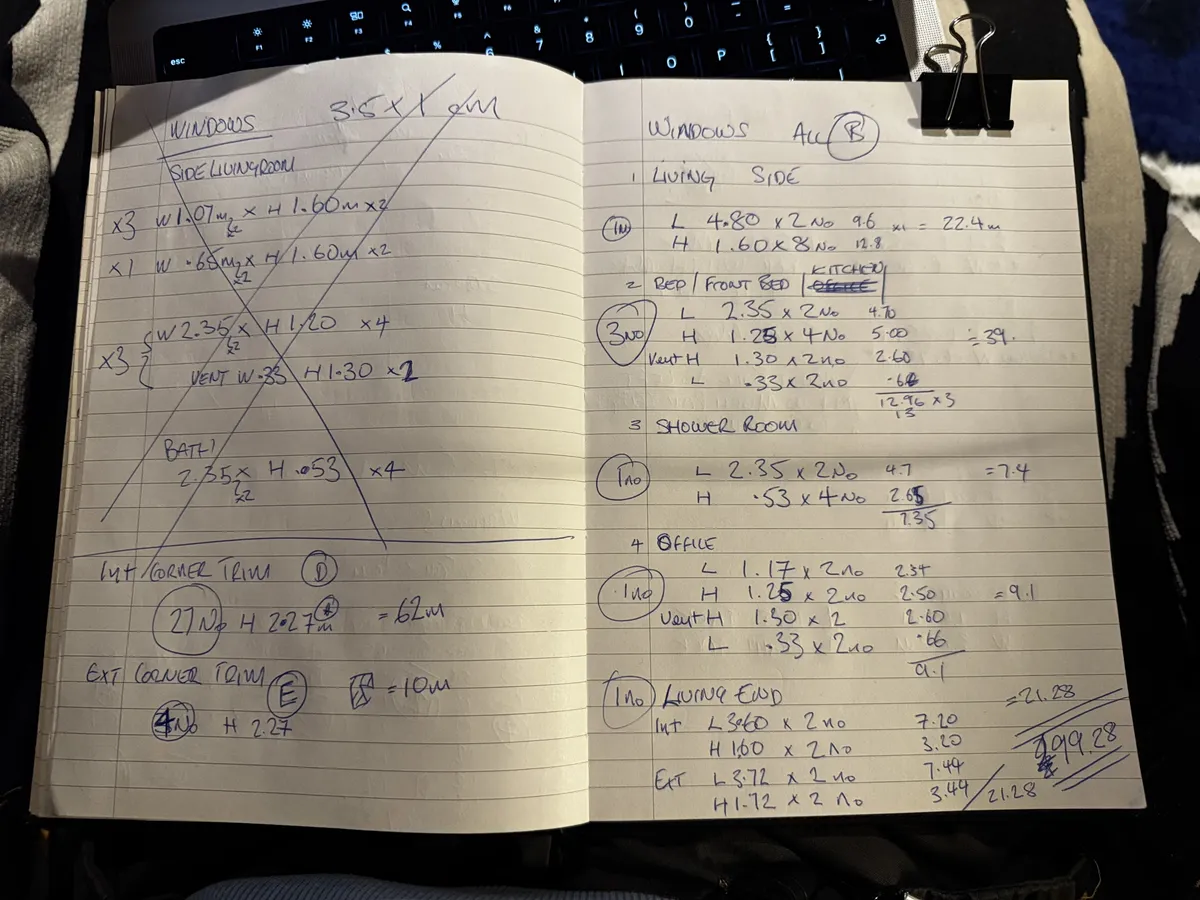
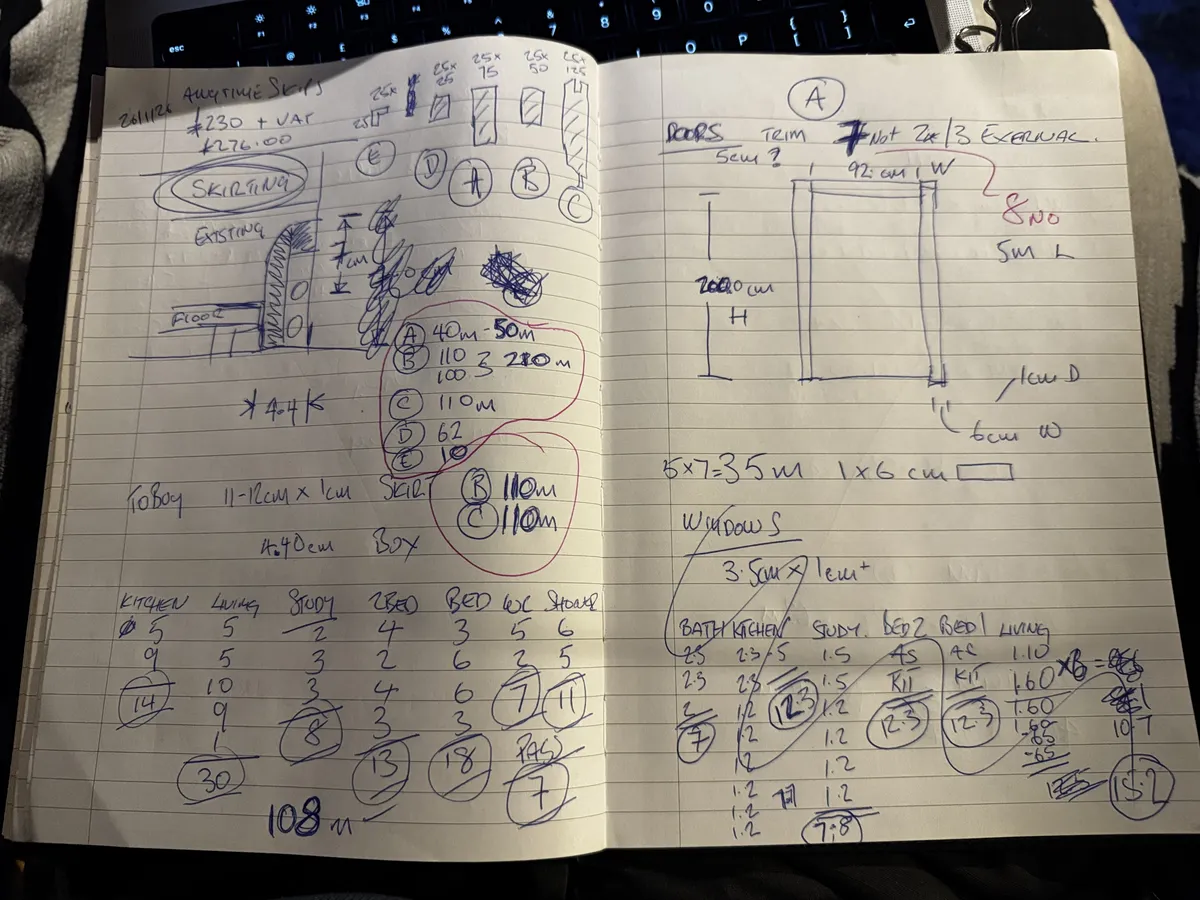
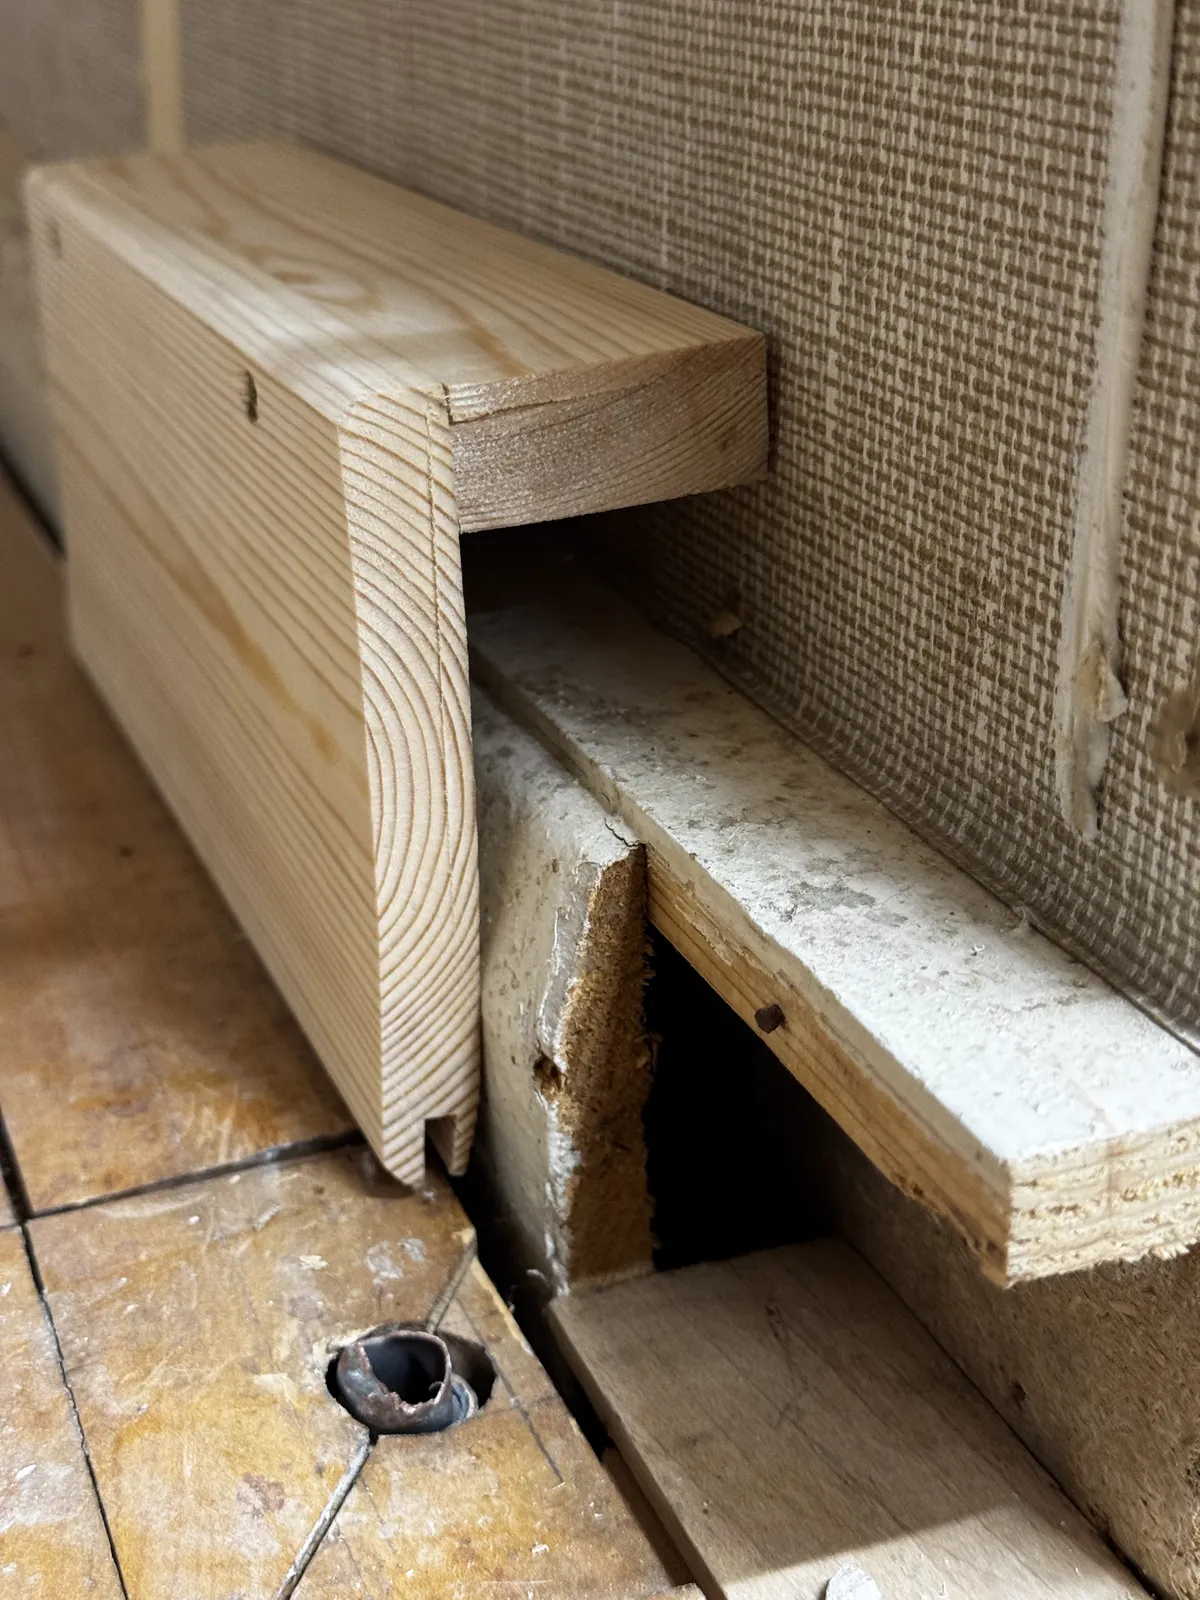
To this end I've formulated a plan for dealing with our box skirting that has been built over with the wonderful maple wood floor so we can't access the pipes. There are plenty of special mdf and plastic box profile available but the are expensive, special order and we are trying to use wood not plastic or resin based products.
My plan is we will box it in with a (1" x 2") 25x50mm and some 25x125mm T&G with the tongue cut off, if in future we need to access the heating pipes (to cut them out and replace with plastic as is my preference) we can lift out our new box and cut the top off the original box, then simply replace our new bit and screw it to the old upright section to maintain some rigidity.
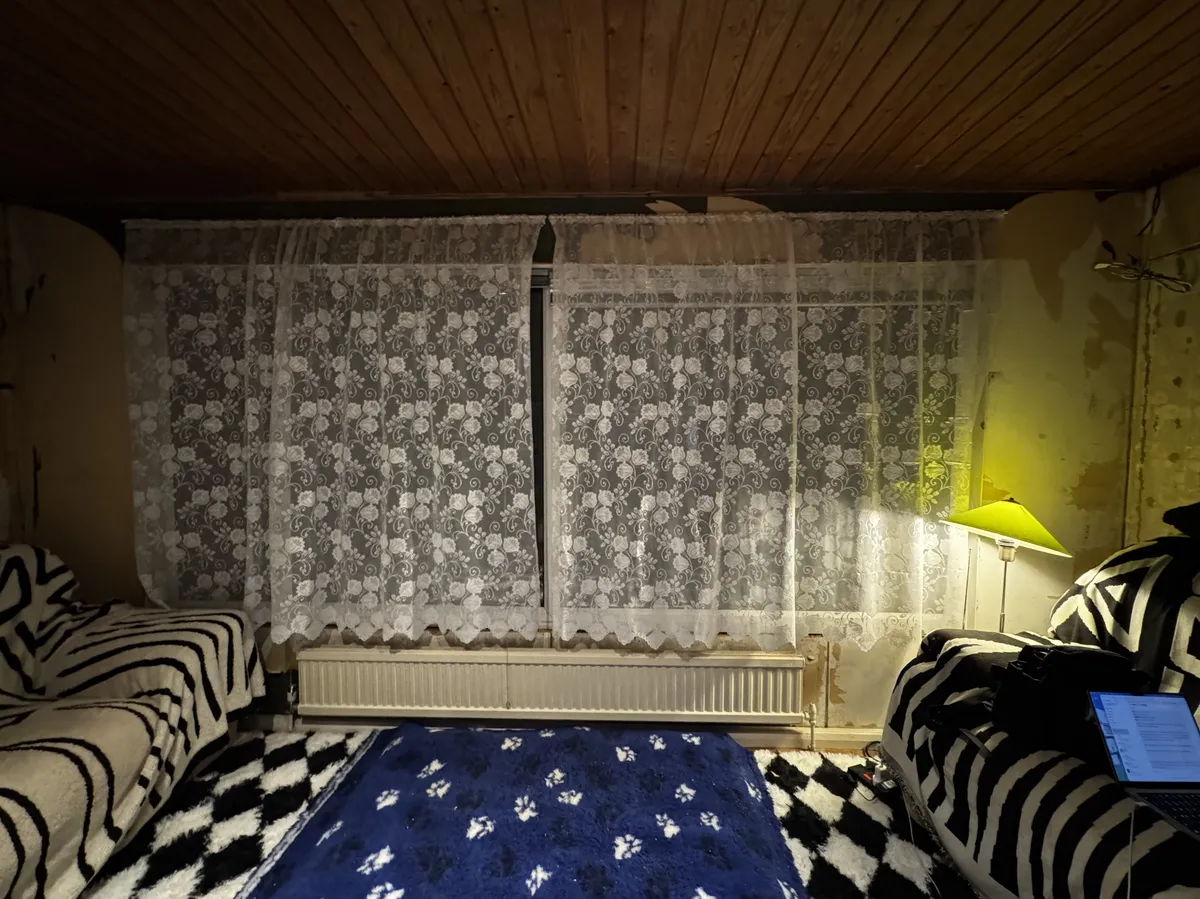
We've also measured for vertical blinds for the living room which feels weirdly exciting.
And finally for now, Tom the electrician is back again tomorrow morning. So I he can get a few more bits up and running for us and discuss doing something else a bit weird, that might make his life easier and the cost a little less for us.