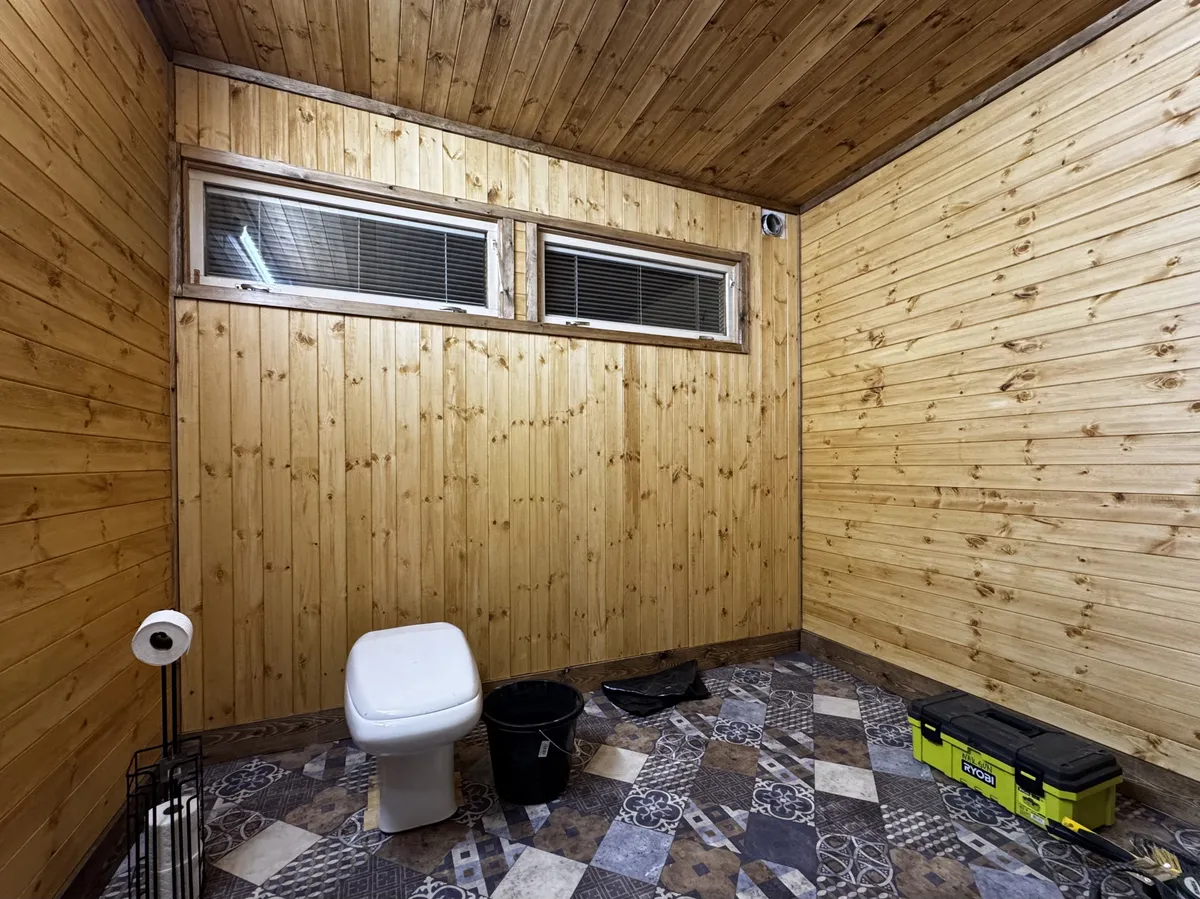
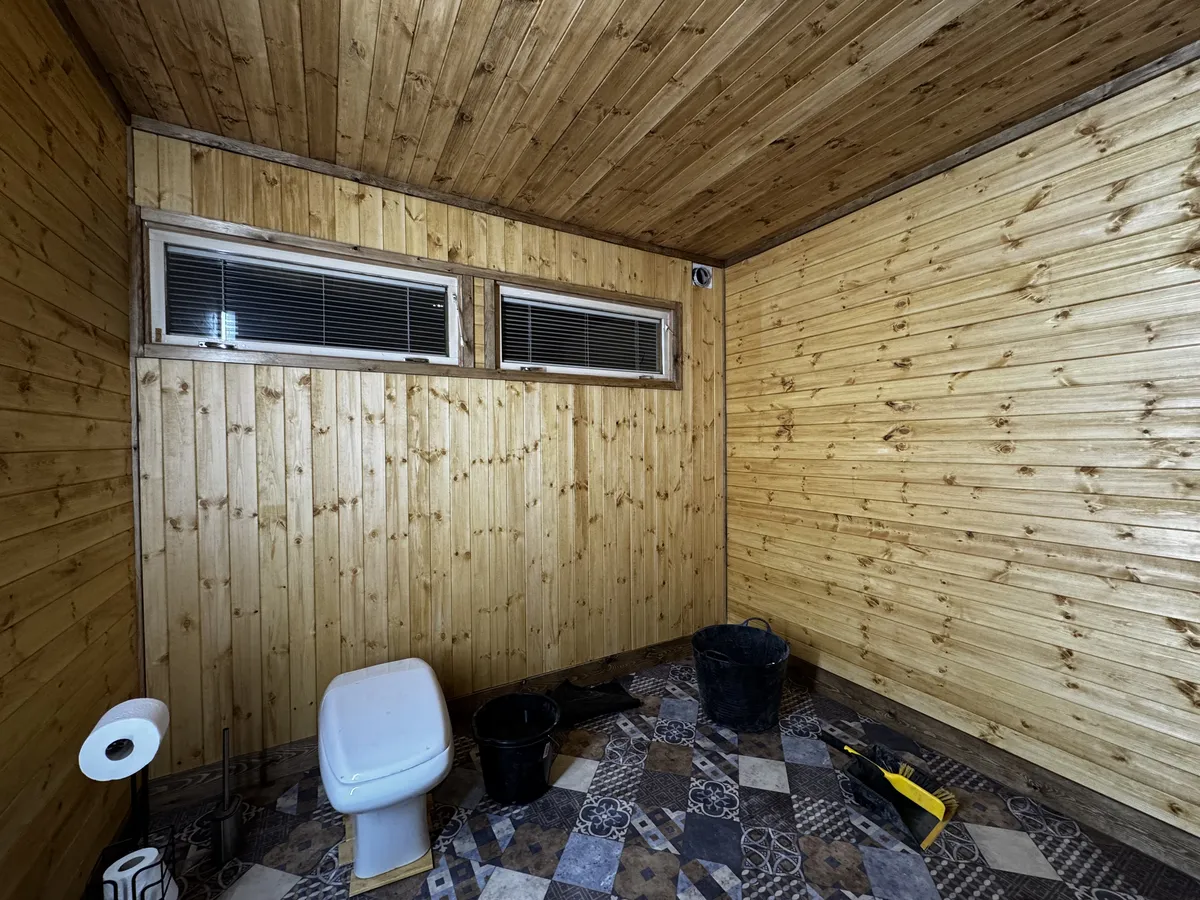
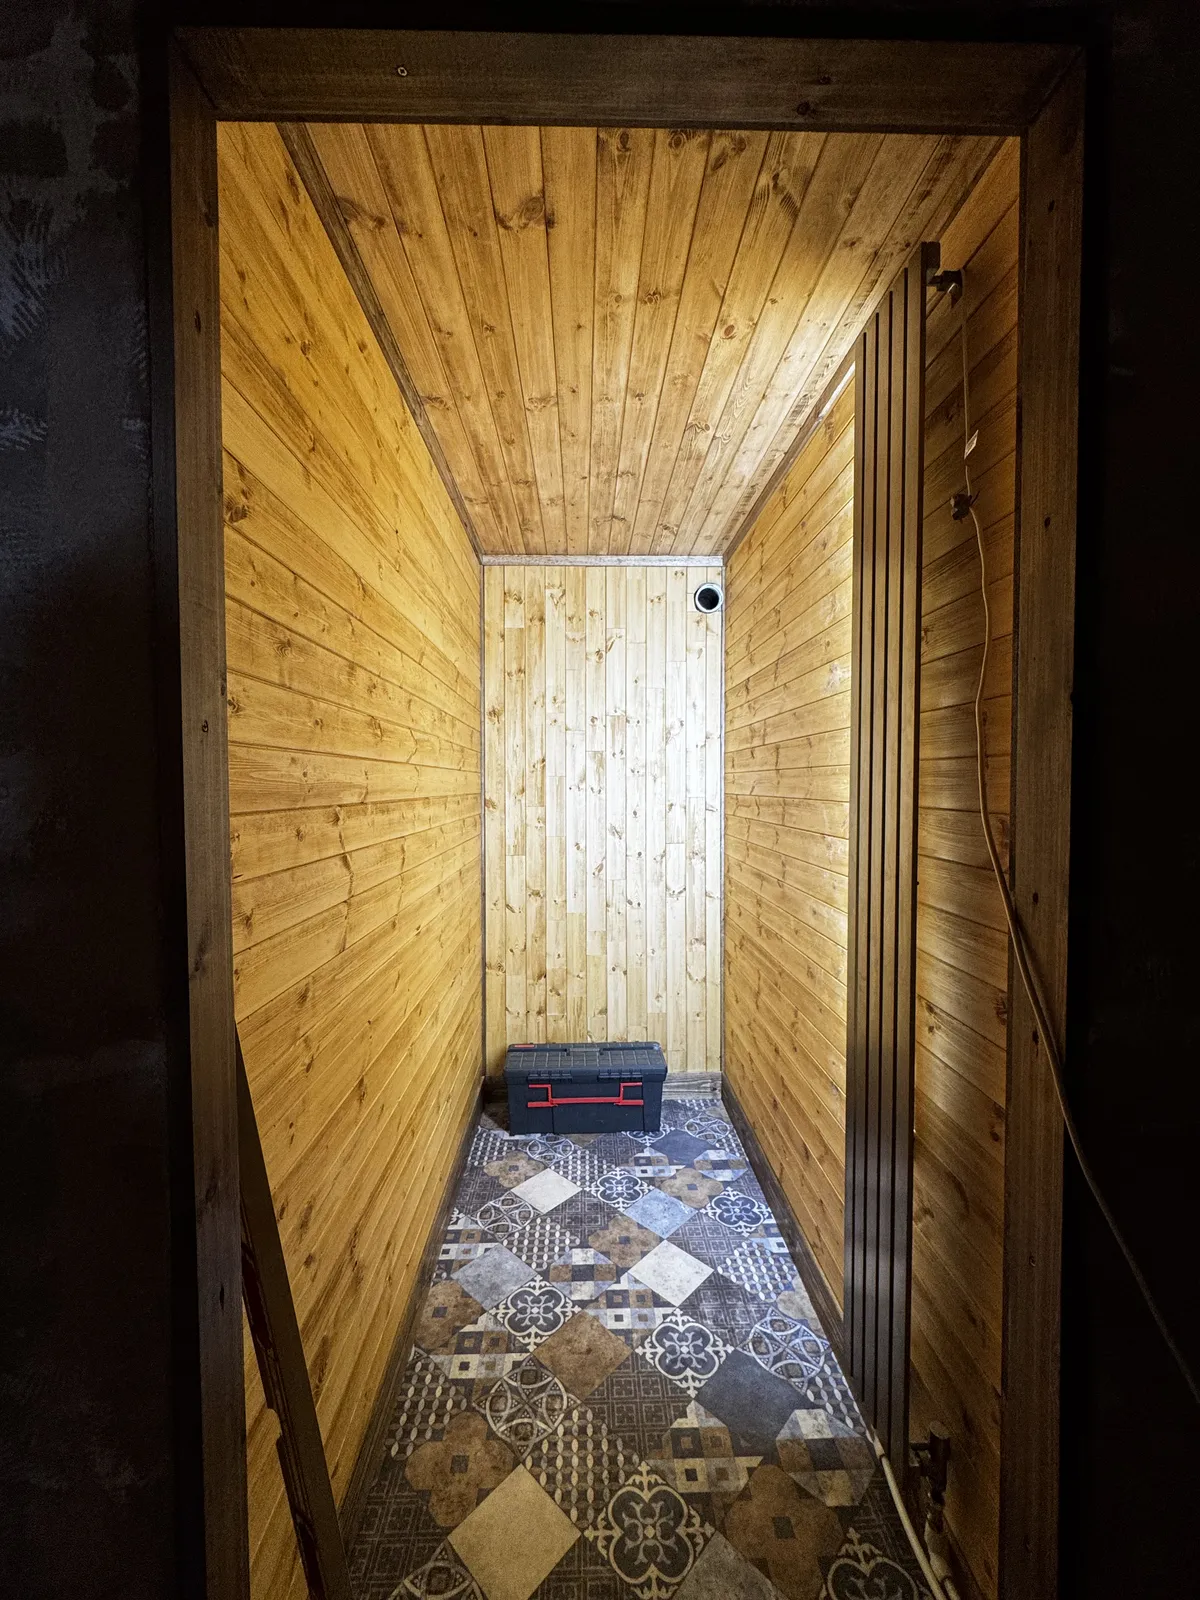
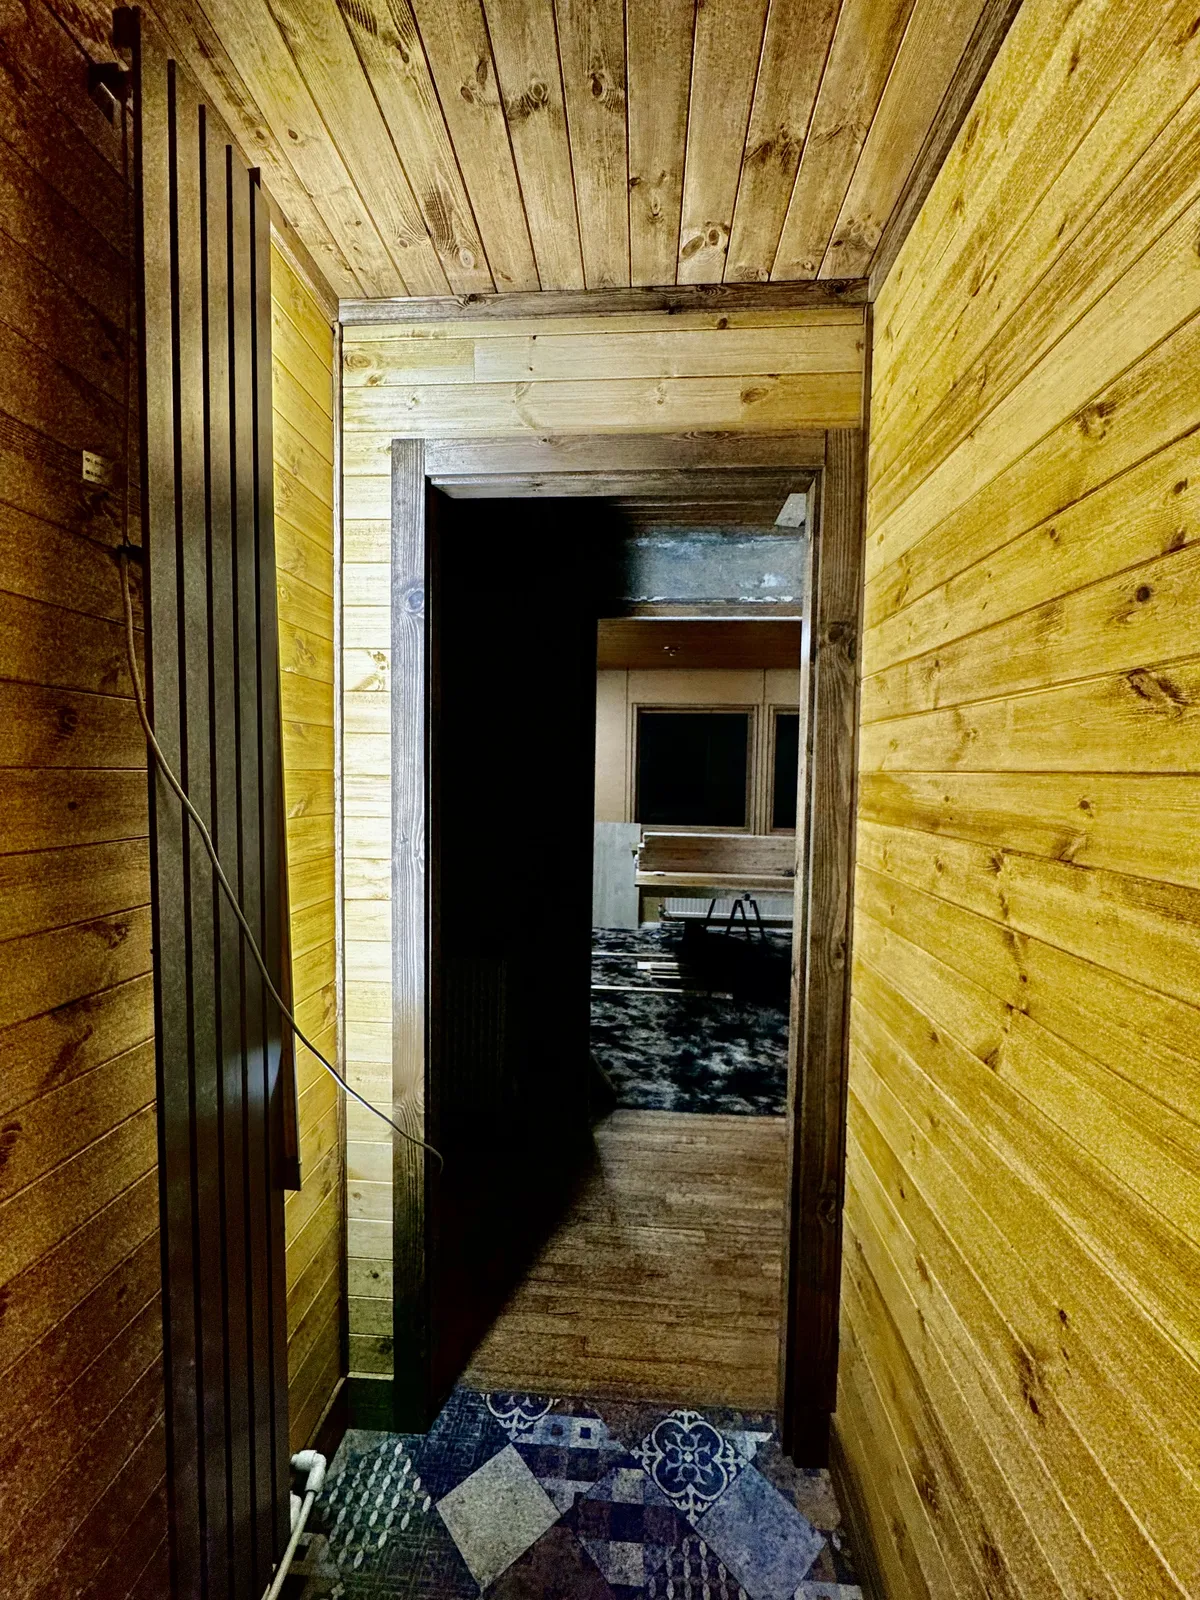
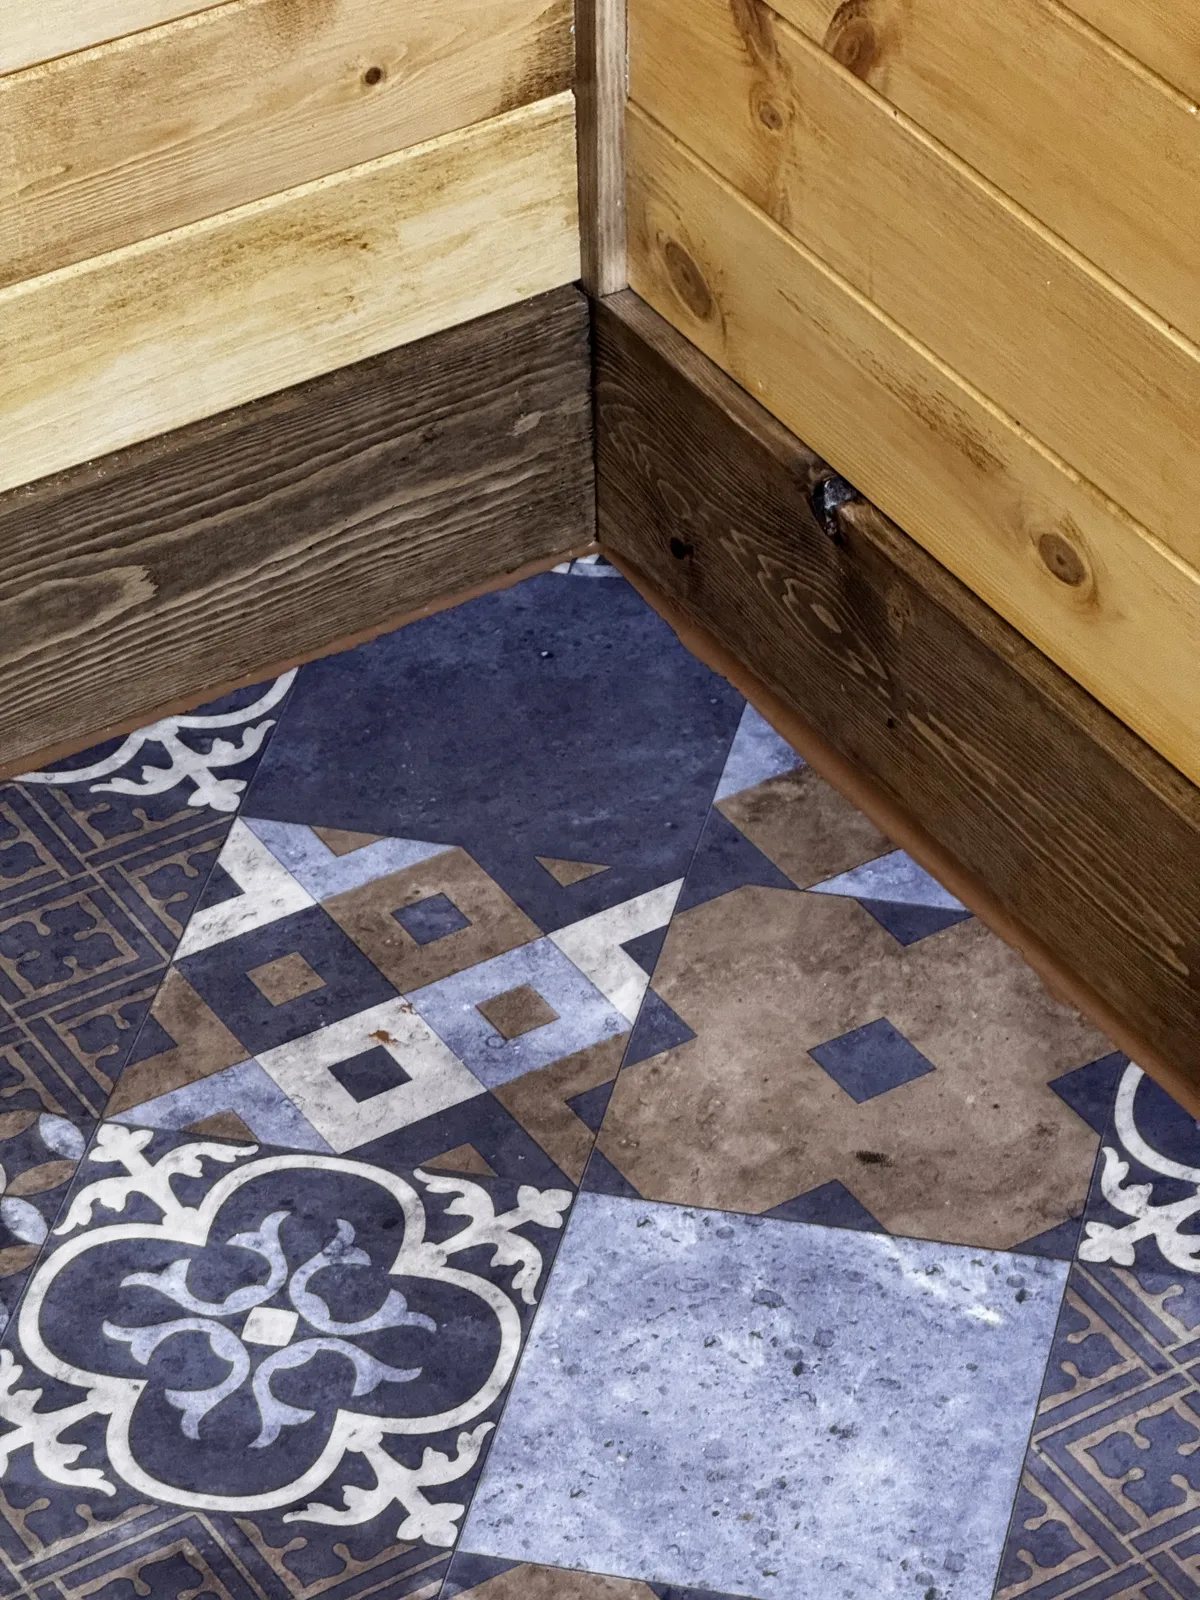
shower room and WC are T&Ged
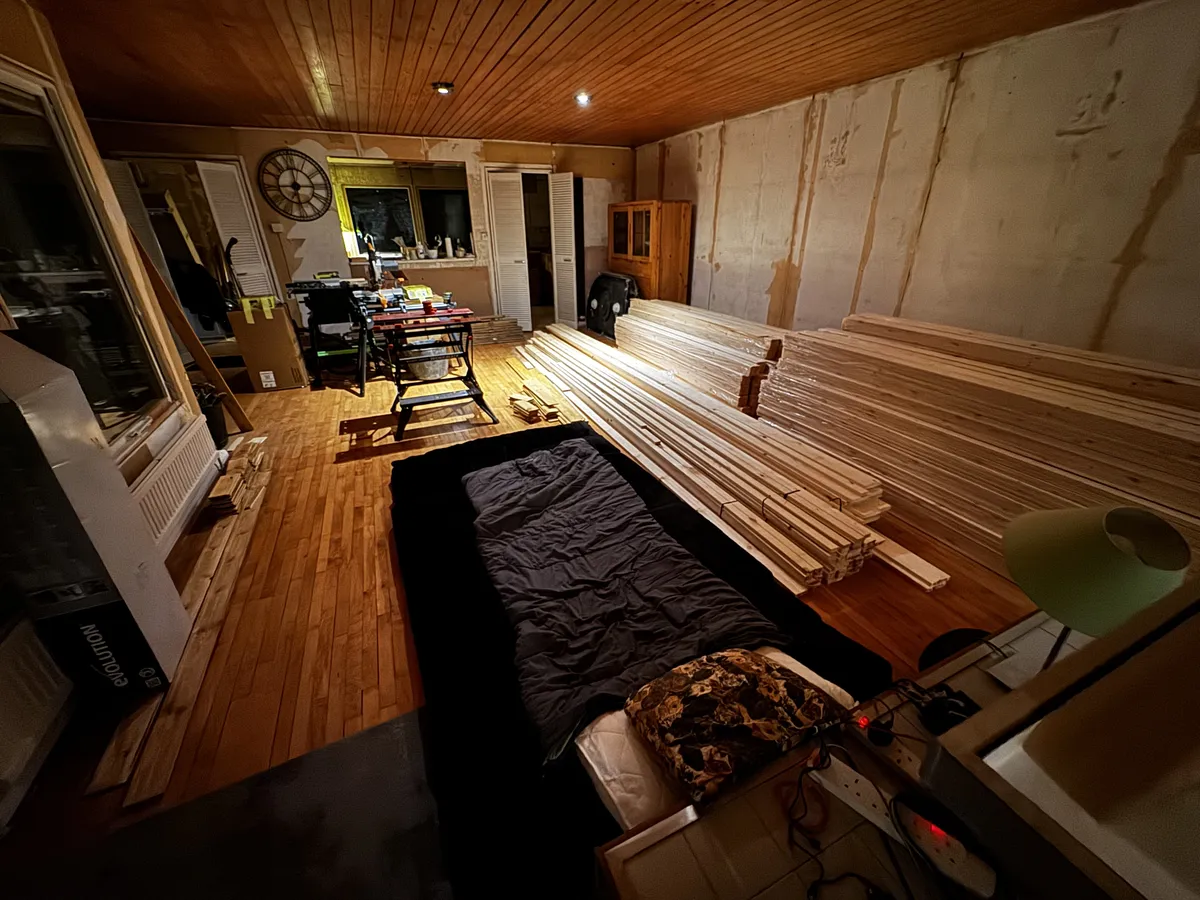
After a week living and sleeping in the workshop…
We’ve finished panelling the shower room and WC. While I haven’t quite perfected the process, I’m reasonably happy with the results.
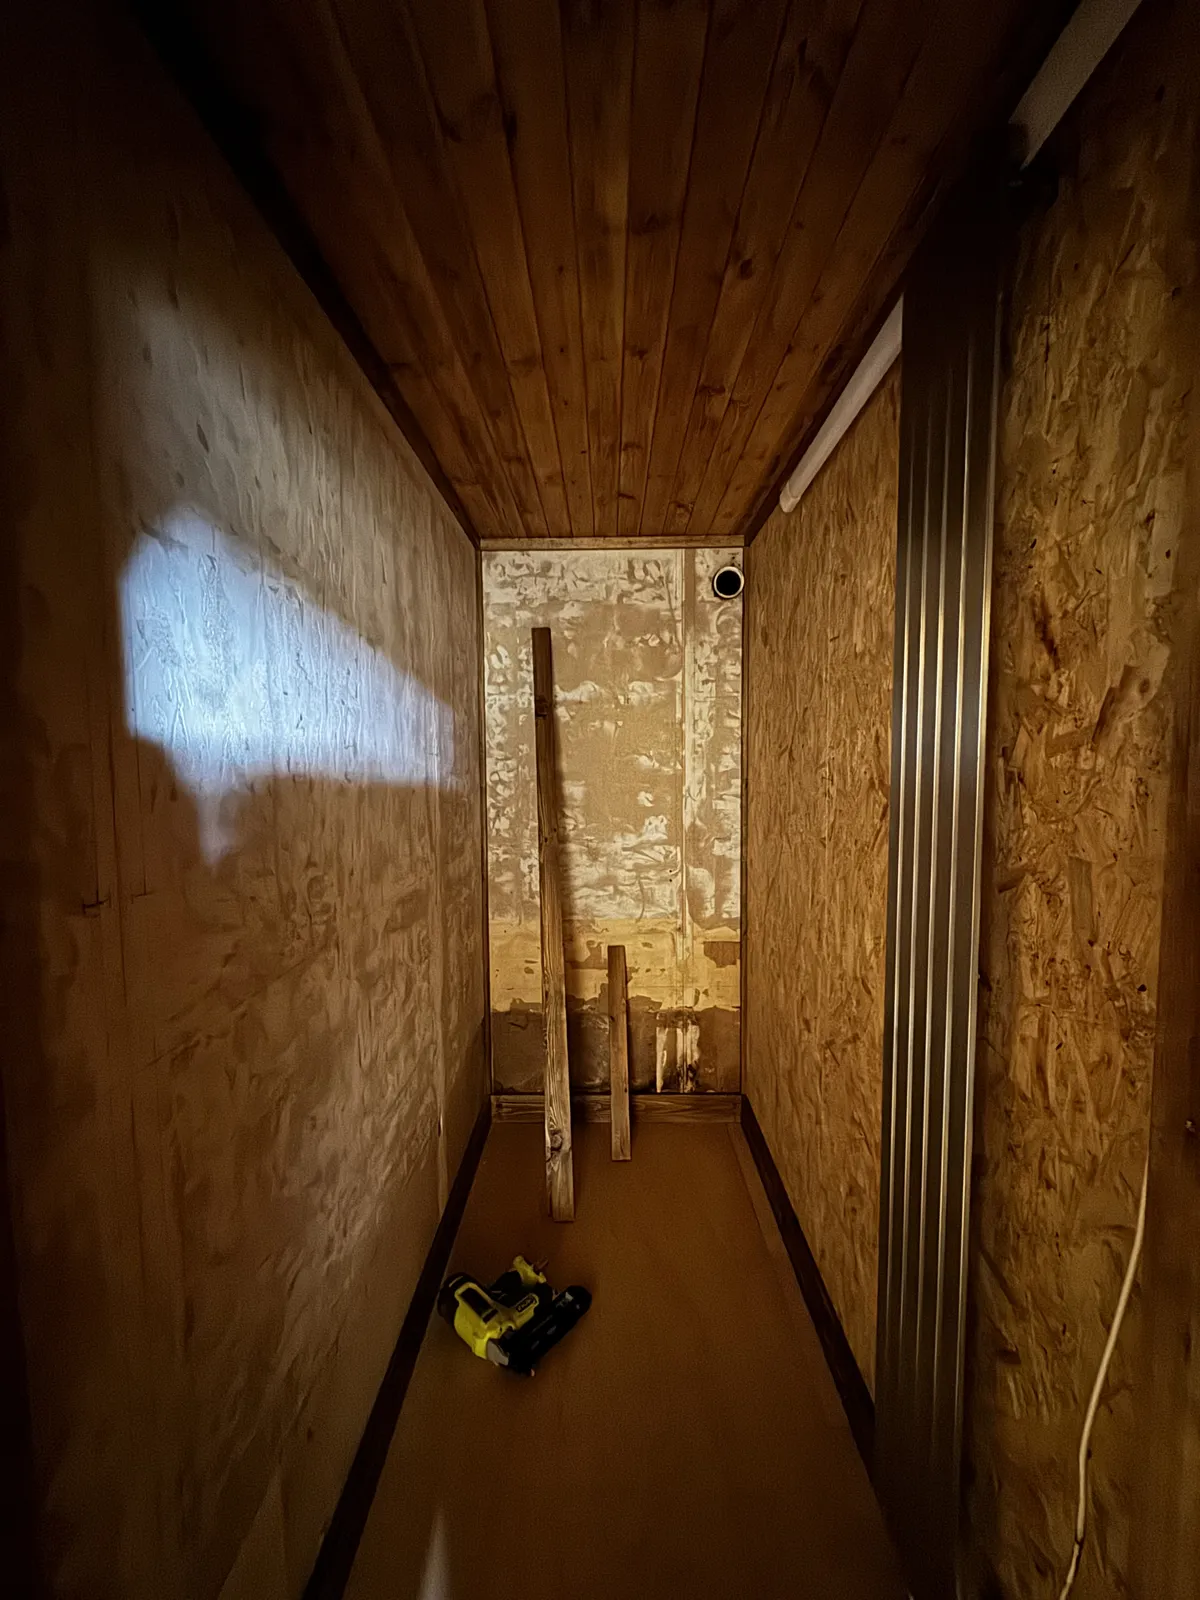
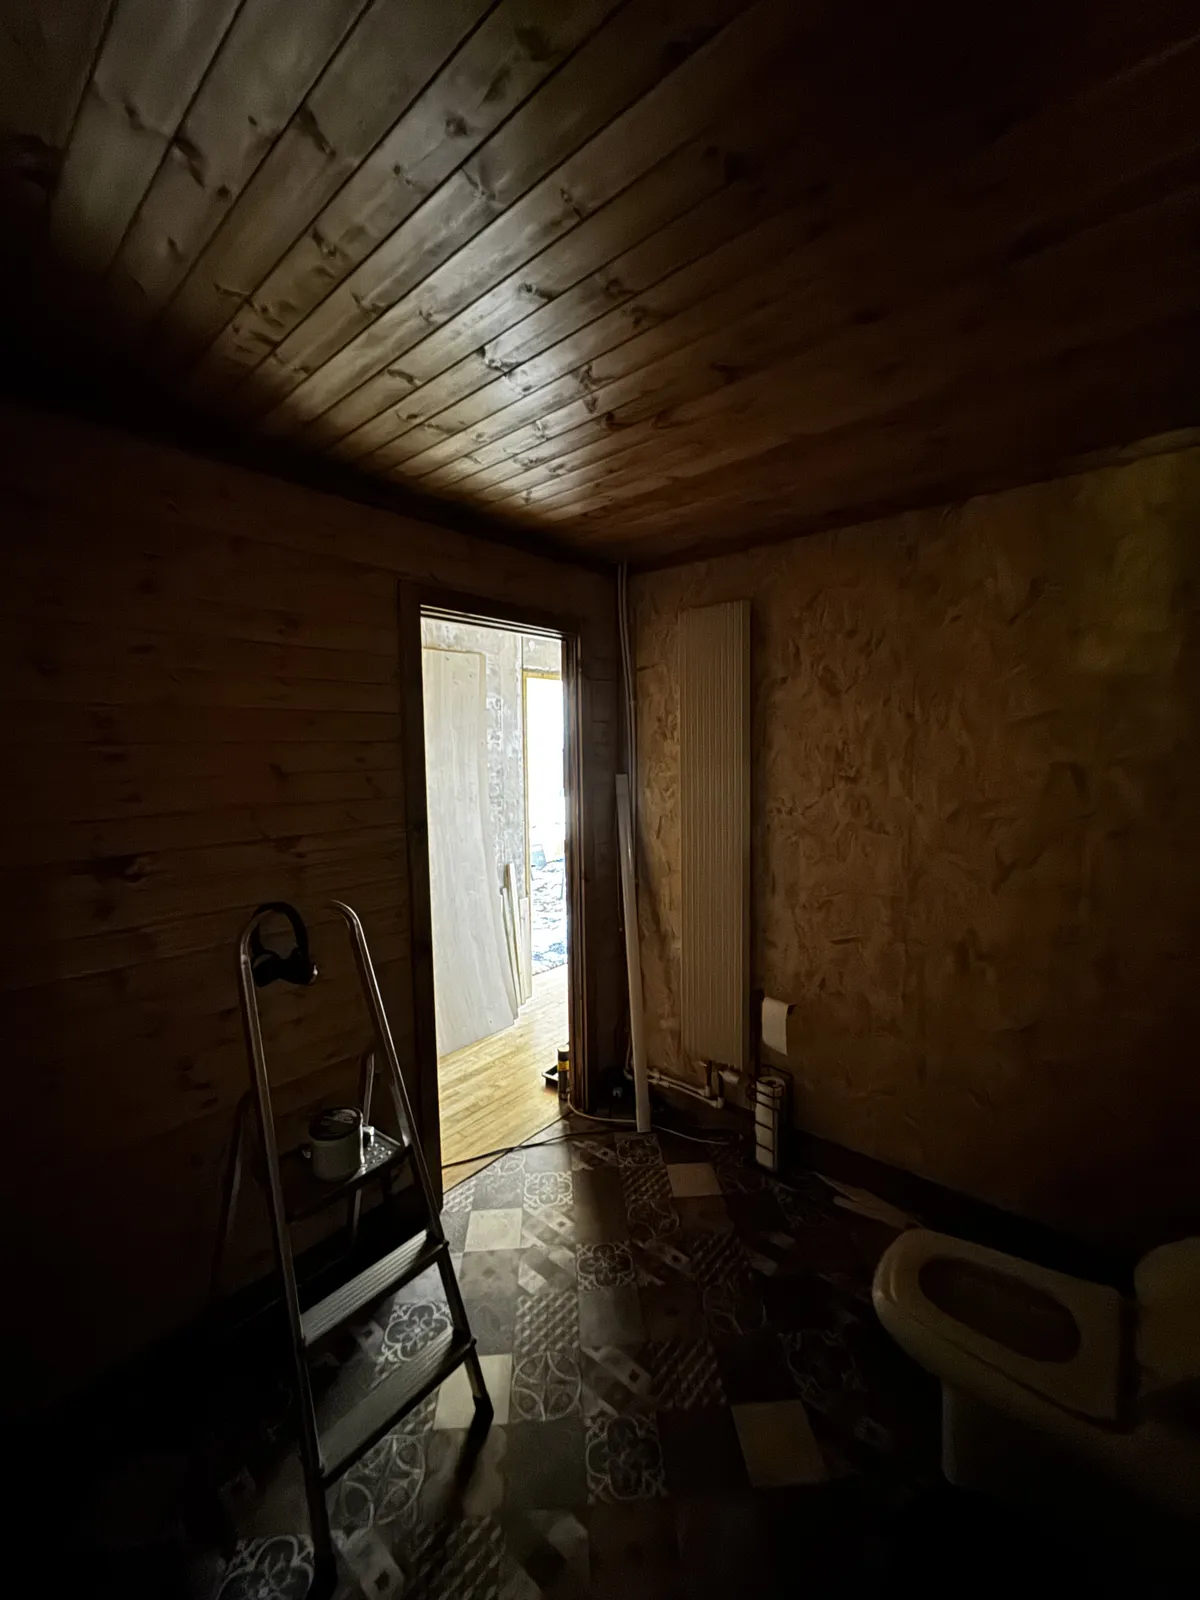
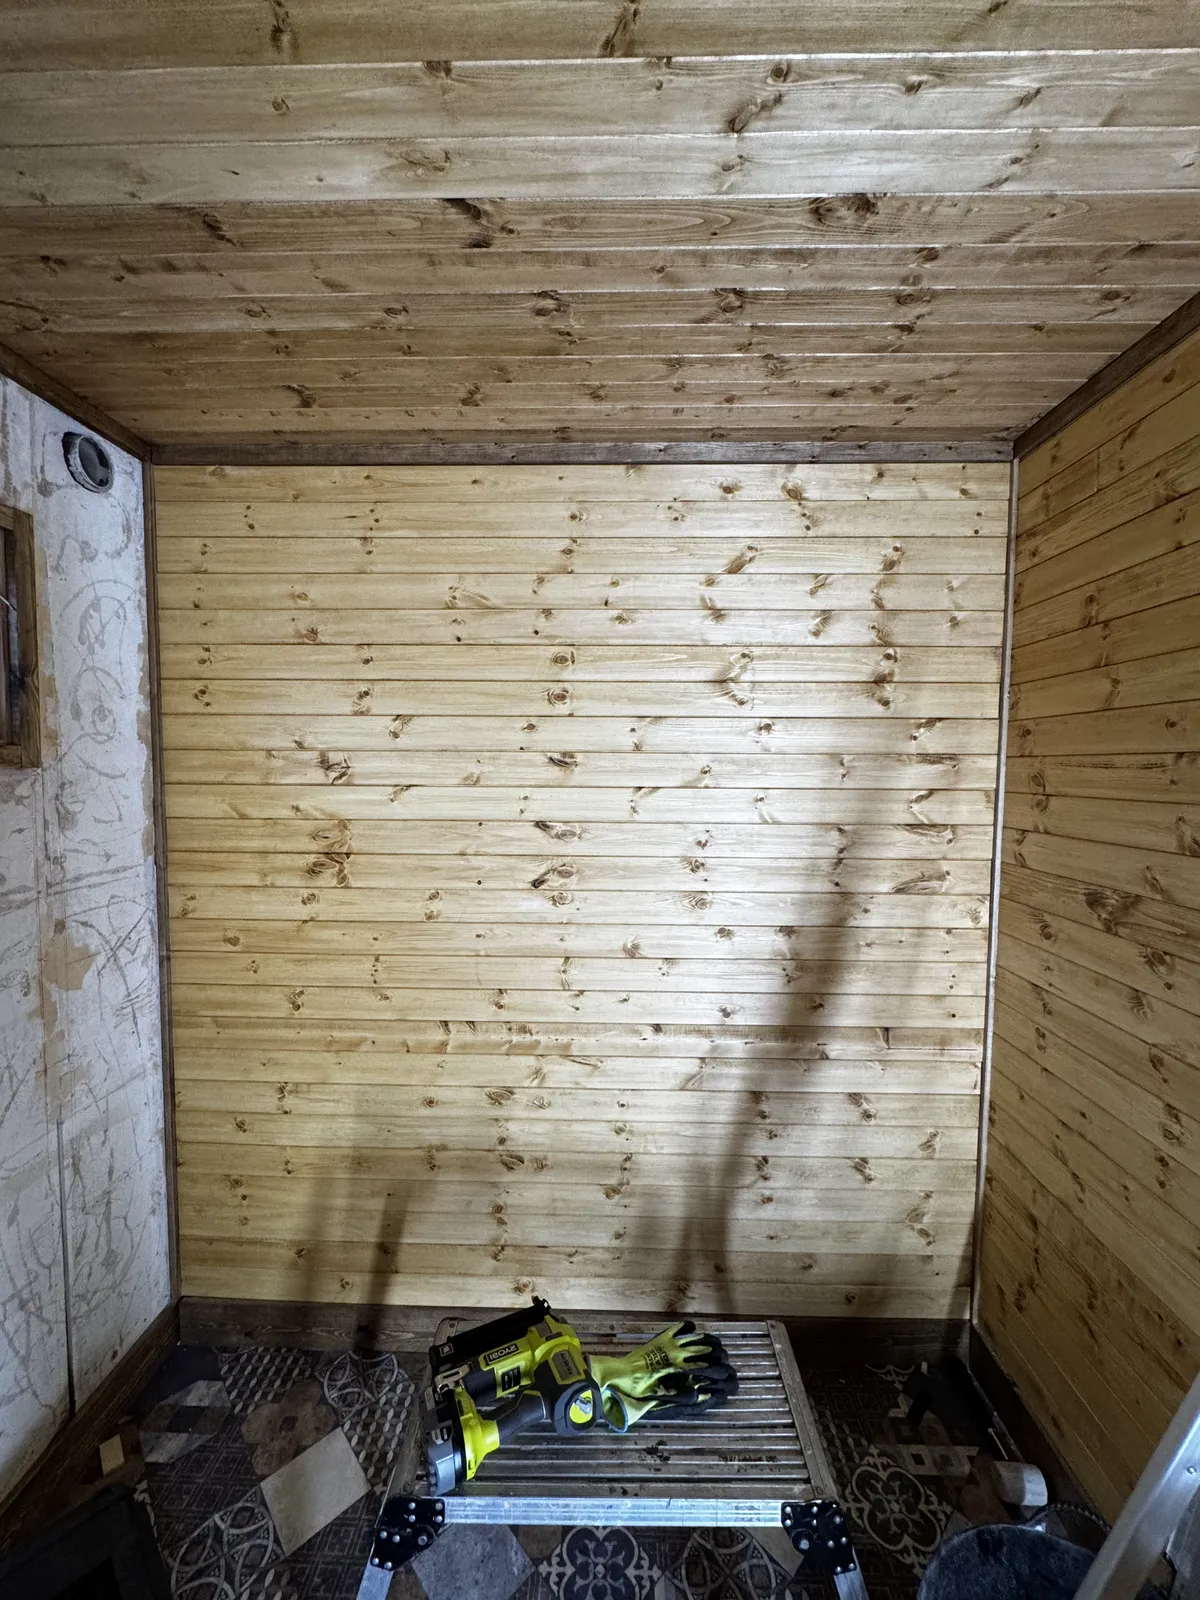
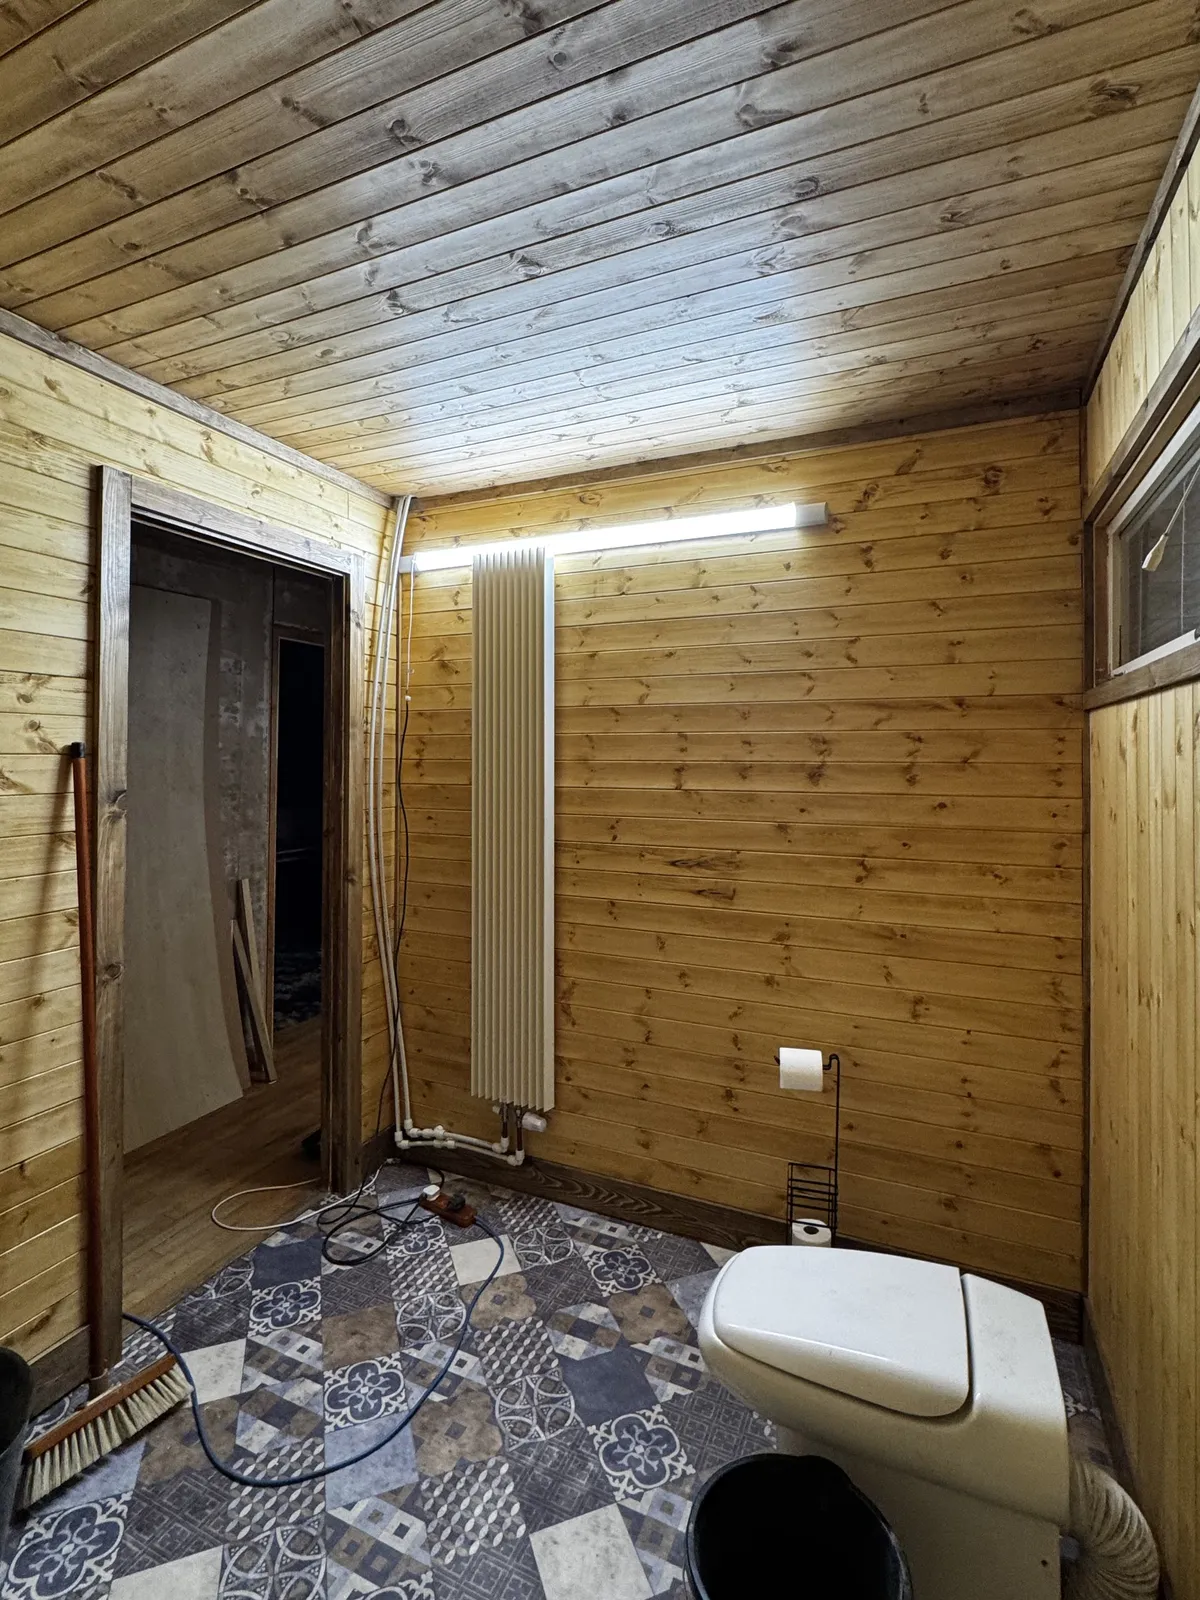
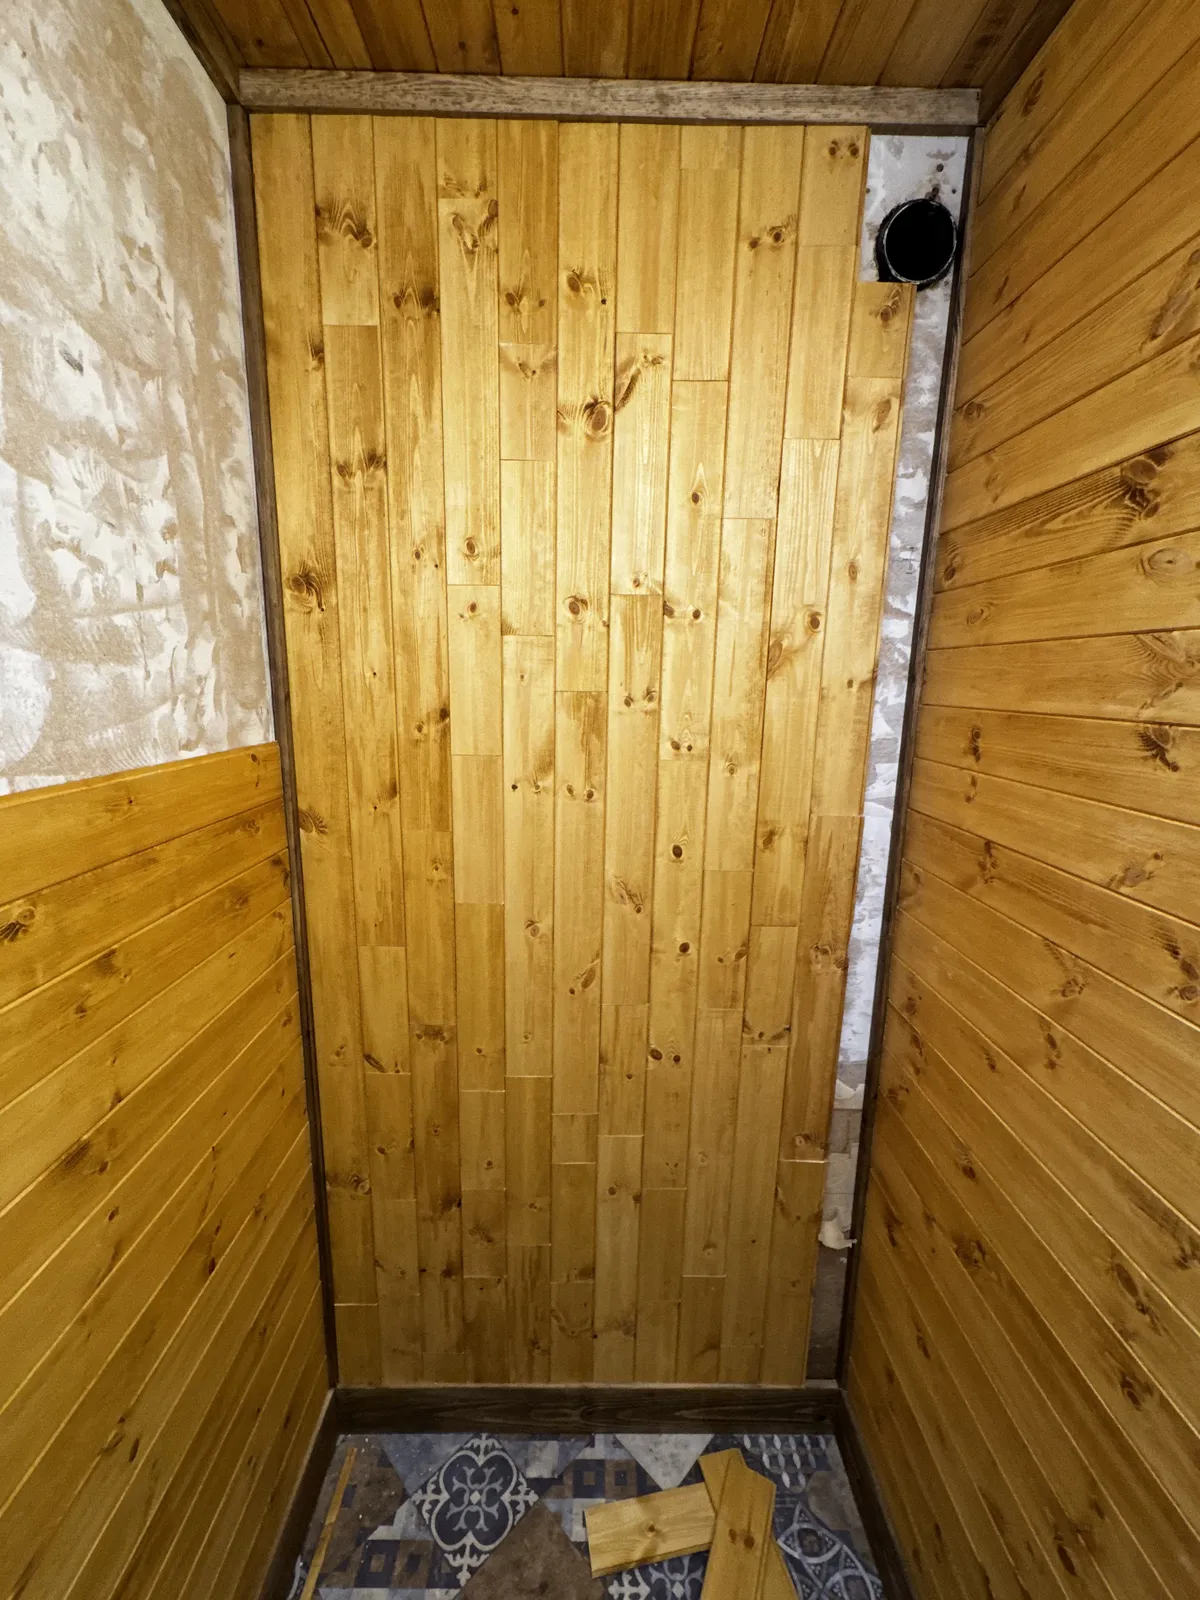

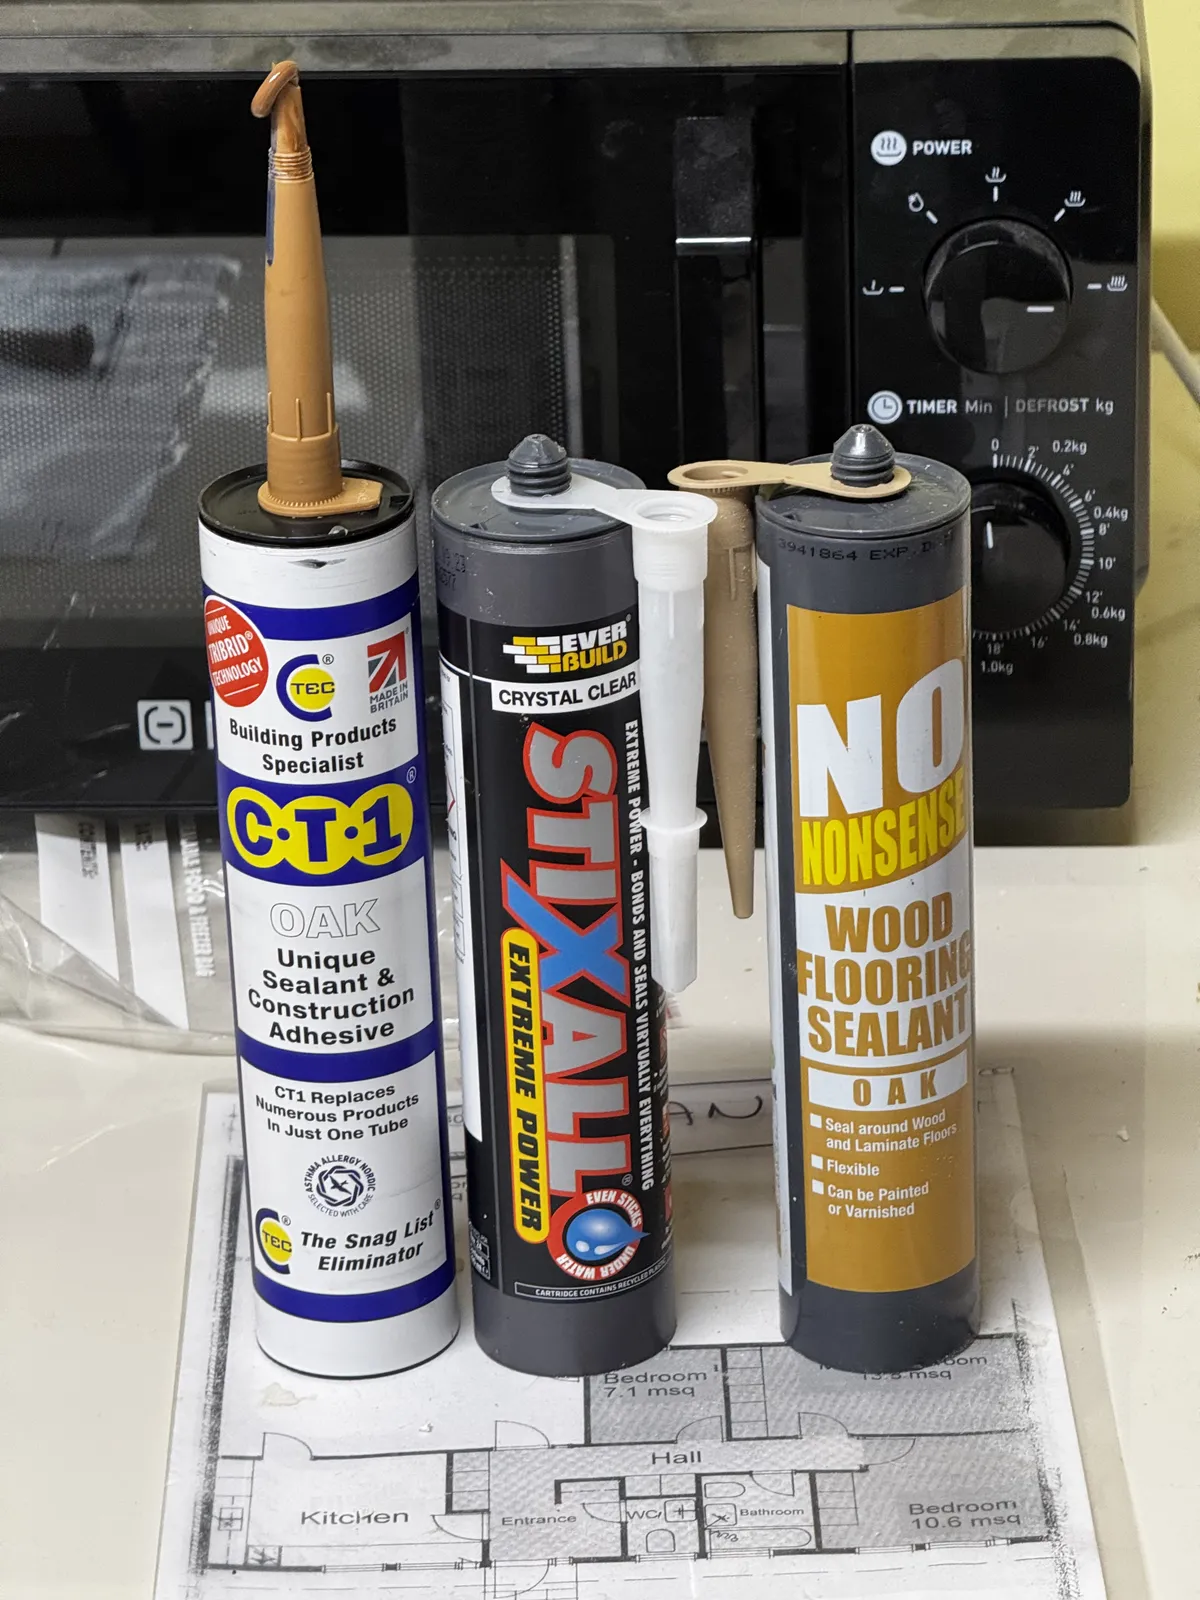
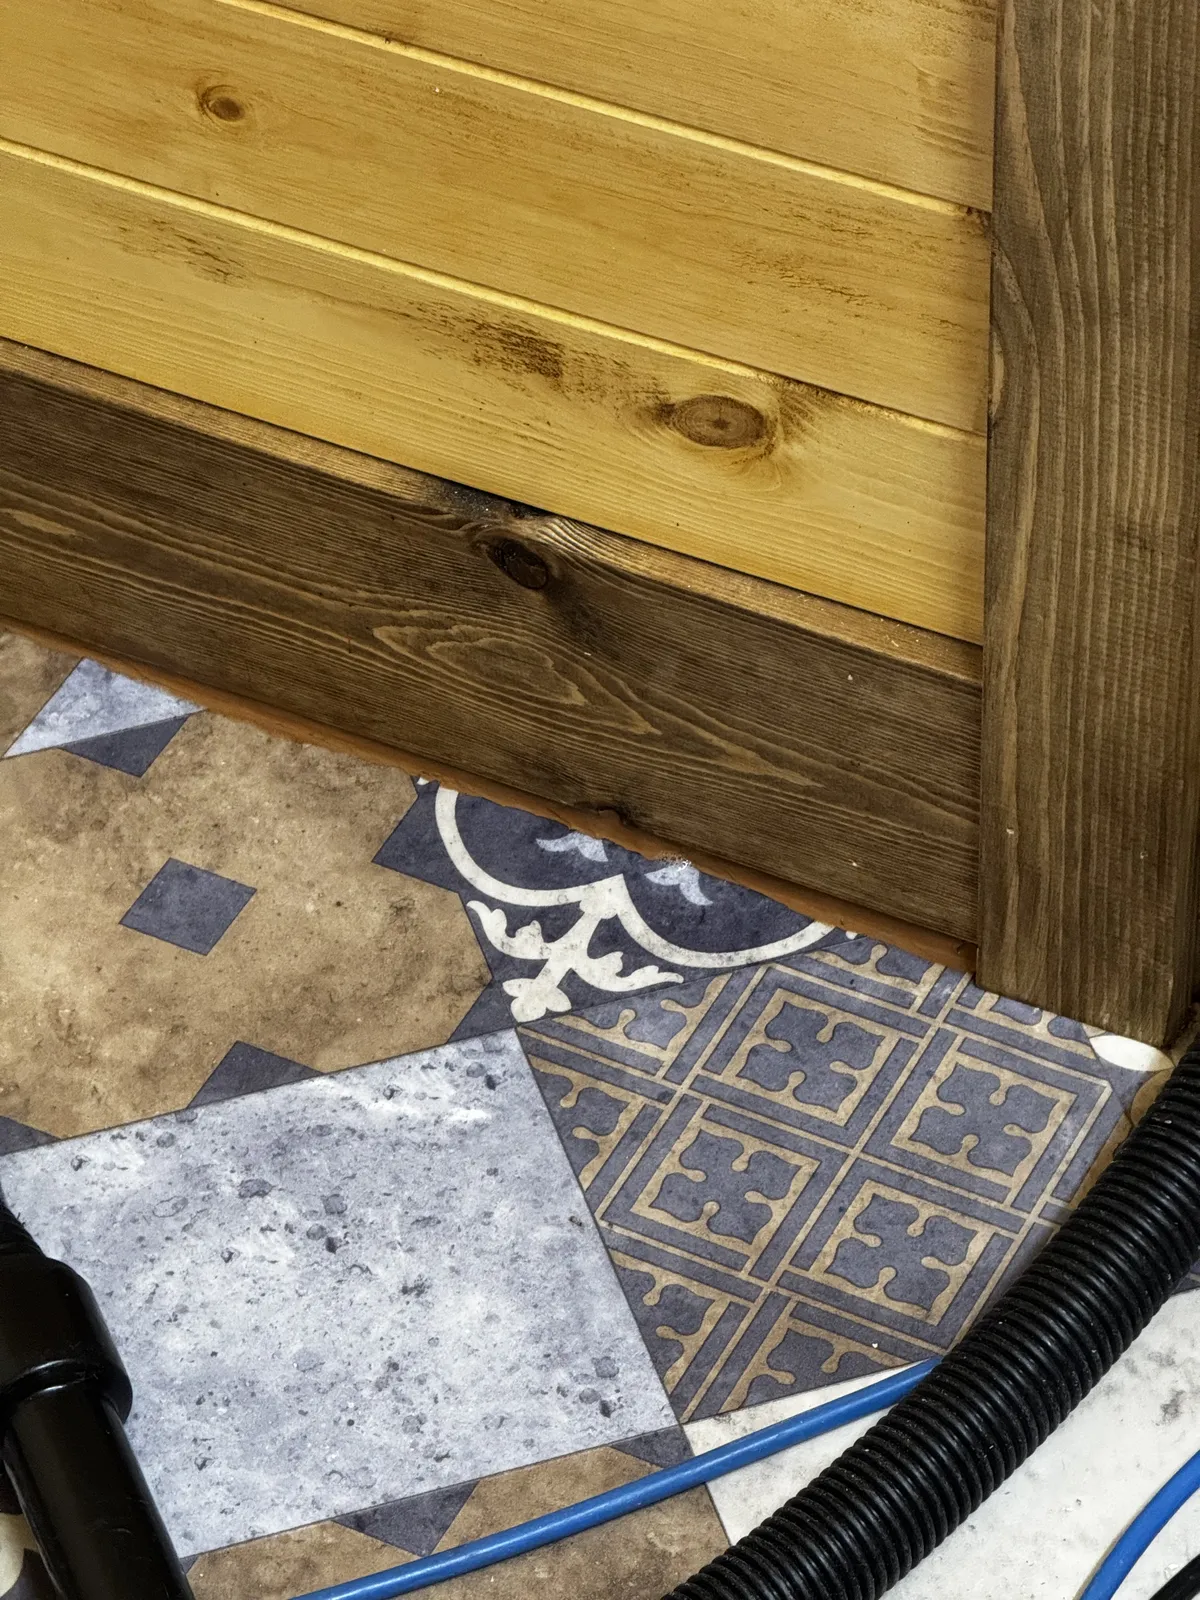
We’ve decided to pin the T&G to the walls and only use adhesive where necessary to seal gaps and maintain the waterproof membrane joins. However, I thought sealing the vinyl floor to the skirting join and the shower room to prevent water tracking underneath would be prudent. This is my first attempt with CT1, a well-regarded, albeit expensive, all-purpose sealant and adhesive.
It’s runnier than my usual Stixall, which is half the price. This makes it easier to apply (I bought a cheap no-brand 18v one) but harder to finish neatly with a soapy wet finger. Interestingly, it’s best to leave it a couple of minutes until it starts to skin over before smoothing it. To be honest, I’d prefer the water-based cheap floor sealant but it’s tripled in price over the past decade and is now the same cost as Stixall, so it’s no longer cheap.
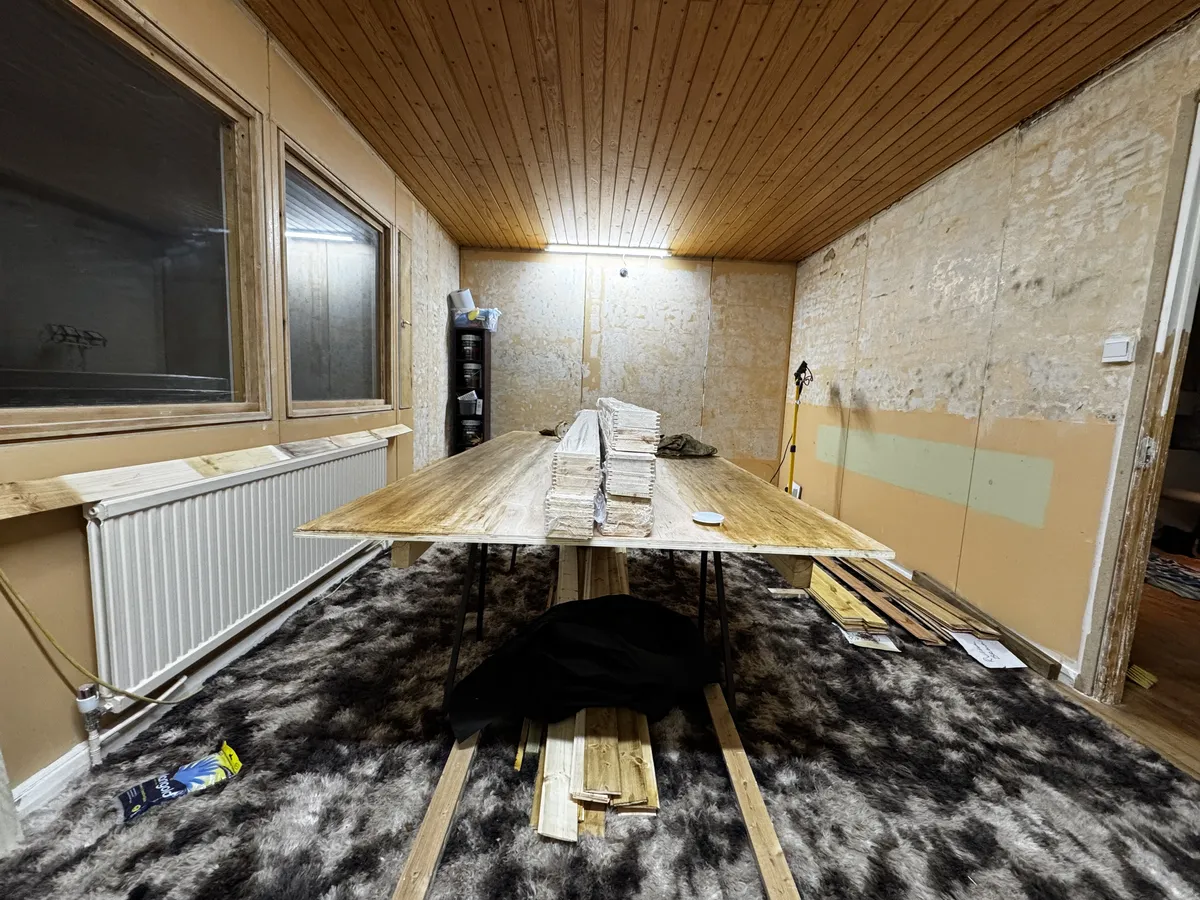
We’ve set up a nice waxing area in the master bedroom using a couple of saw horses and a large sheet of plywood. Donna’s mostly doing it all because I’m struggling with my wrist from all the scraping of the tile adhesive.
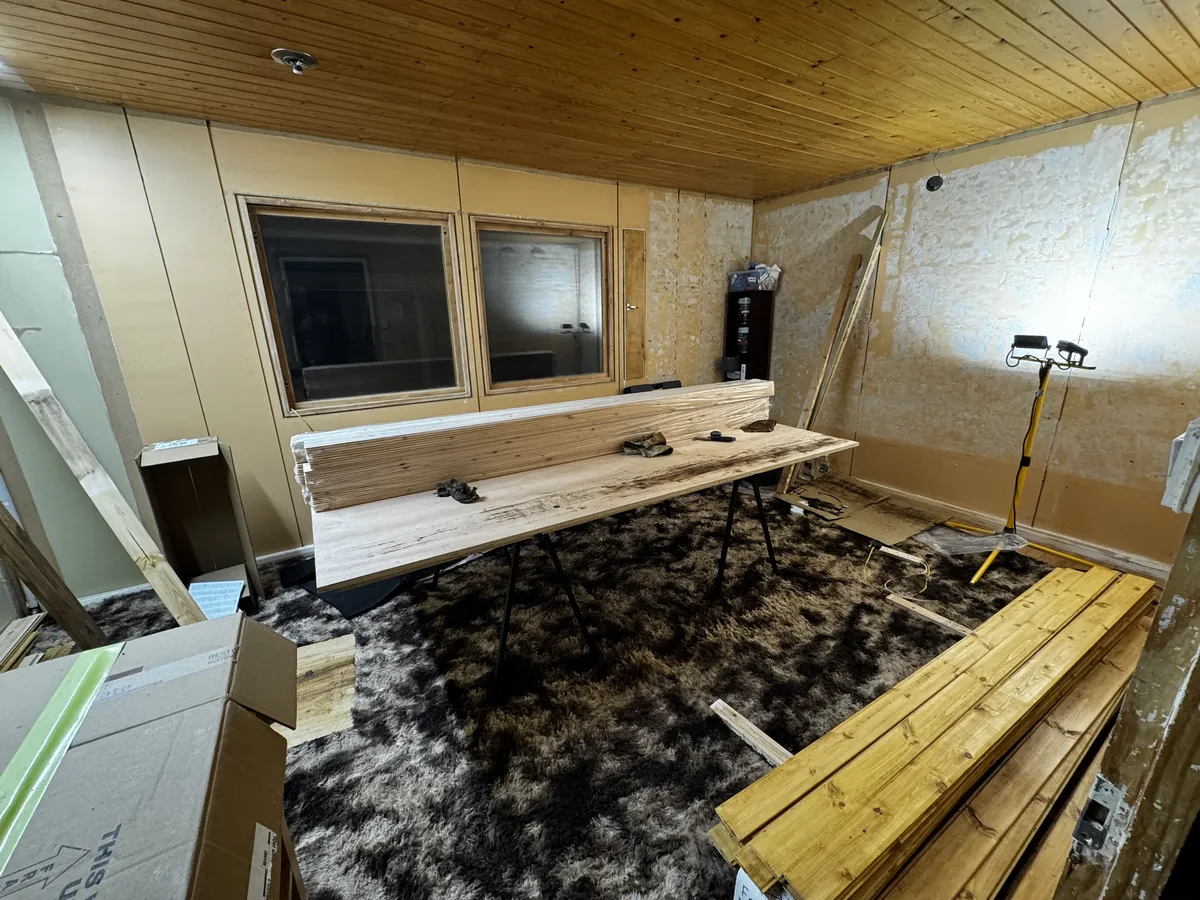
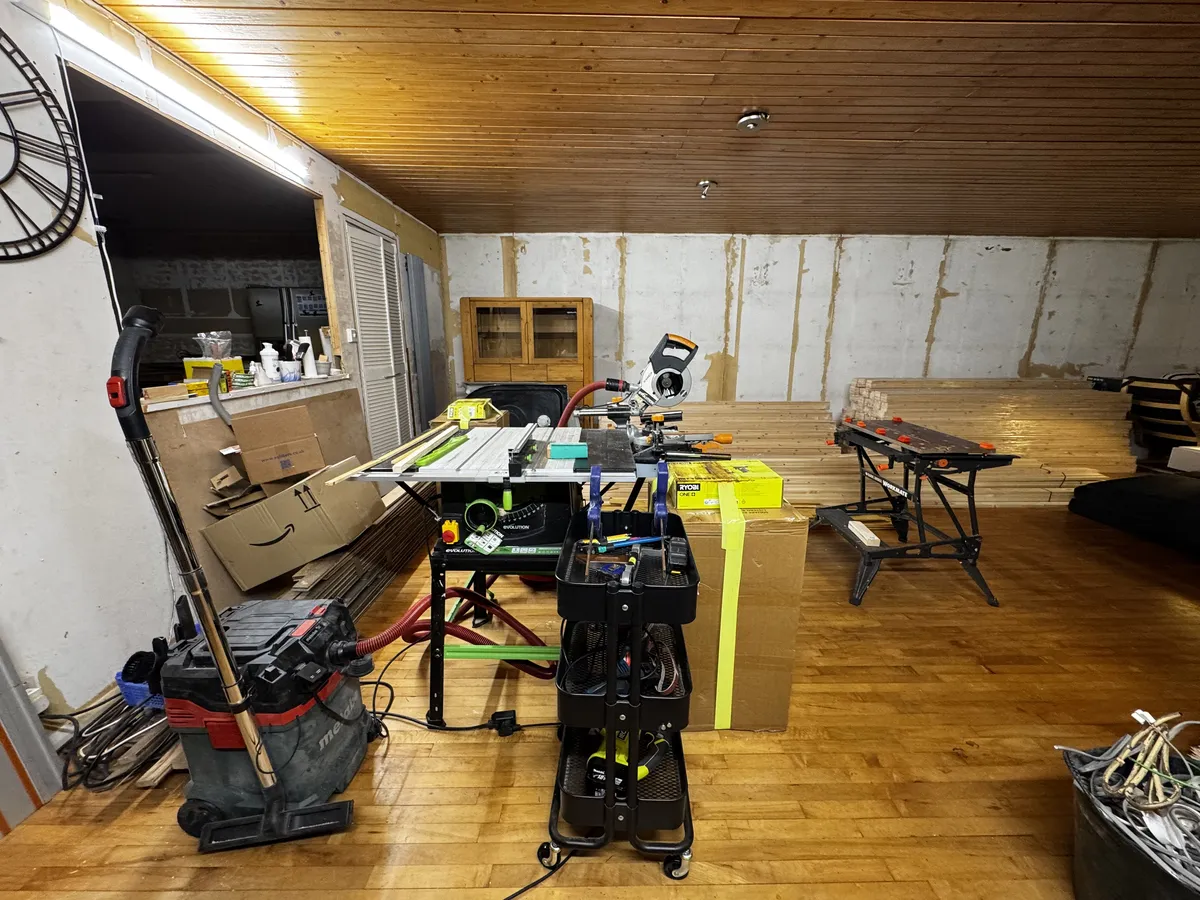
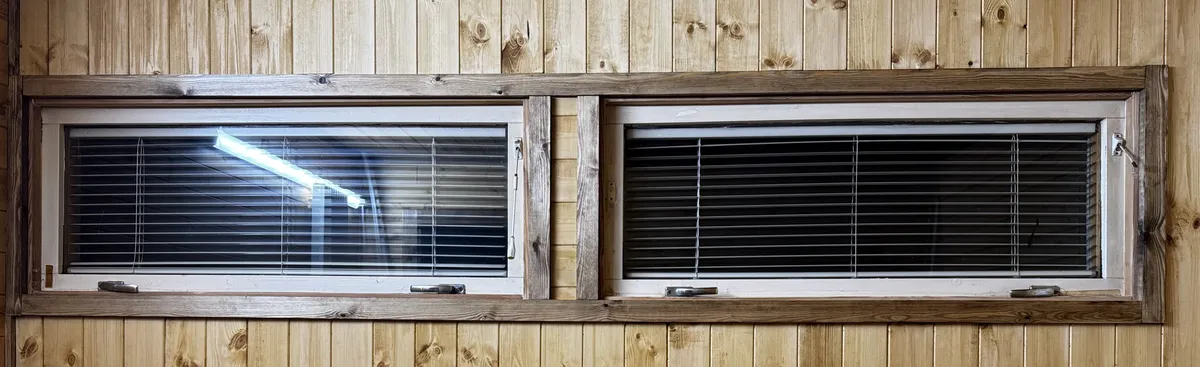
Its now late Sunday night and in preparation I've been sorting some extra lighting.
and hopefully now I can see what im doing in the workshop (end of the living room)