back at it
There has been a bit of a gap in work on the house because we came down with Covid on 12 November, and then my Mum passed away, leaving me to make all the arrangements and start to get her estate sorted for probate, etc.


We did start back on the house just before Christmas, but I just haven’t found time or motivation to blog it.
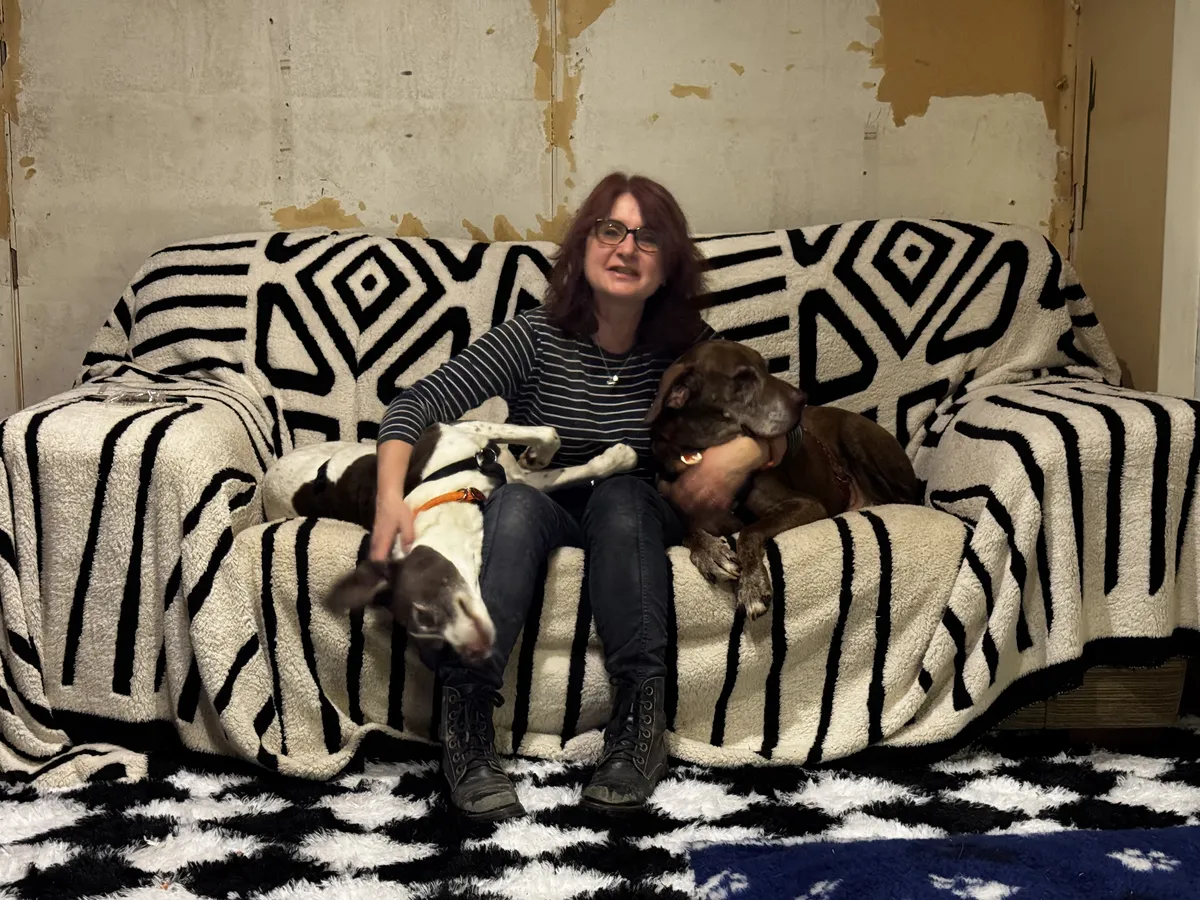
On the plus side, the dogs are much more comfortable at the new house since we made the end of the living room more cosy 👍

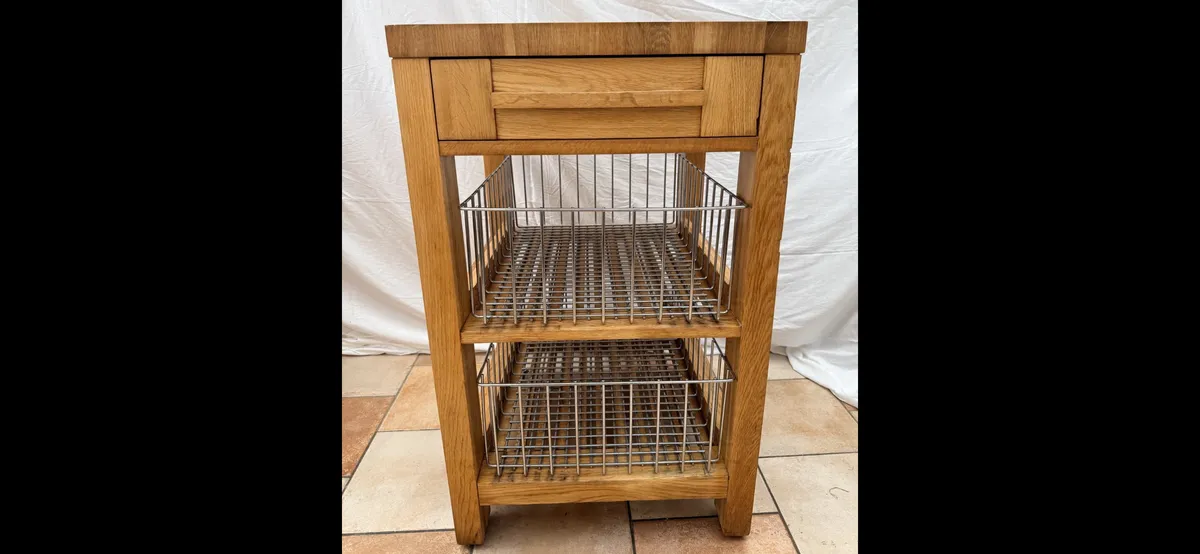
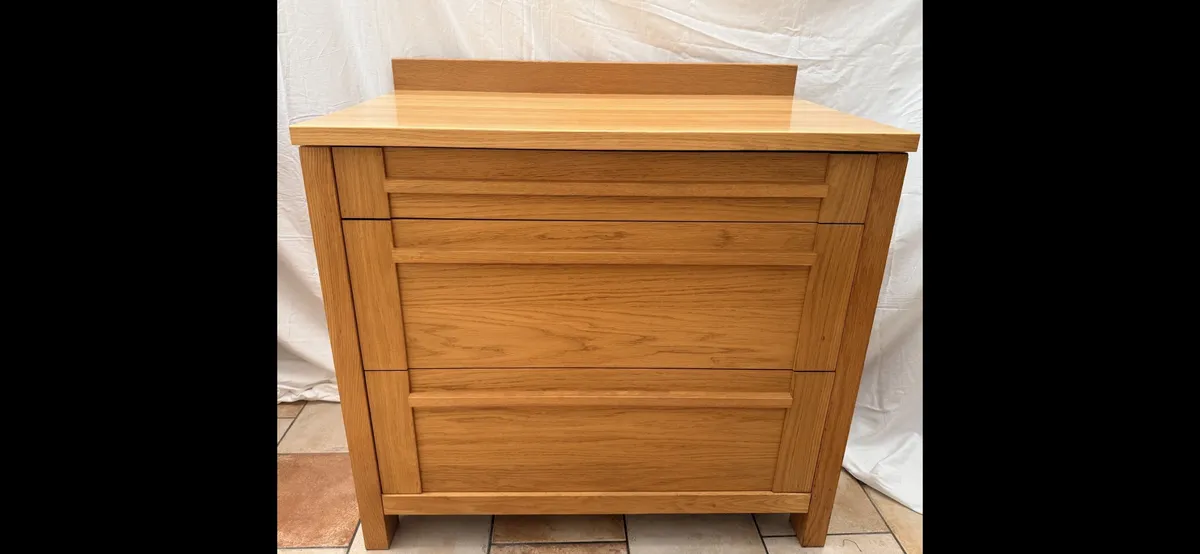
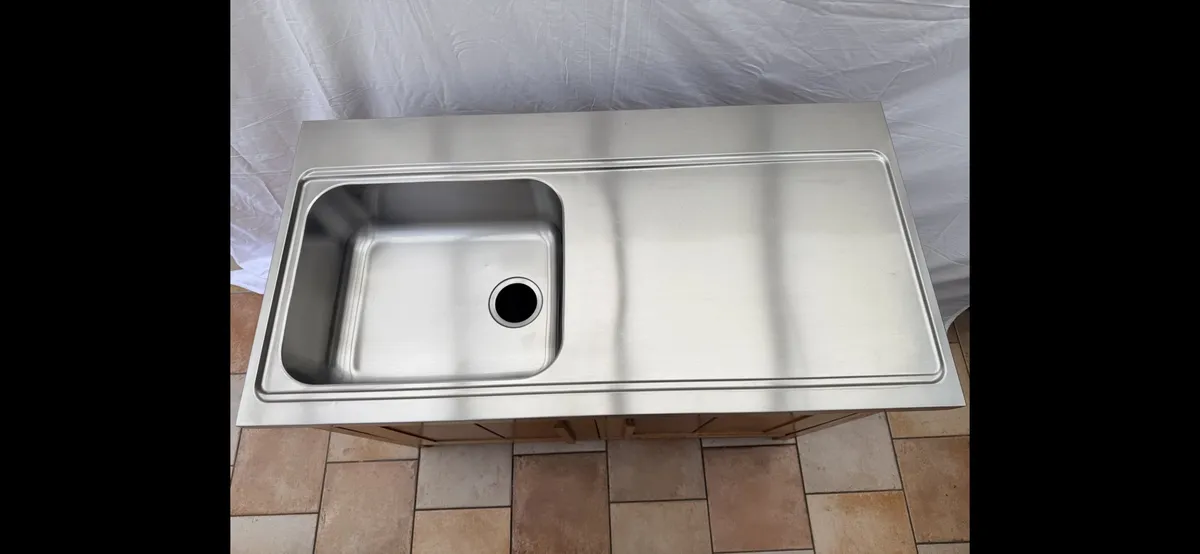
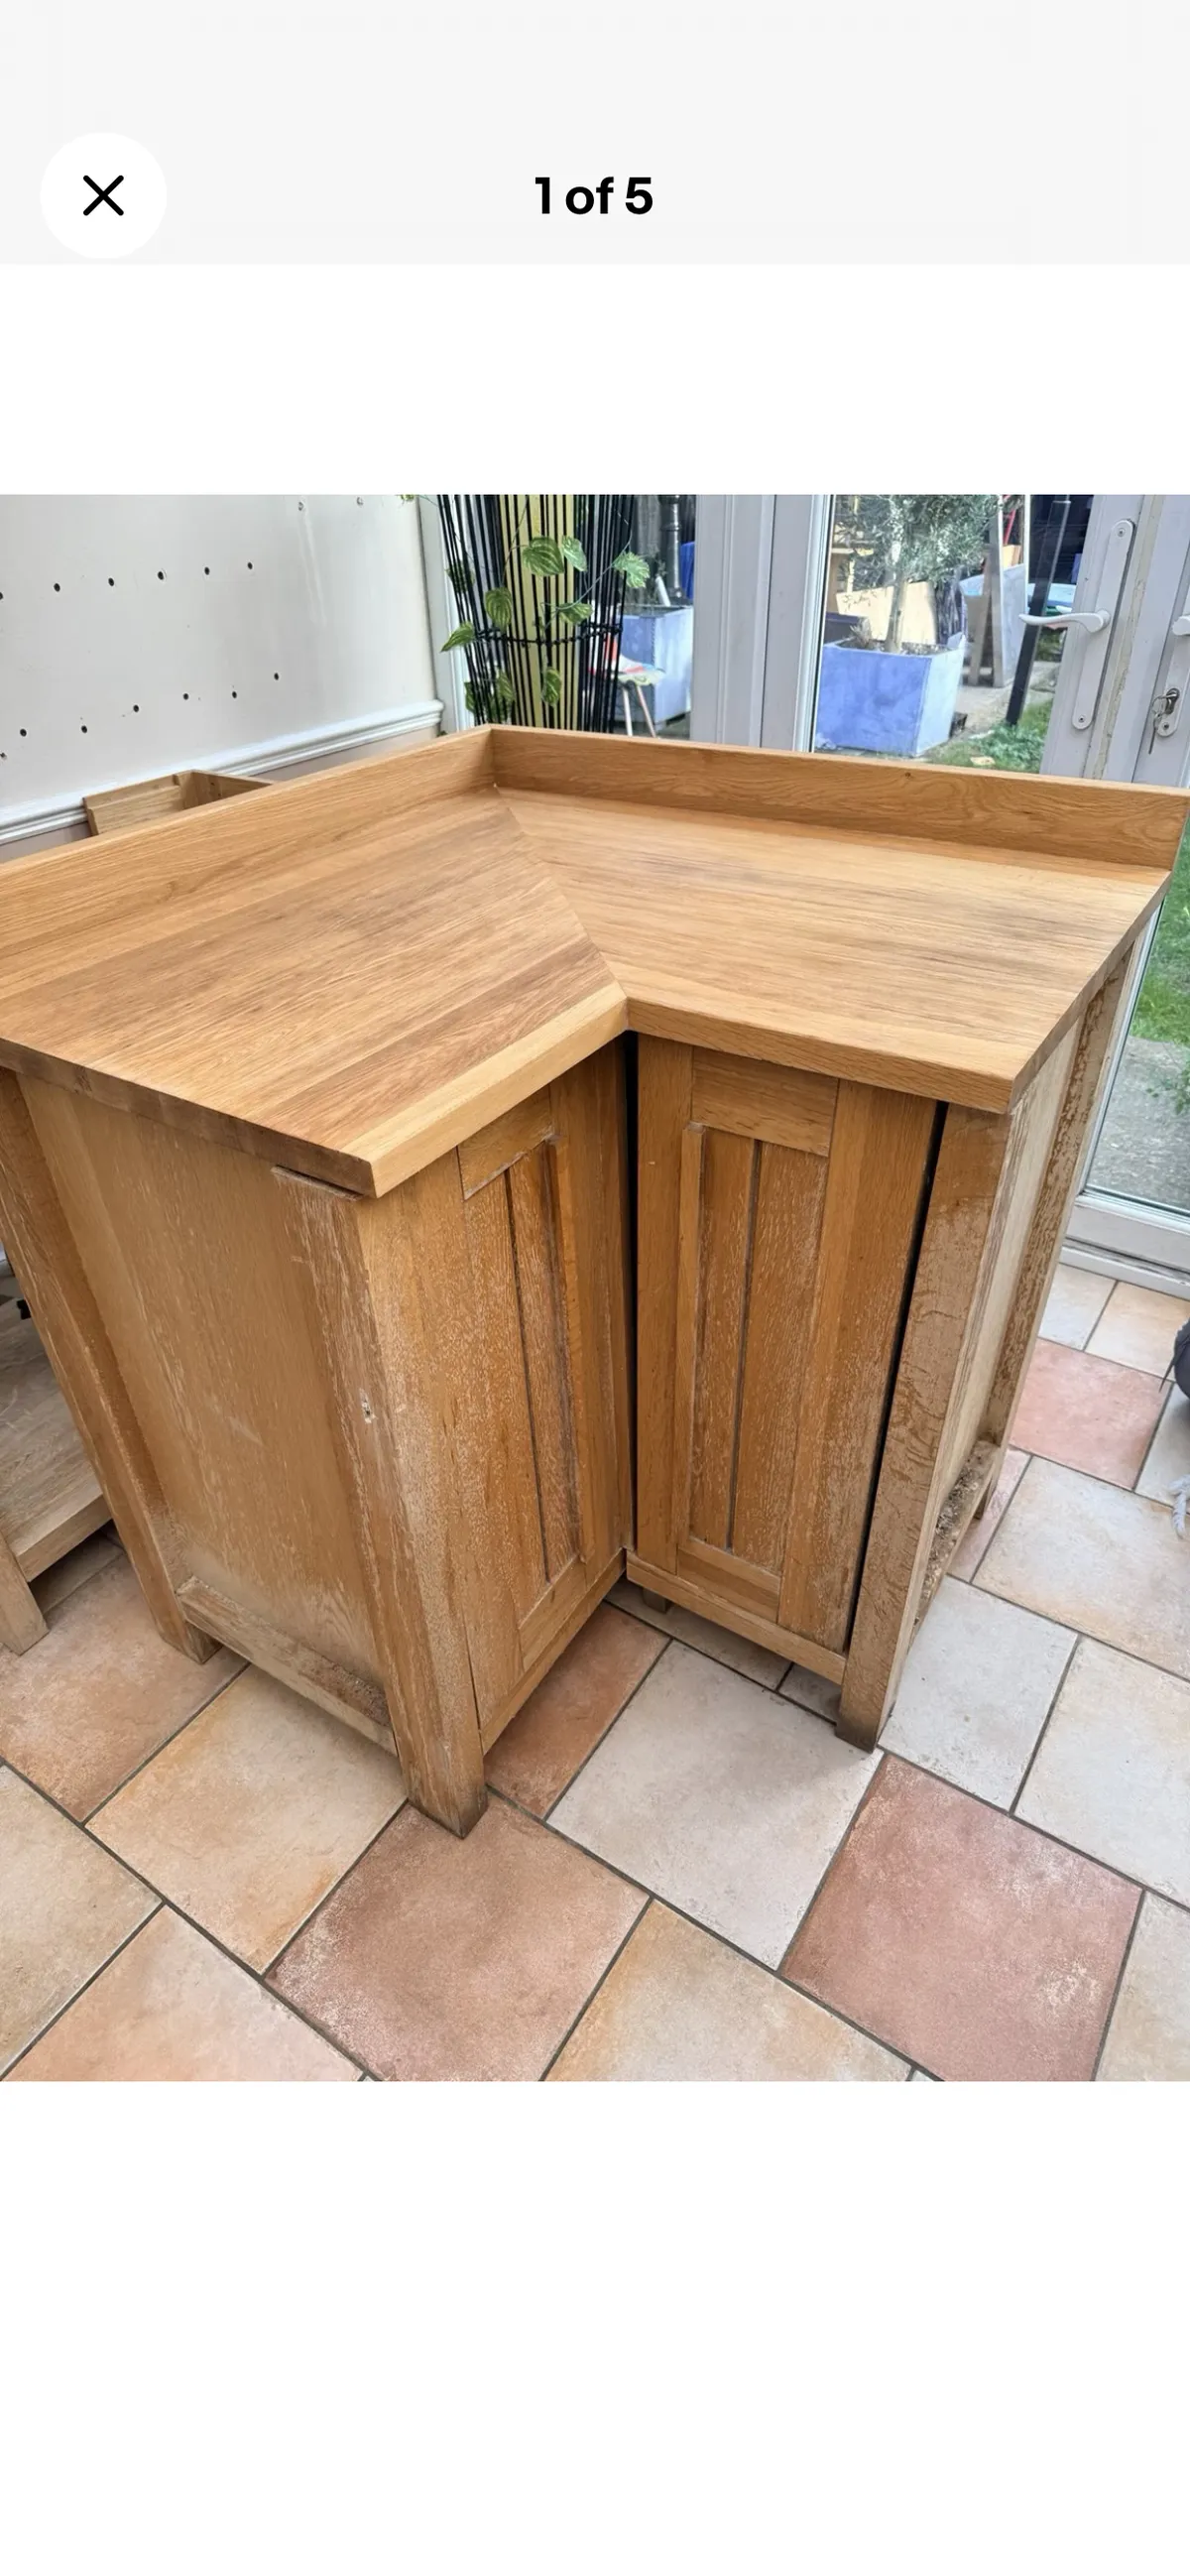
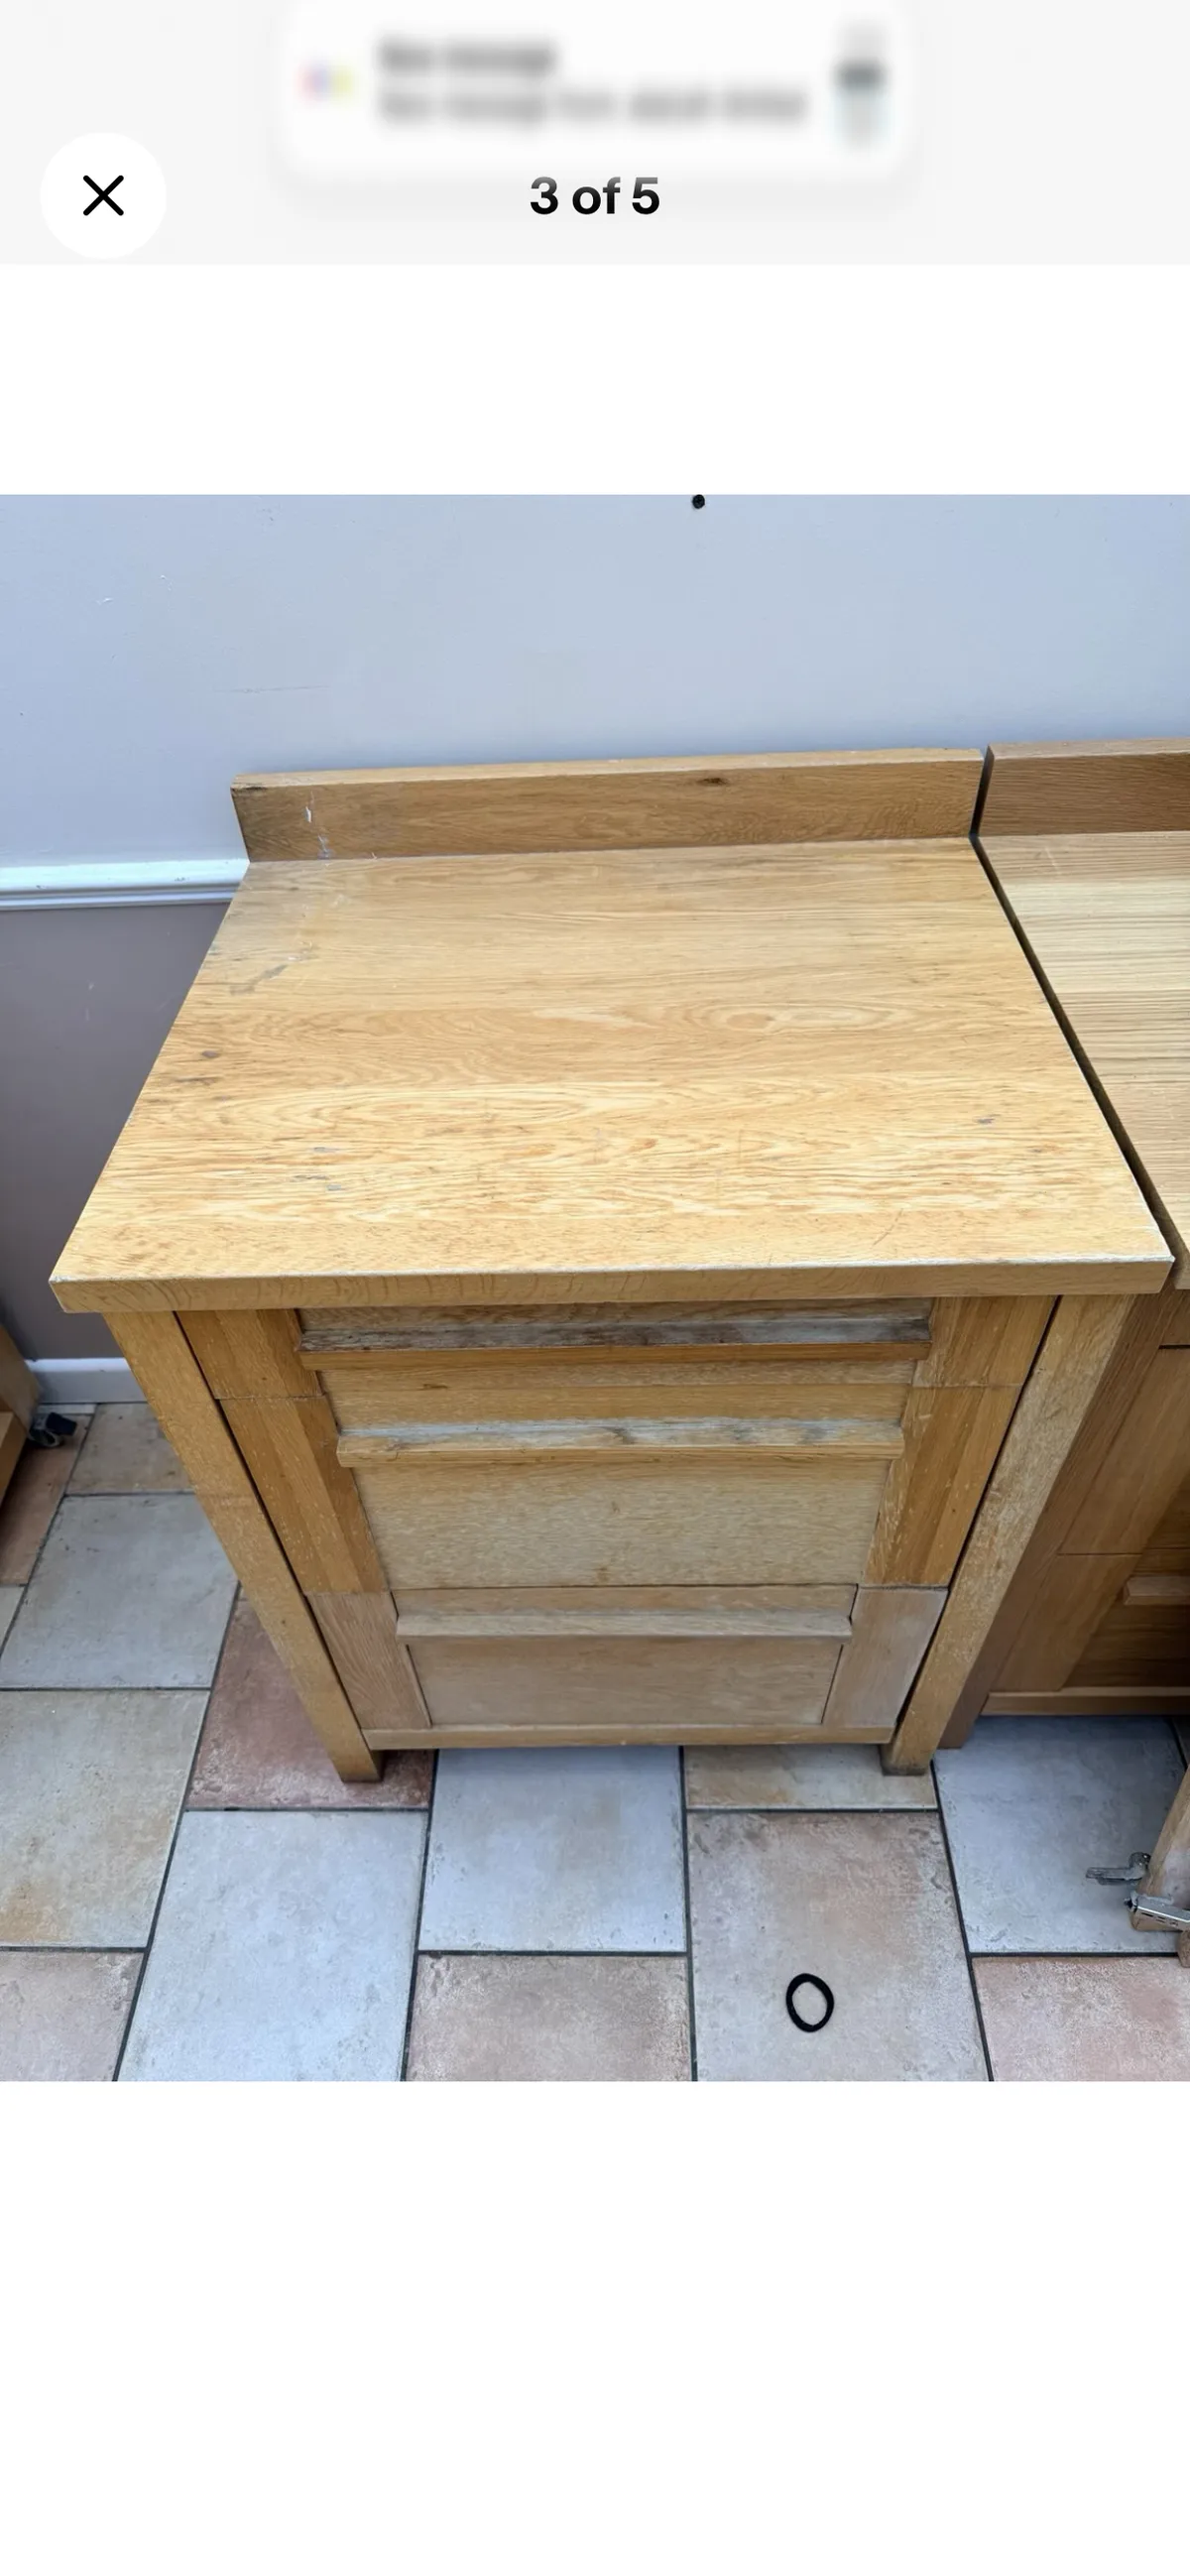
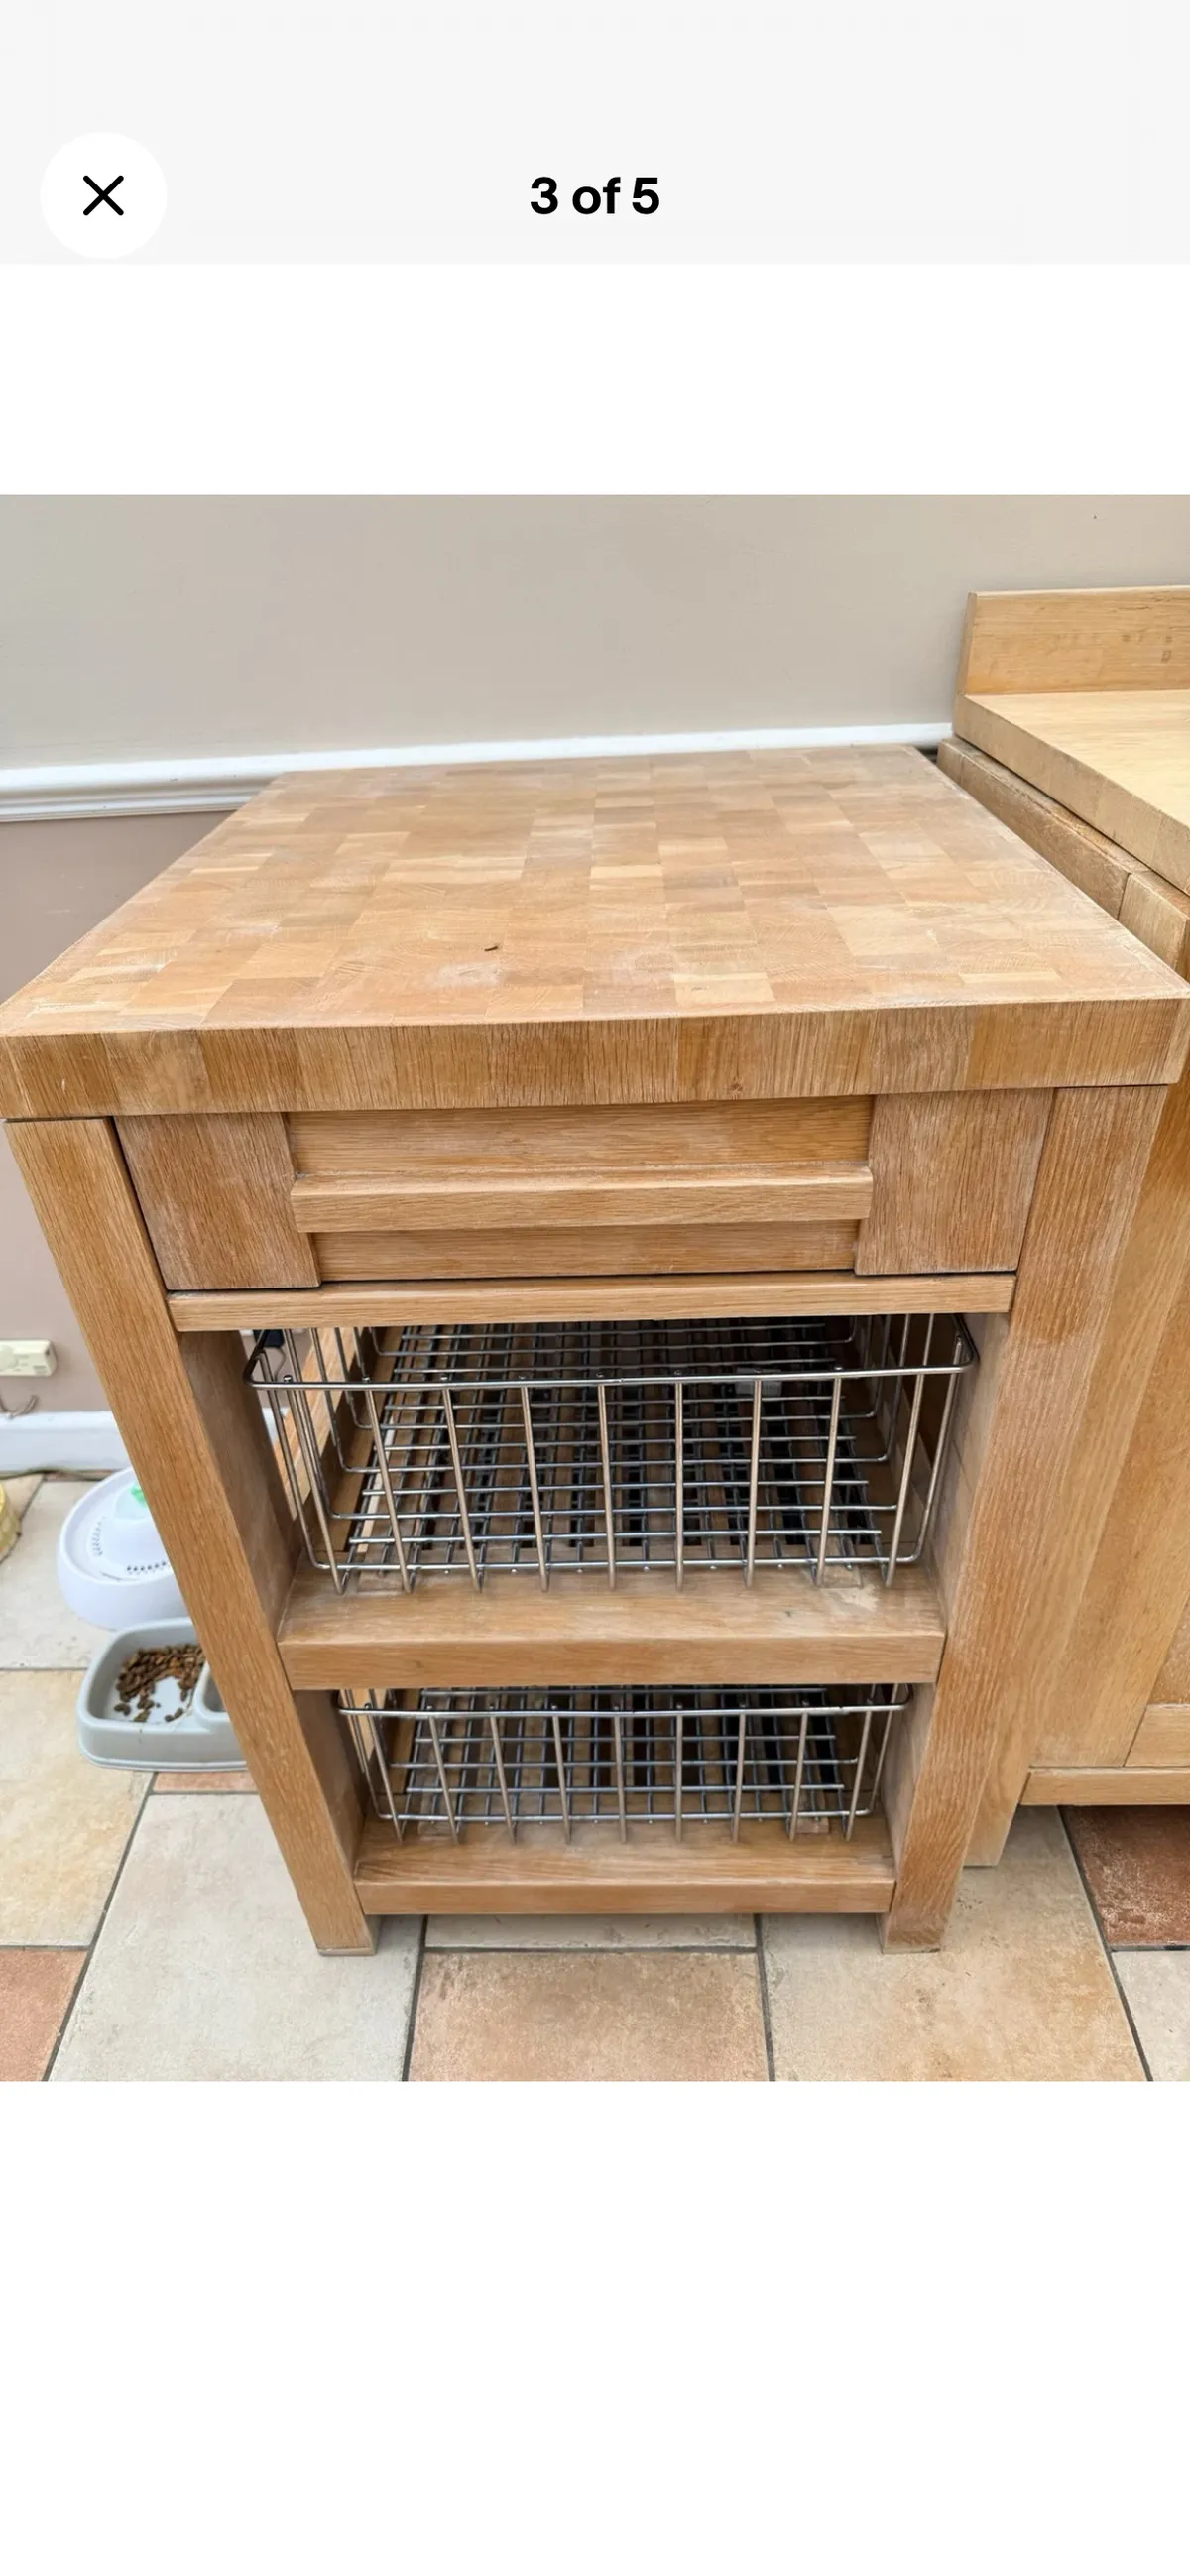
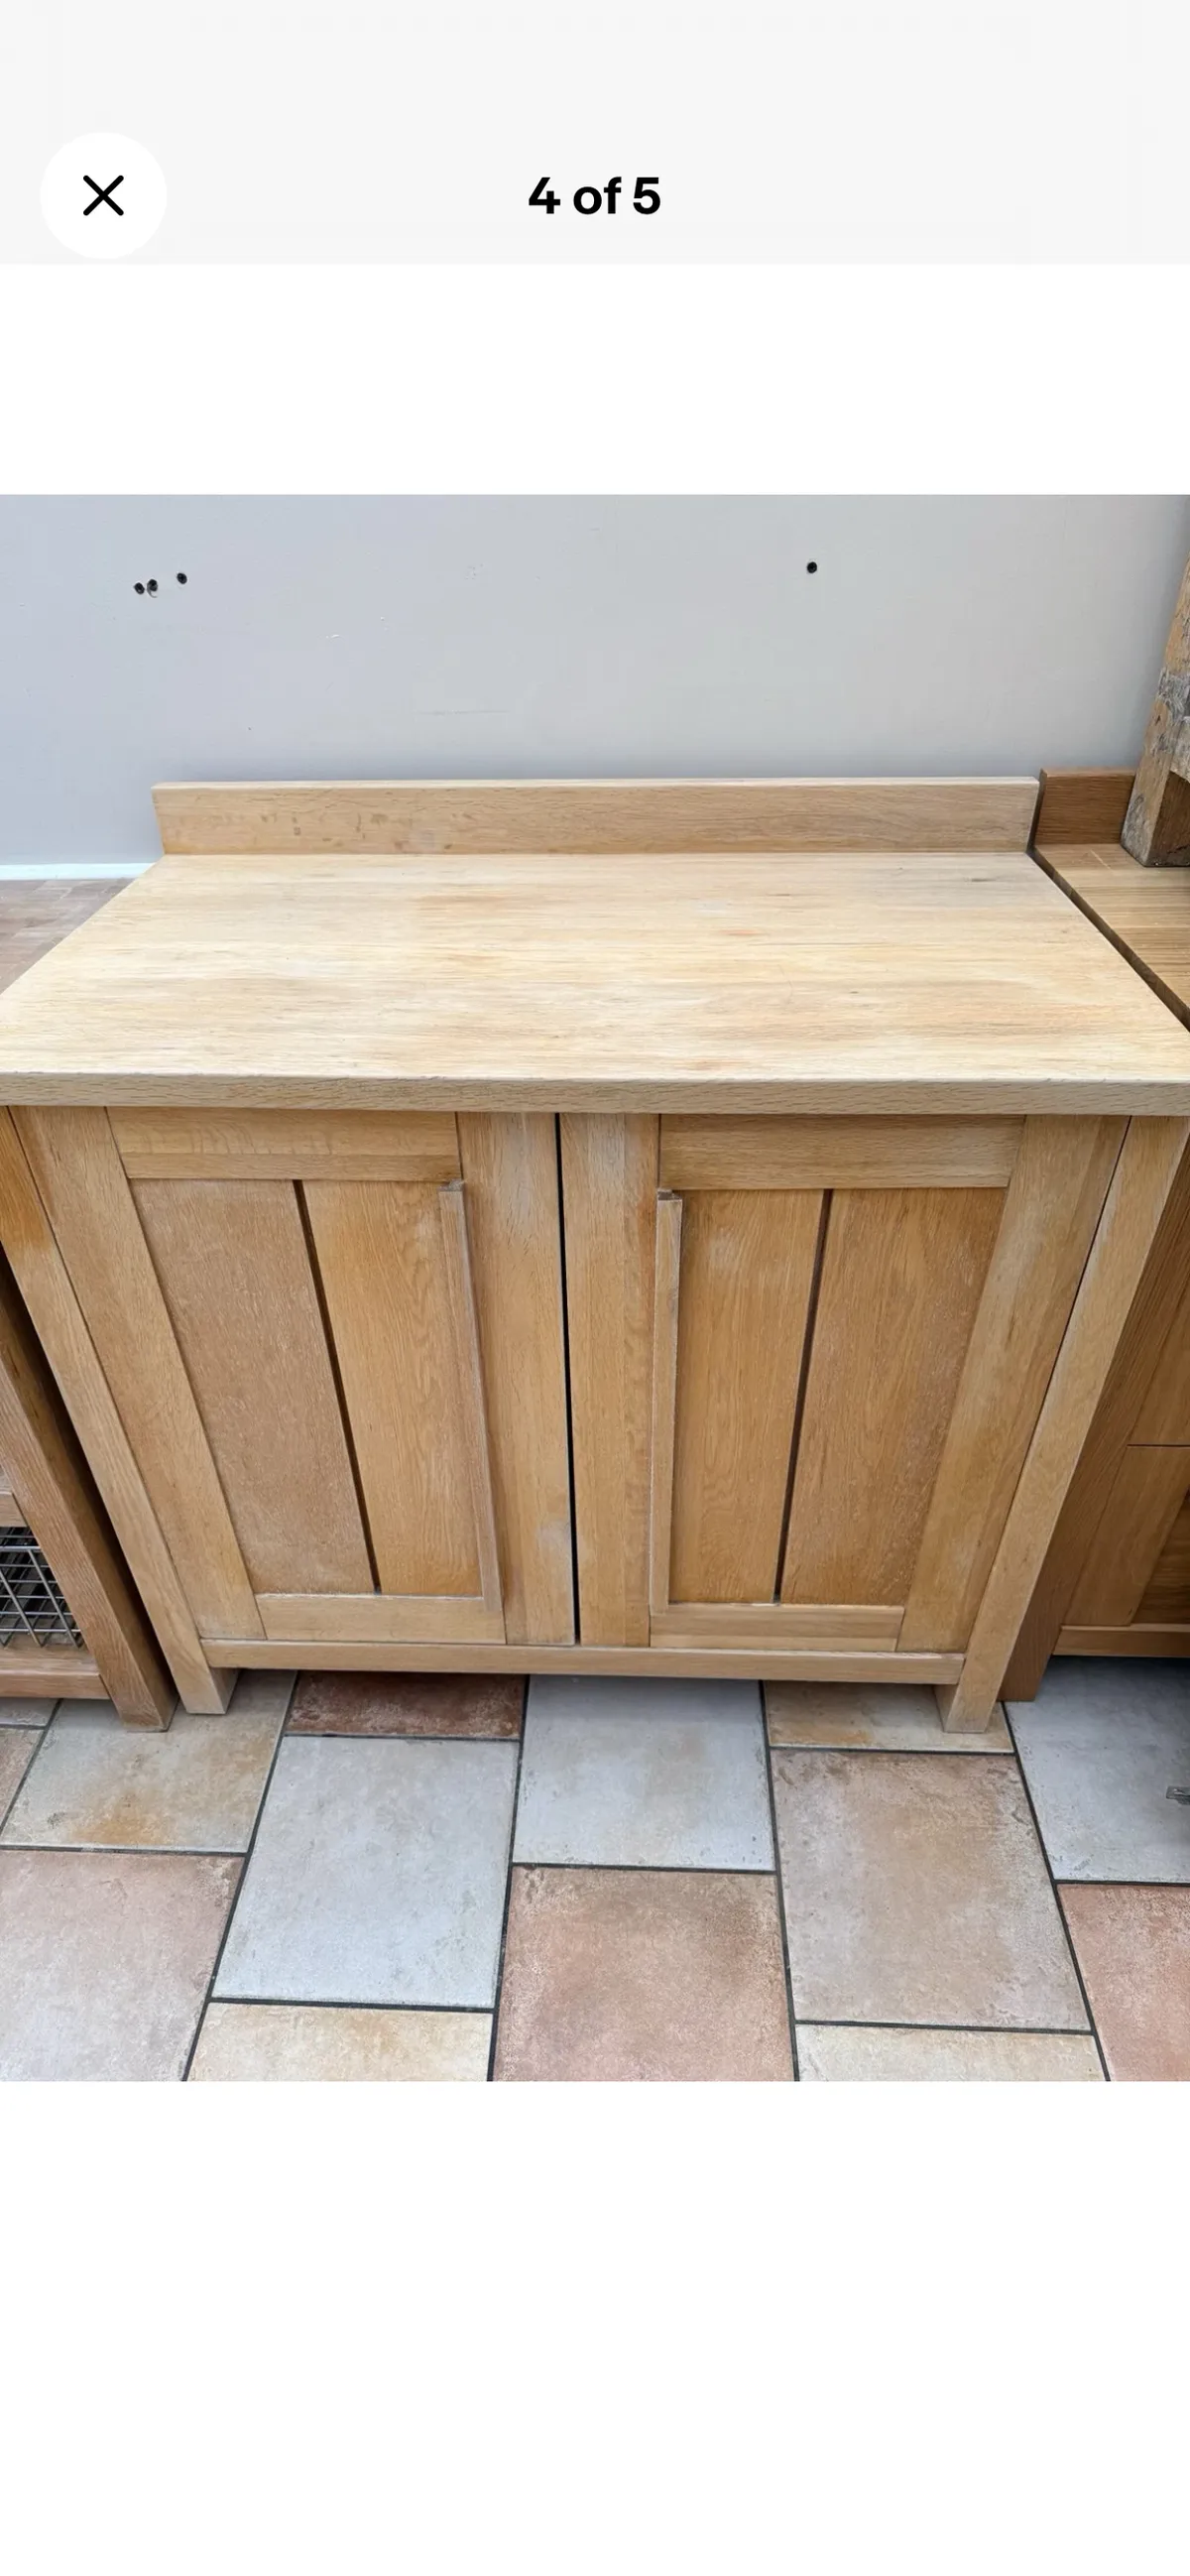
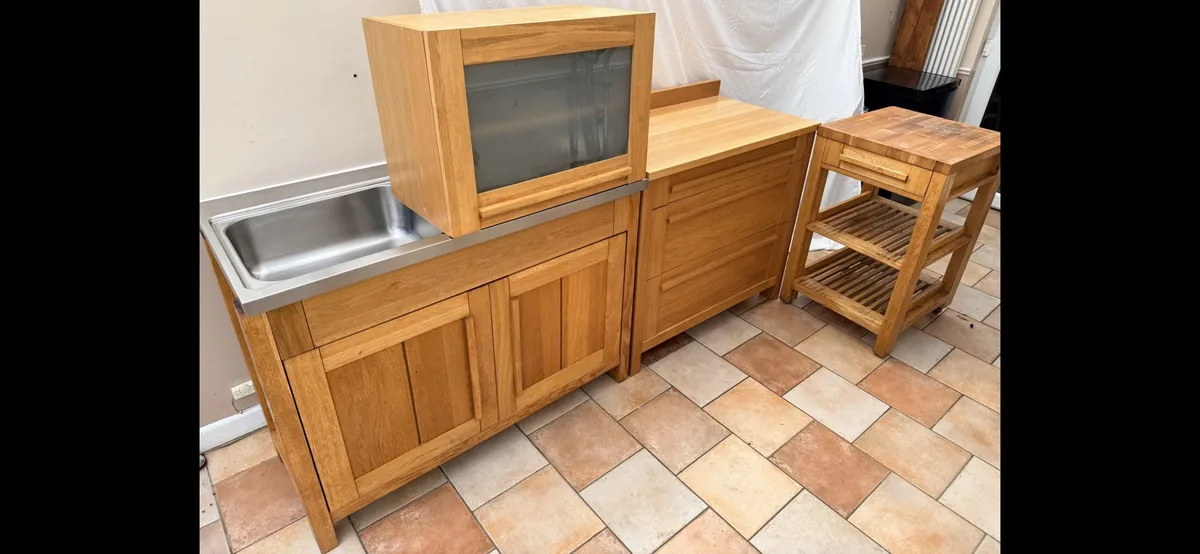
Donna was keen to have a solid wood and freestanding kitchen. She found two secondhand on eBay. We measured, and both will fit perfectly in the space we have available. She did a deal, and they have all arrived. Not cheap for secondhand, well-used units, but SO MUCH less expensive than a new chipboard kitchen. And these won’t dissolve over time. She loves them, and they will be easy for me to fit, so I’m happy too.
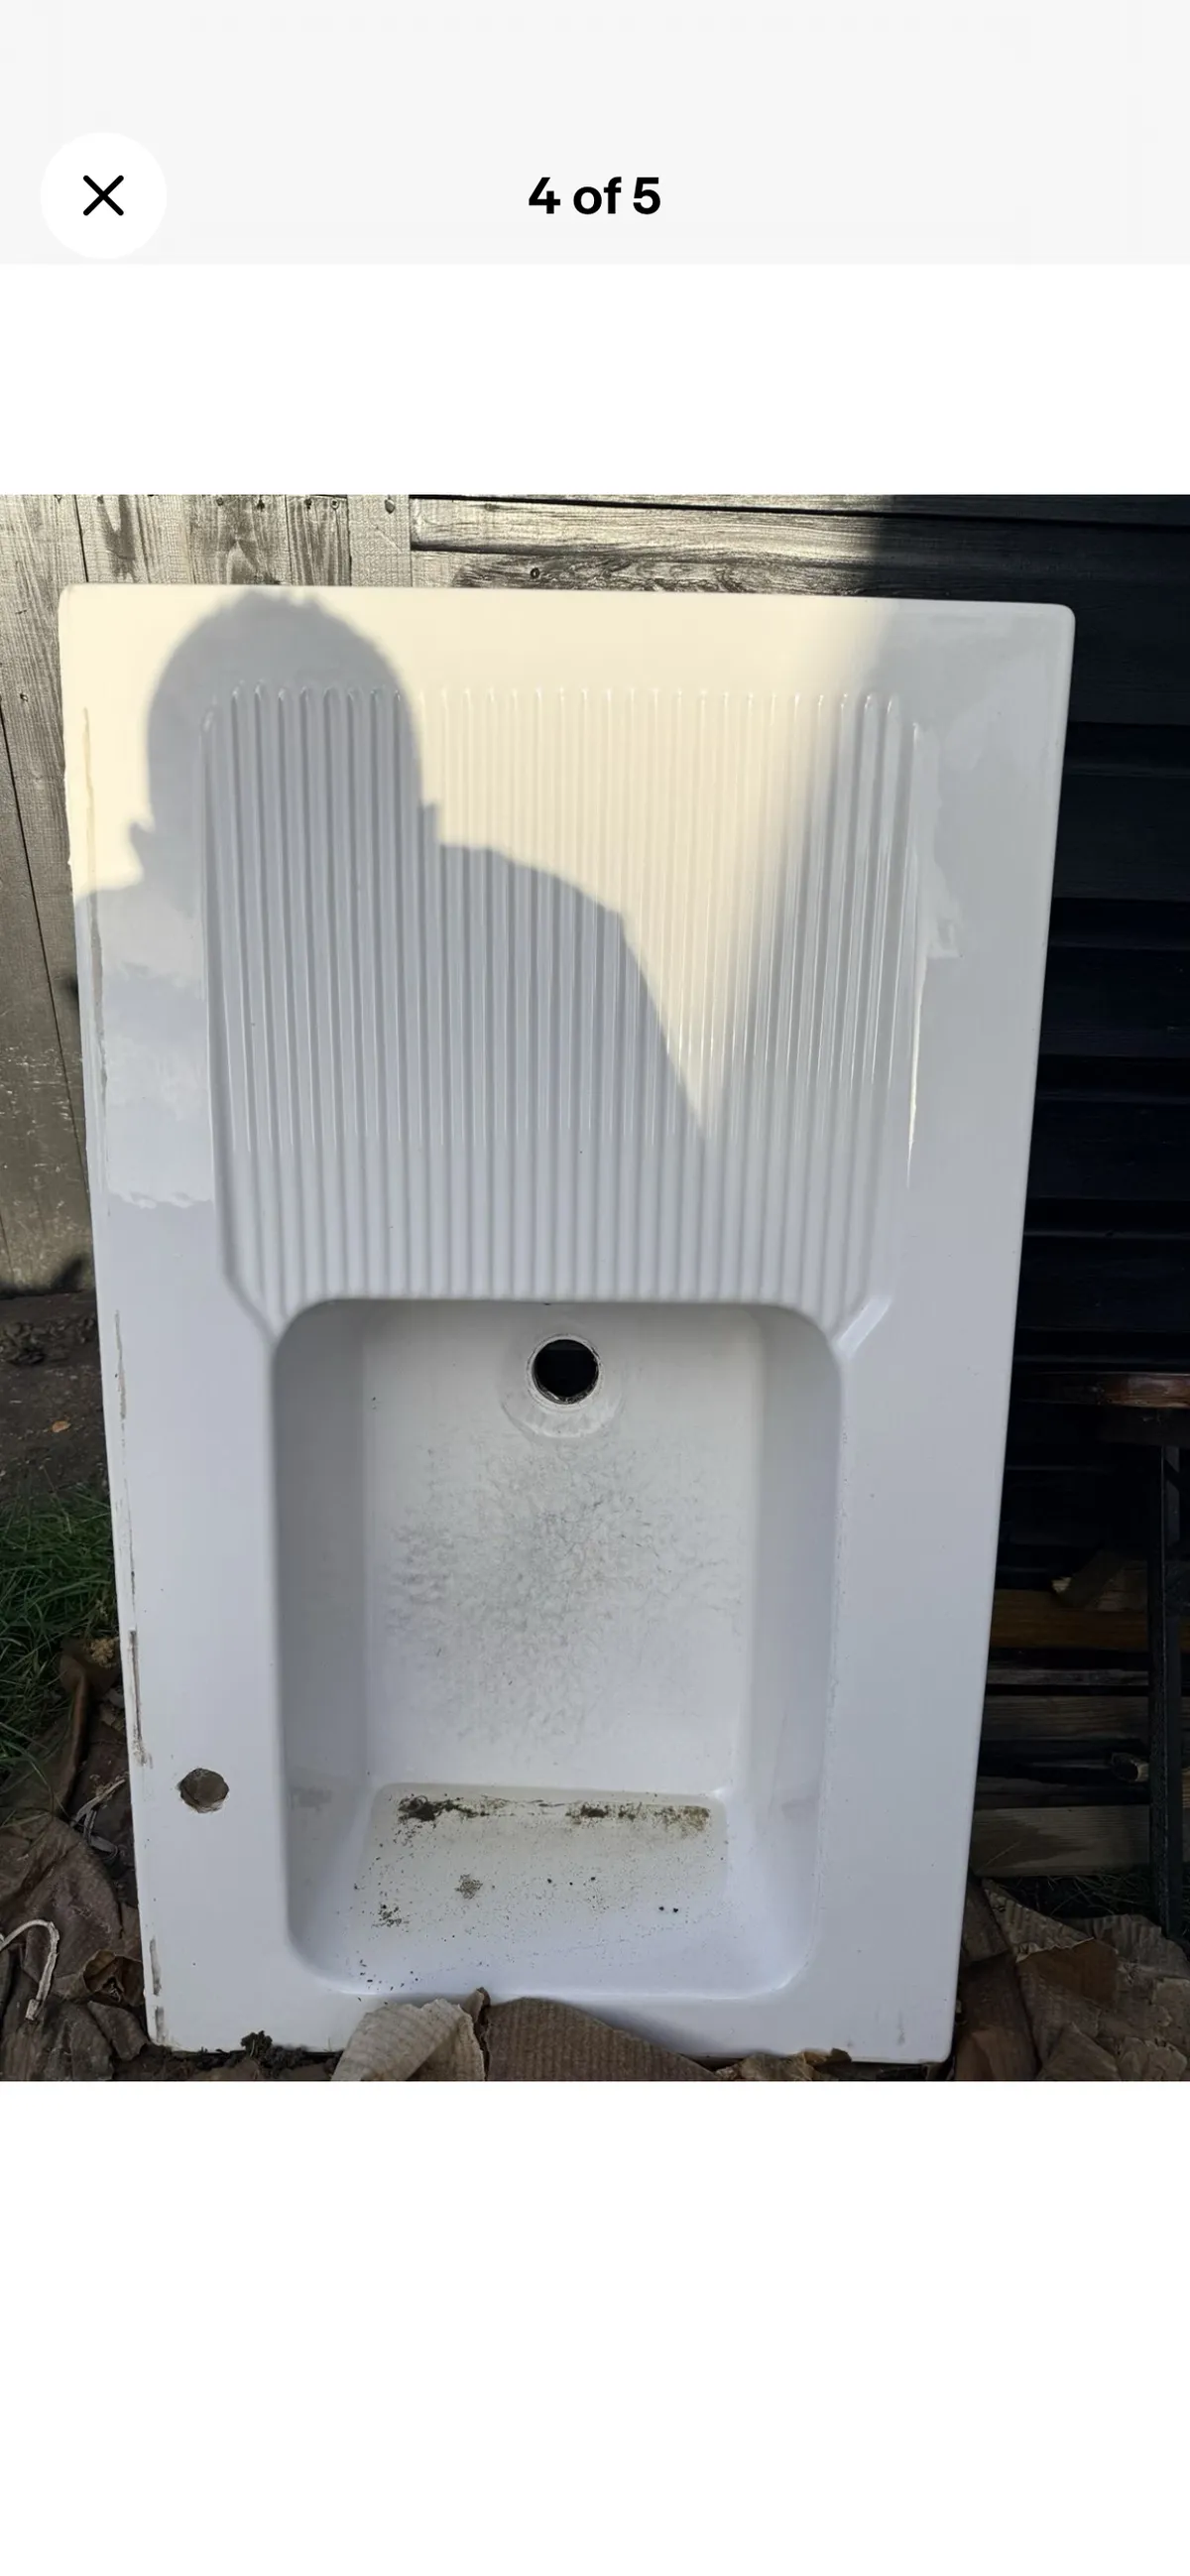
I started on stripping the huge communal shower room, and obviously, we found more tiles underneath the plywood panels. At least this is a room where tiles are to be expected 🙃
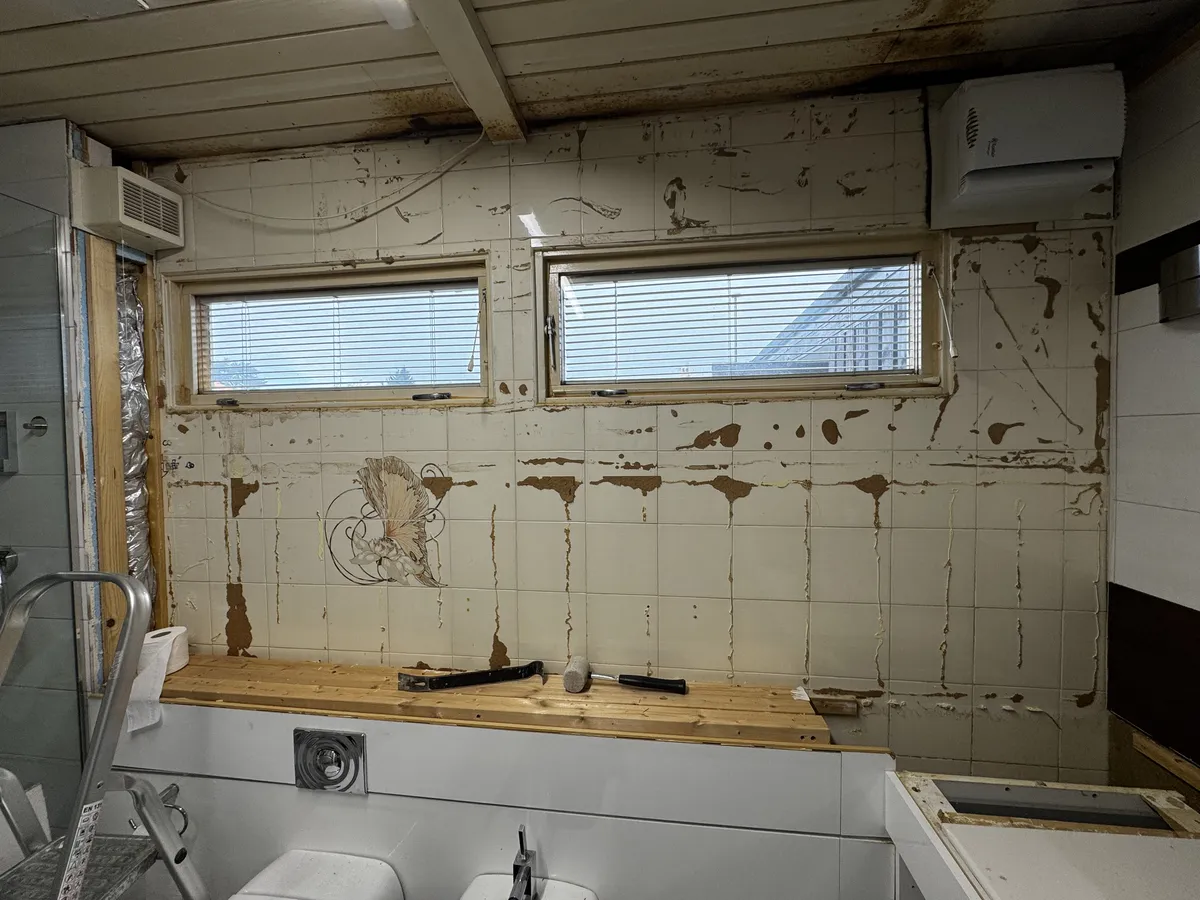
It’s going to be a huge job to rip it all out, and I have more than enough to do everywhere else, so we have found a nice builder man (Will), who is going to refit the new shower room and create a small separate WC where the big shower is now. That gives us a big enough space for a normal-sized shower, sink, and WC in the part of the current room with windows.
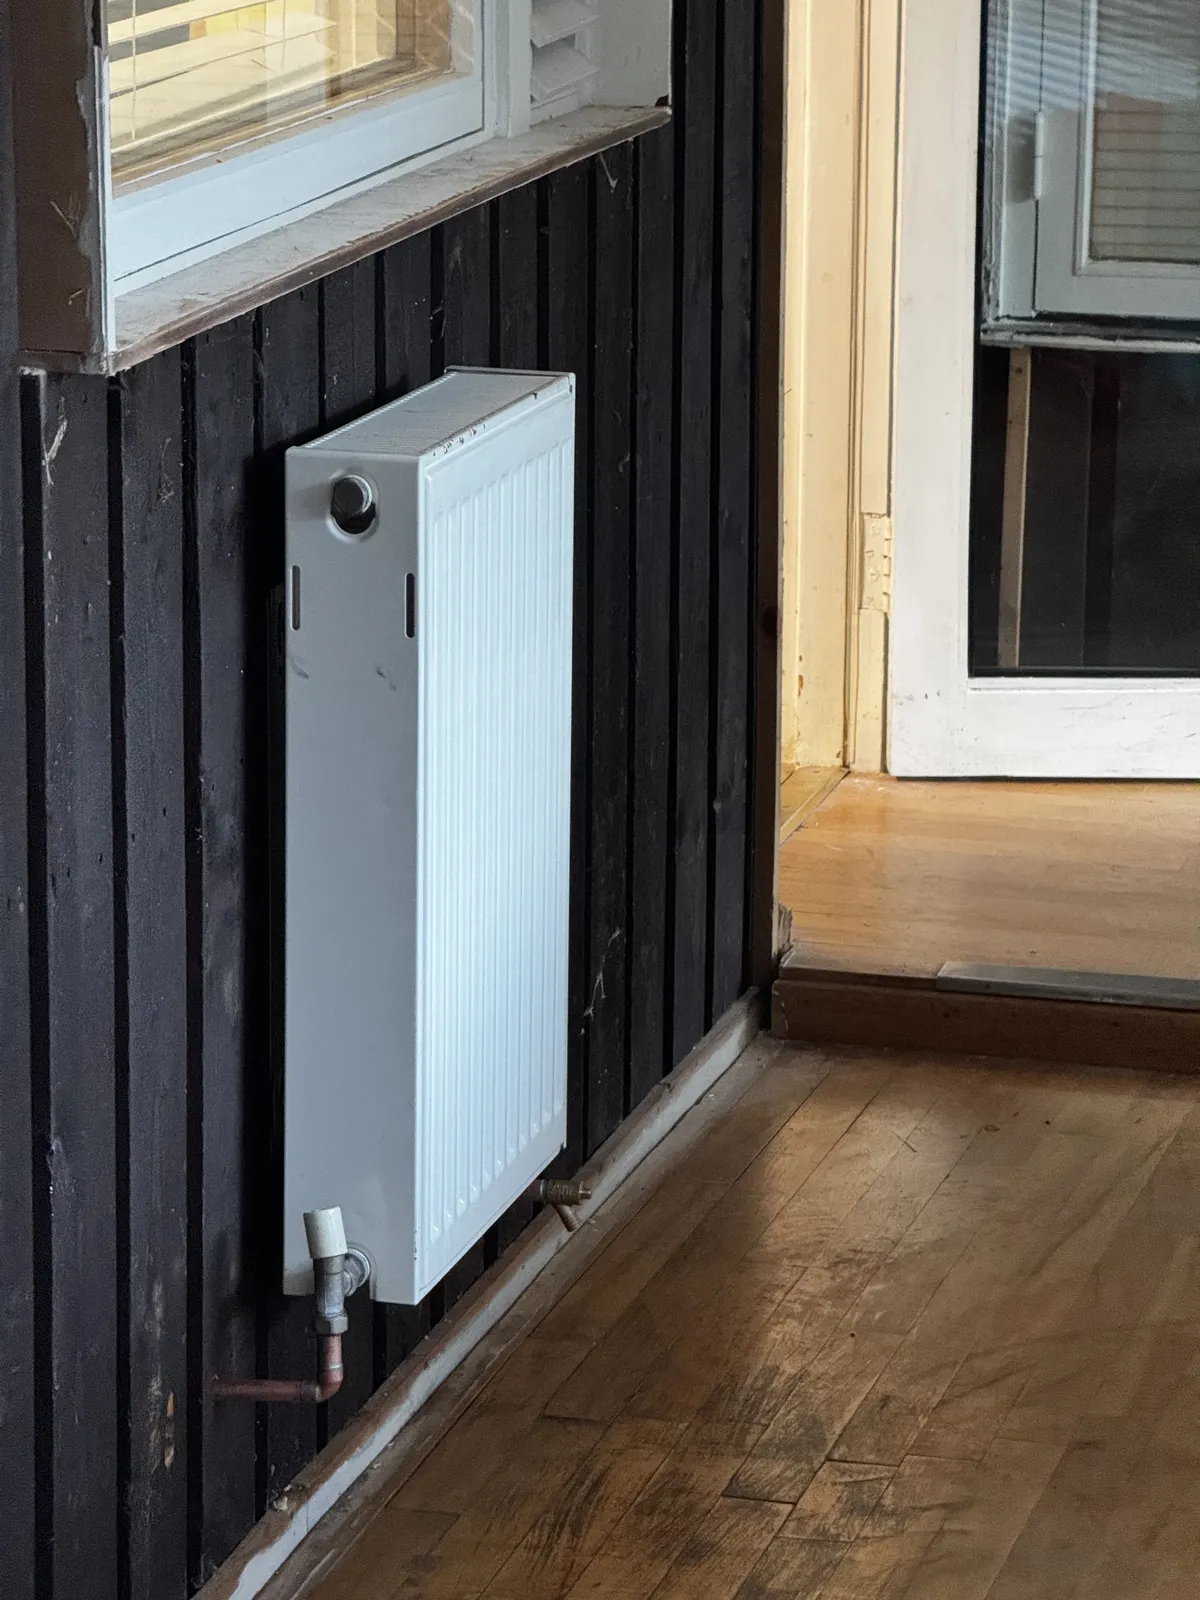
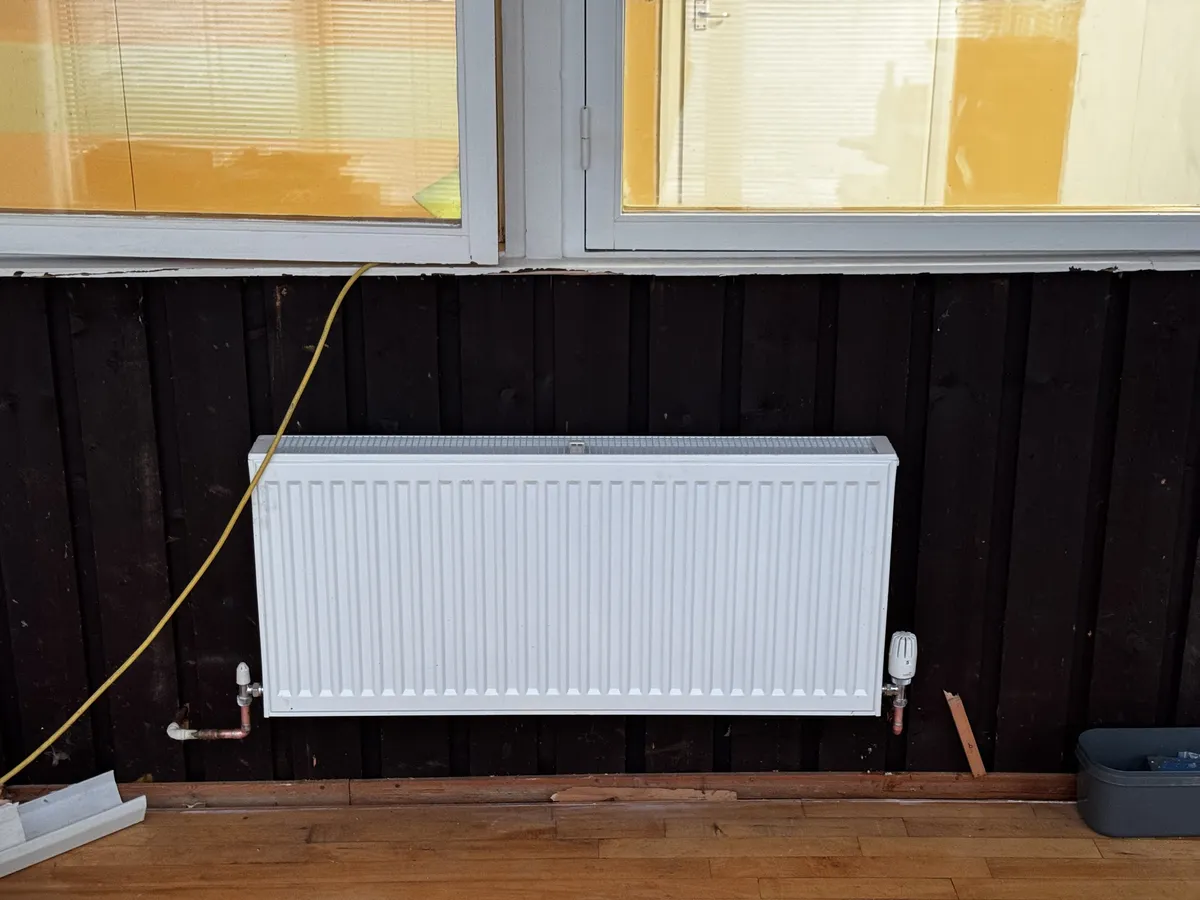
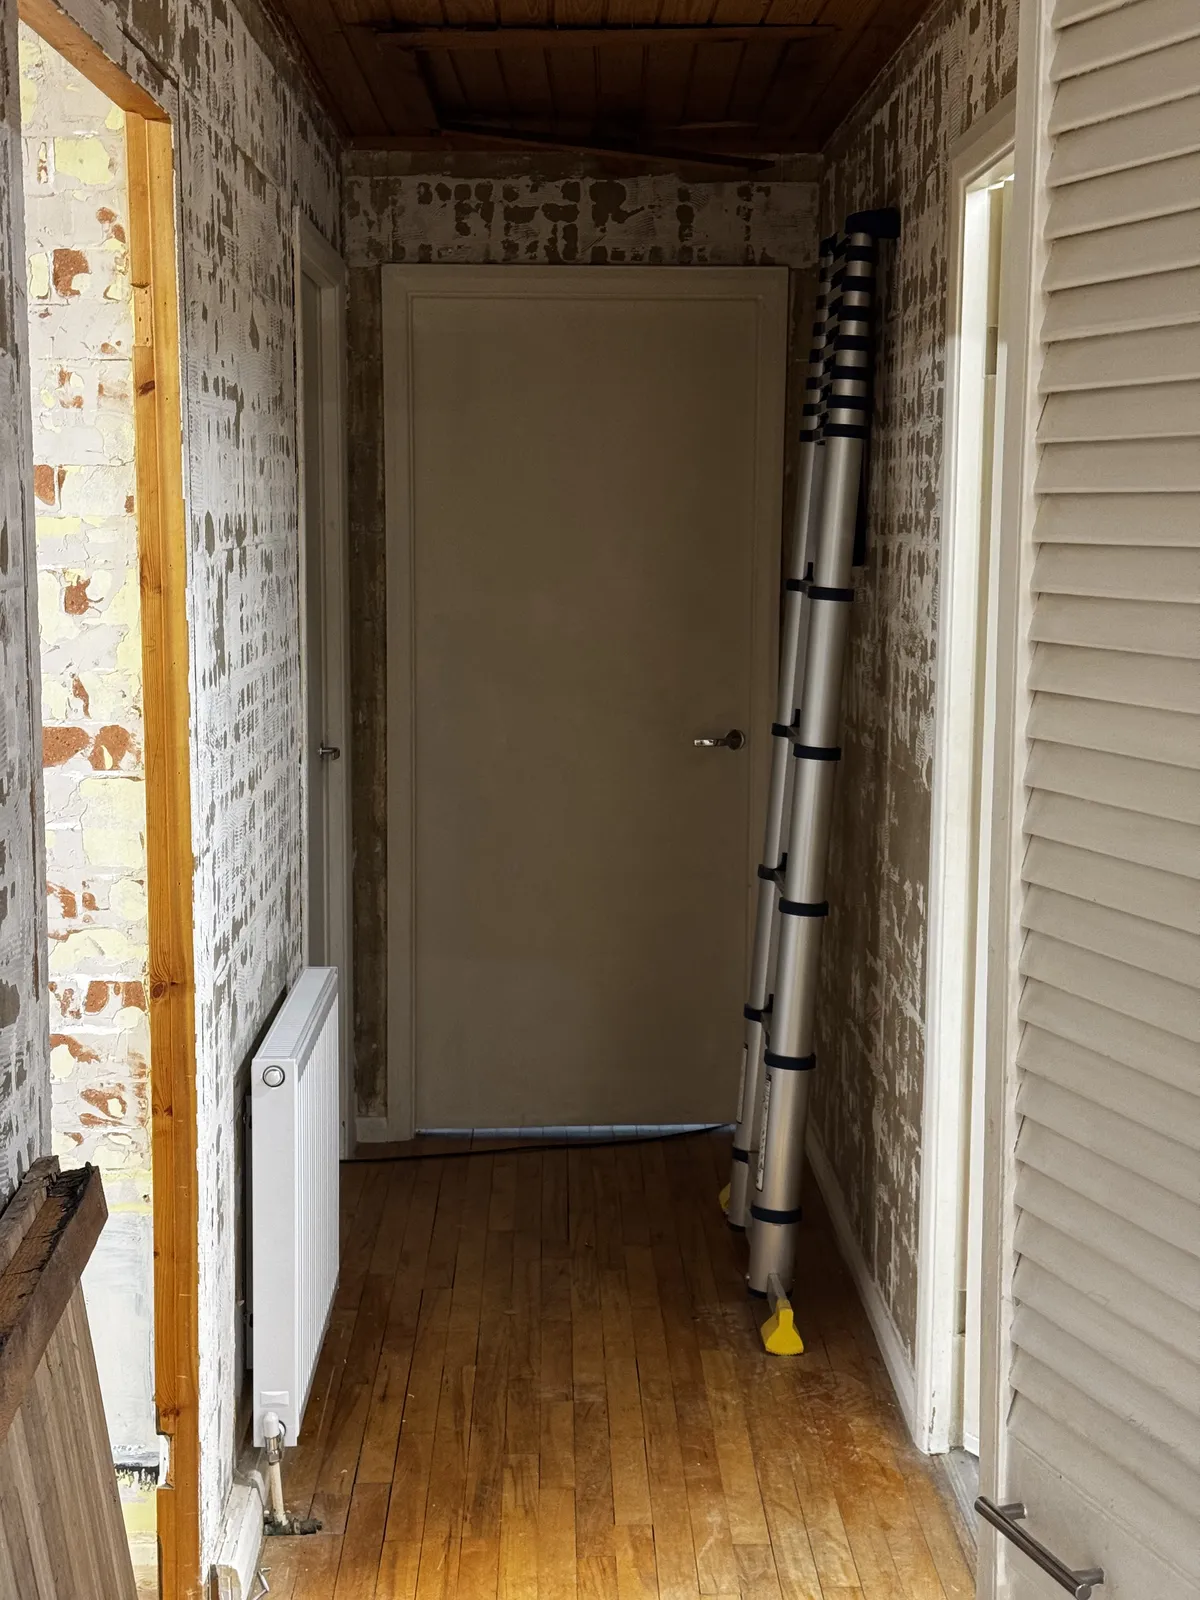
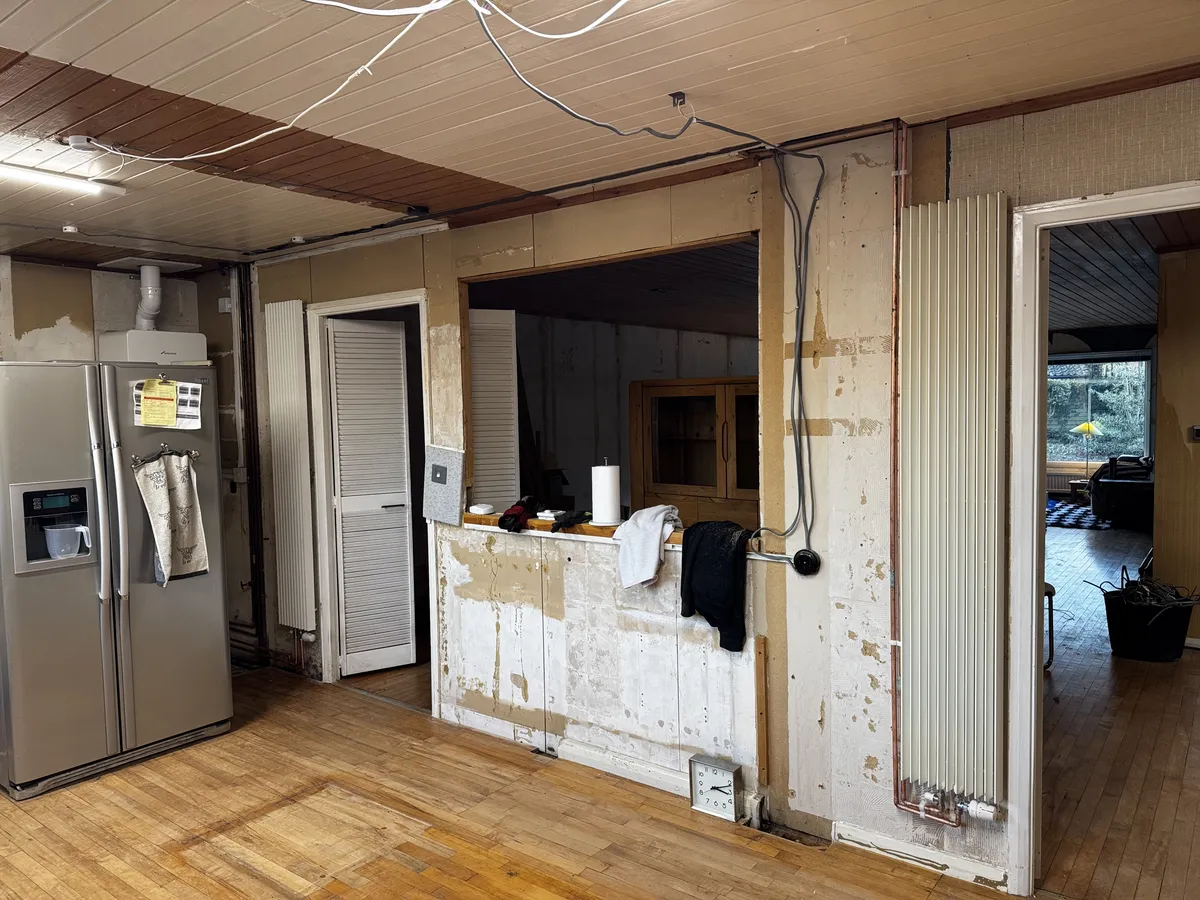
At some point the plumbers came back and put the radiators back on the wall.
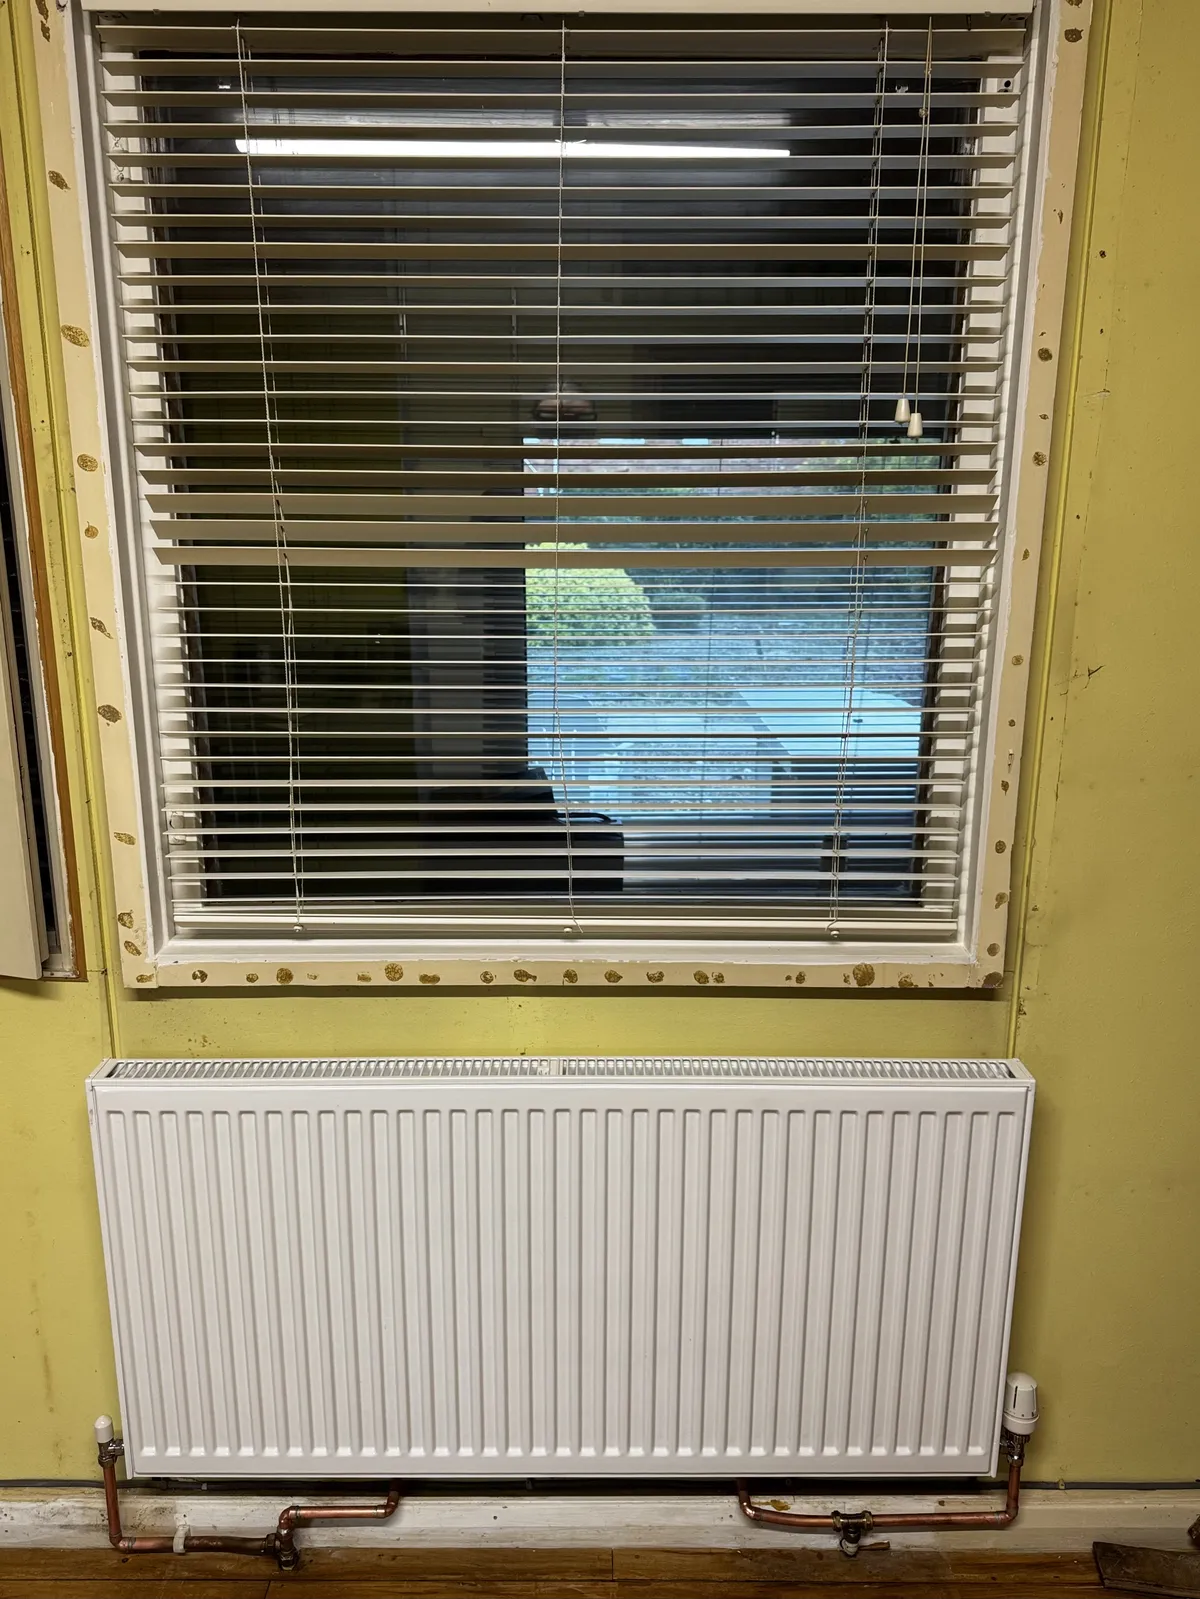

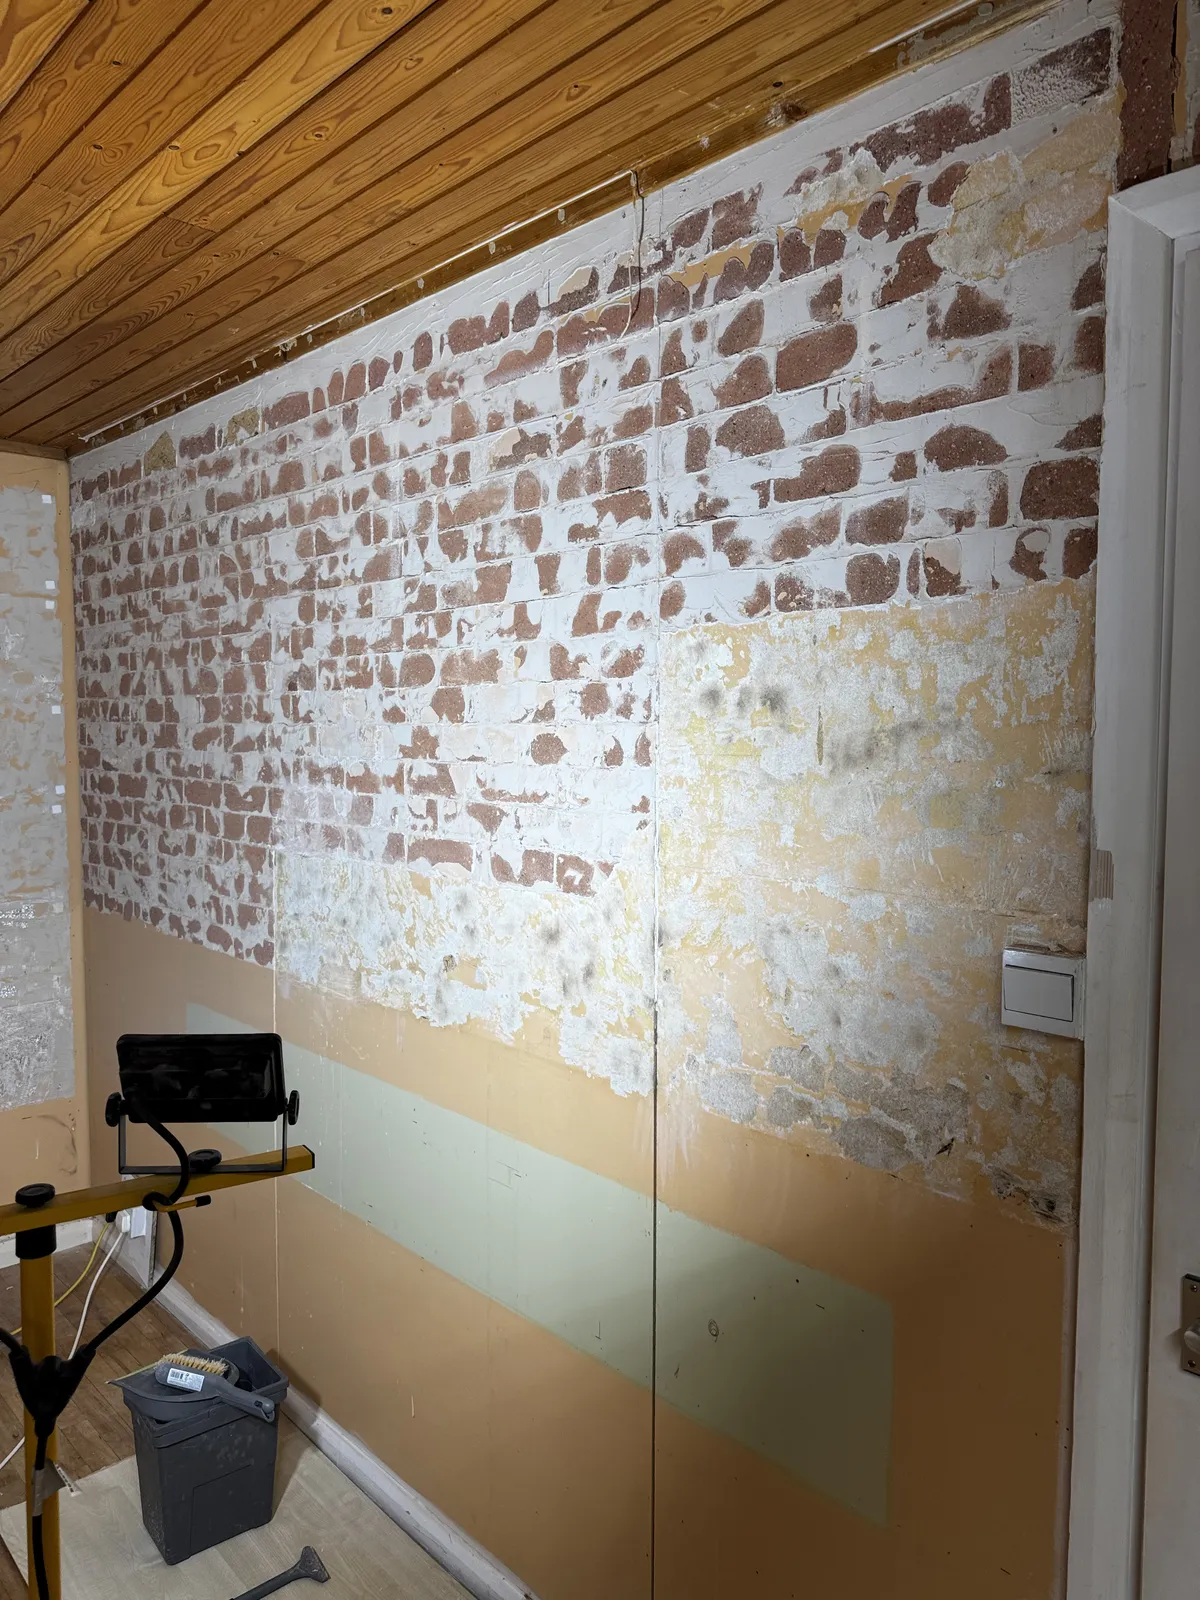
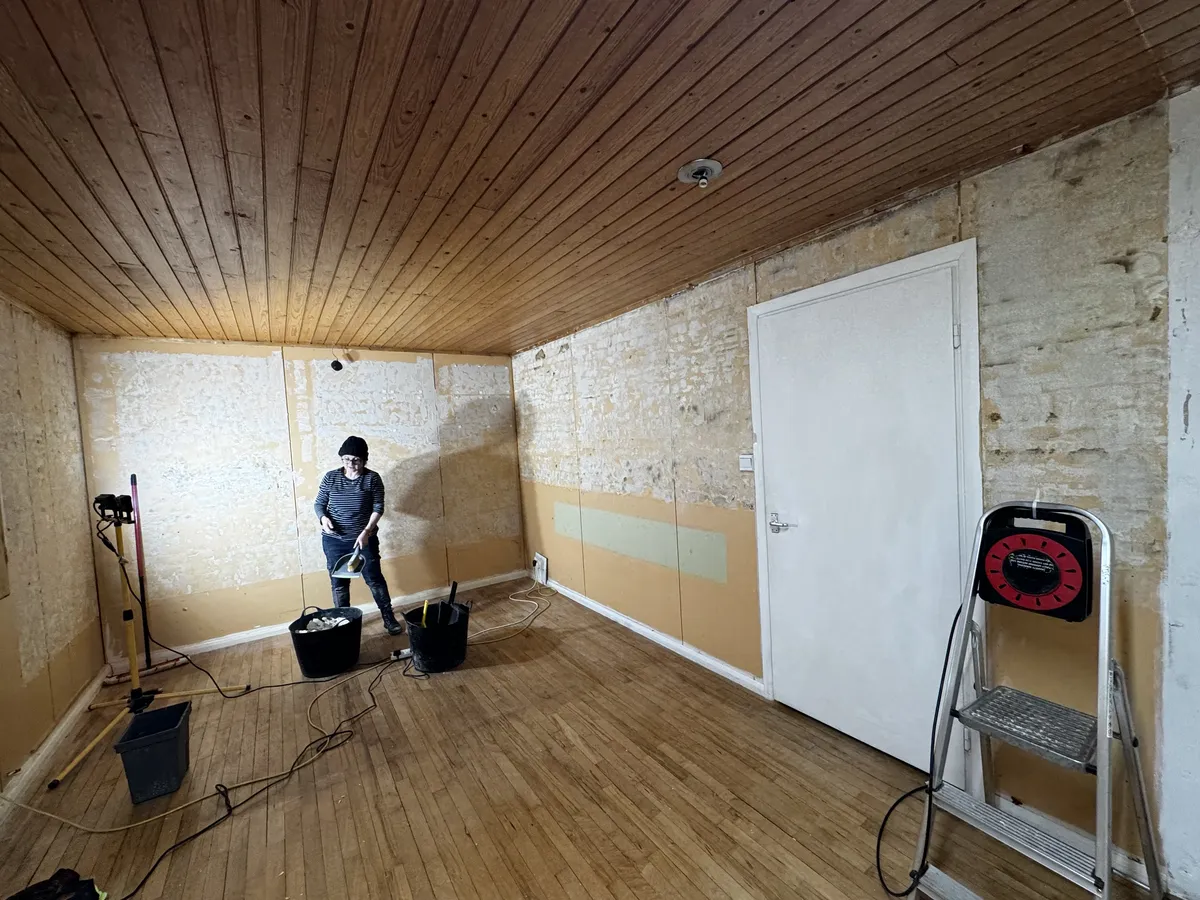
After that, we have made the decision to start prepping both bedrooms ready to fit the new tongue and groove wall coverings. So we have stripped the inside window frames. It’s time-consuming and hard work with a heat gun, but the layers of paint over varnish are coming off slowly. We have decided to varnish them, but that will have to wait until we have got the tile adhesive off the chipboard walls.
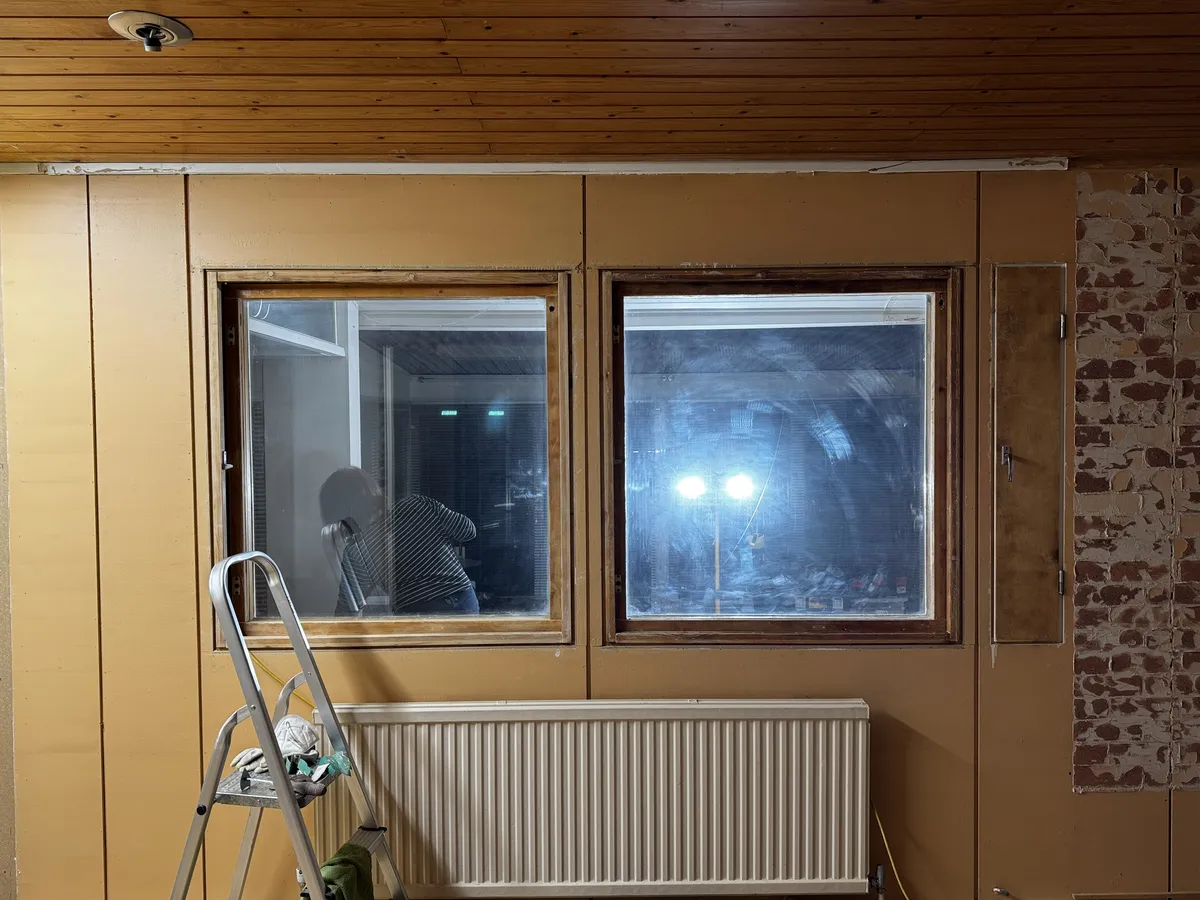
We are trying to retain the chipboard because if we remove it, we will have to replace the damp-proof plastic membrane behind it. That’s a huge can of worms we don’t want to open.
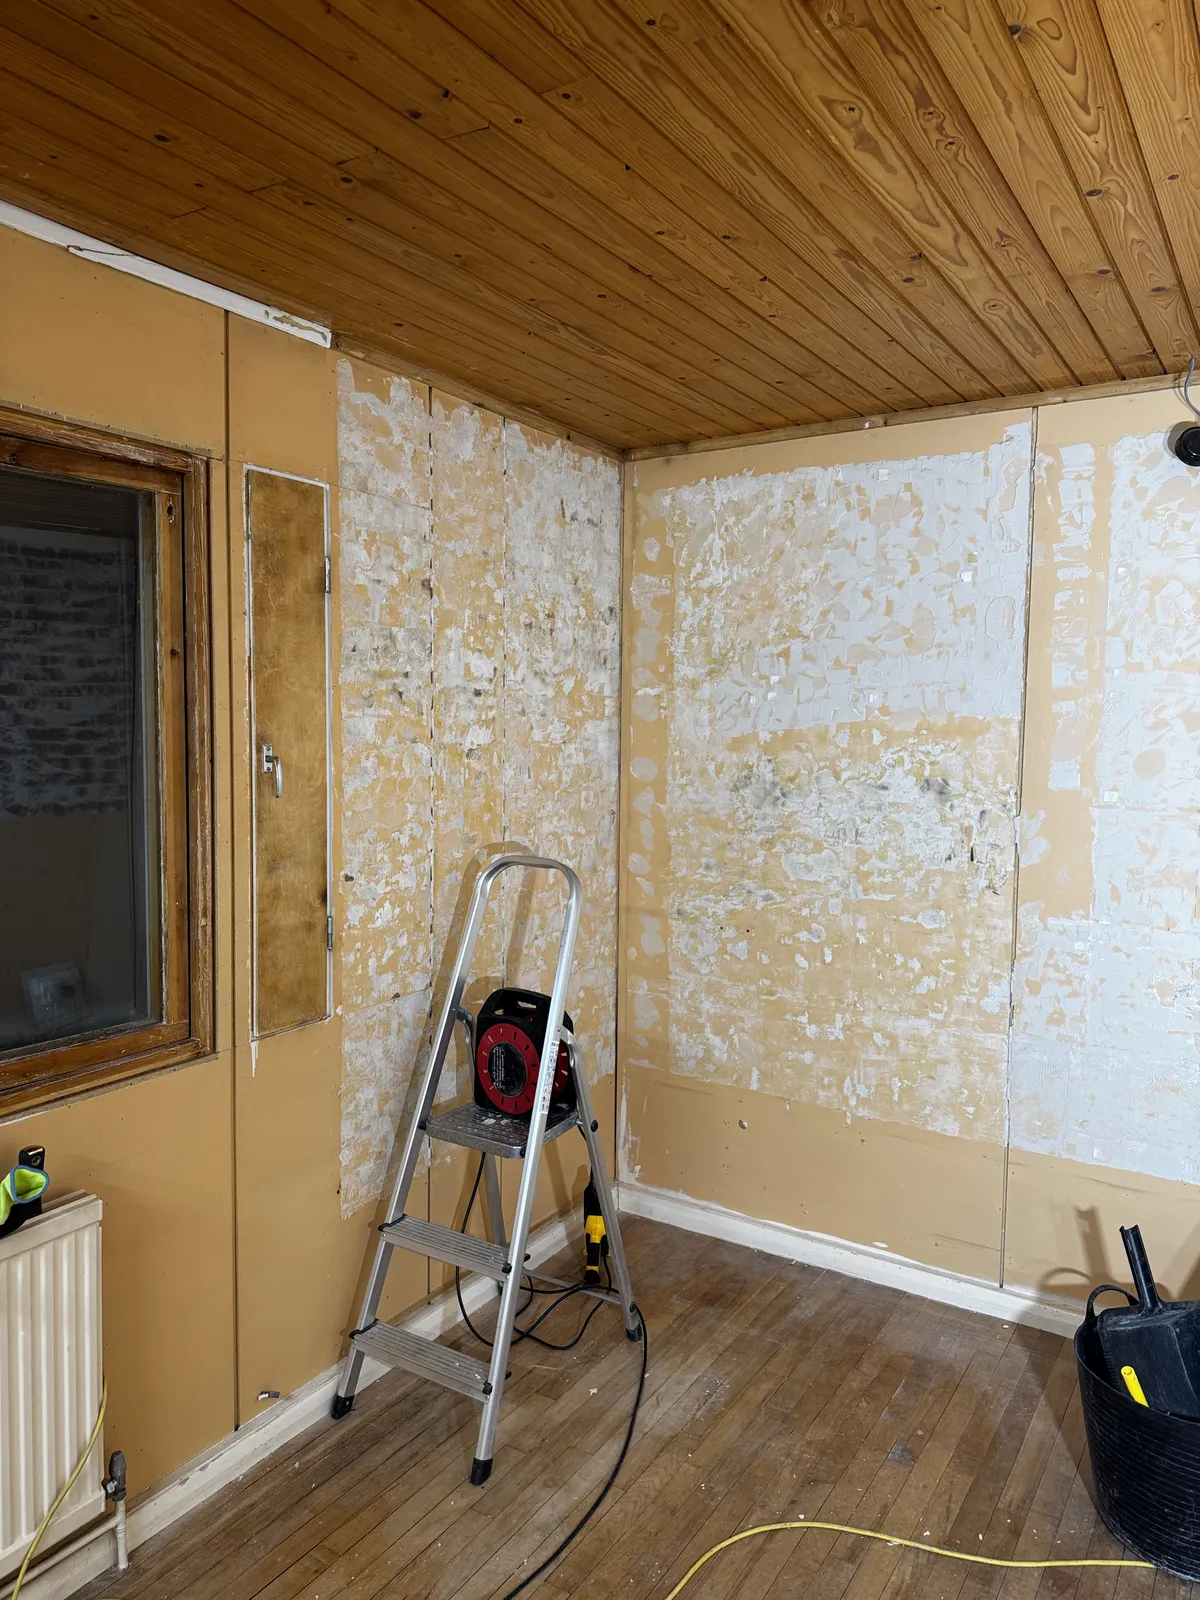
Getting the tile adhesive off ALL the walls is proving to be the worst DIY job I have done. And we have a lot to deal with.
Initially, I thought it would be a fairly straightforward grinding job to remove the high spots. It’s hard work but very fast. Unfortunately, it creates far too much dust. Poor Henry looks like he has a coke habit after his bag split as I was skimming the tops off the adhesive of just one small wall.
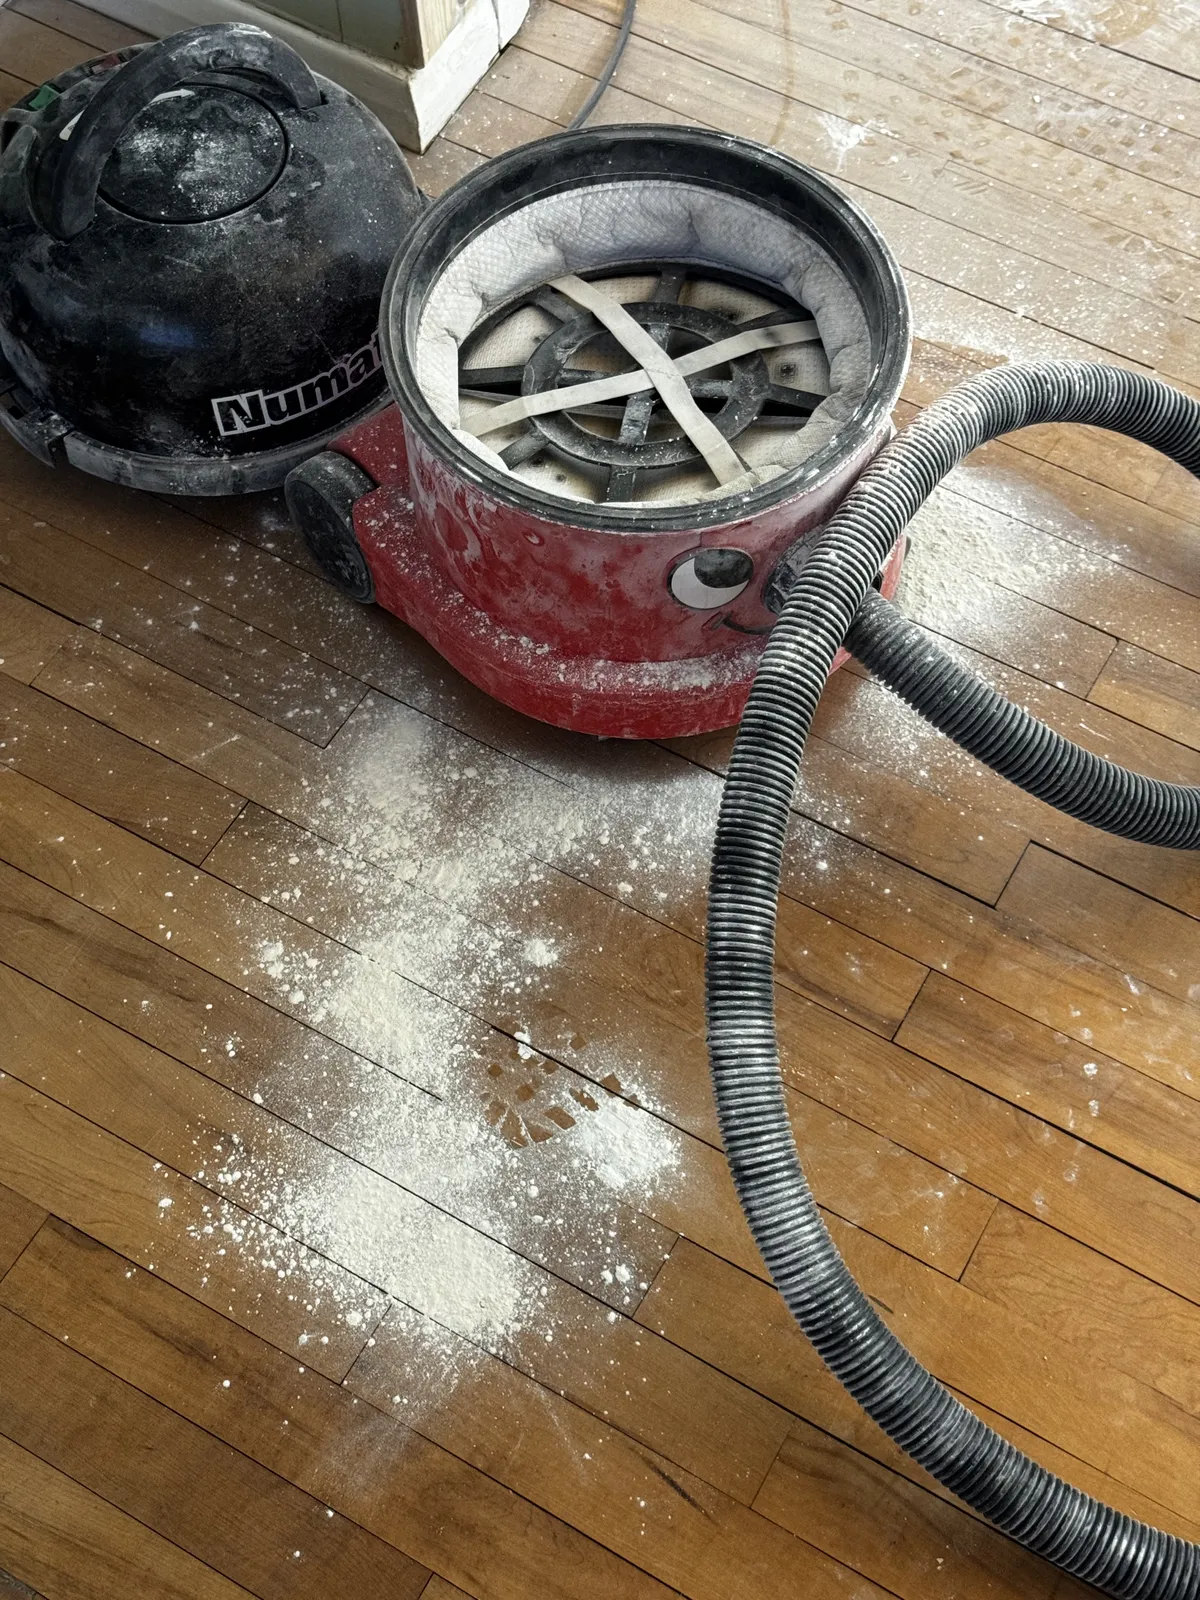
We also have the problem that the now exposed adhesive just constantly gives off dust. So ideally, it all needs to be removed not just the high spots.
So we need to find another solution to removing it.
YouTube is full of various “this is the best way to remove tile adhesive” shorts. Some advocate water to dissolve it, but you have to leave it work its way in for 15 minutes. Others use steam to speed up the process, but both are very messy, and you end up with lots of goo to dispose of. We were also worried it may soften the chipboard of our walls.
I tried the scraper attachment on the oscillating multi-tool. It seemed to work in two ways. To begin with, it chipped away the adhesive, creating power like the grinder made. It was going to take far too long to do at this slow rate, but then, as friction heated up the surface of the chipboard, I noticed the paint under the adhesive began to peel, lifting the adhesive with it.
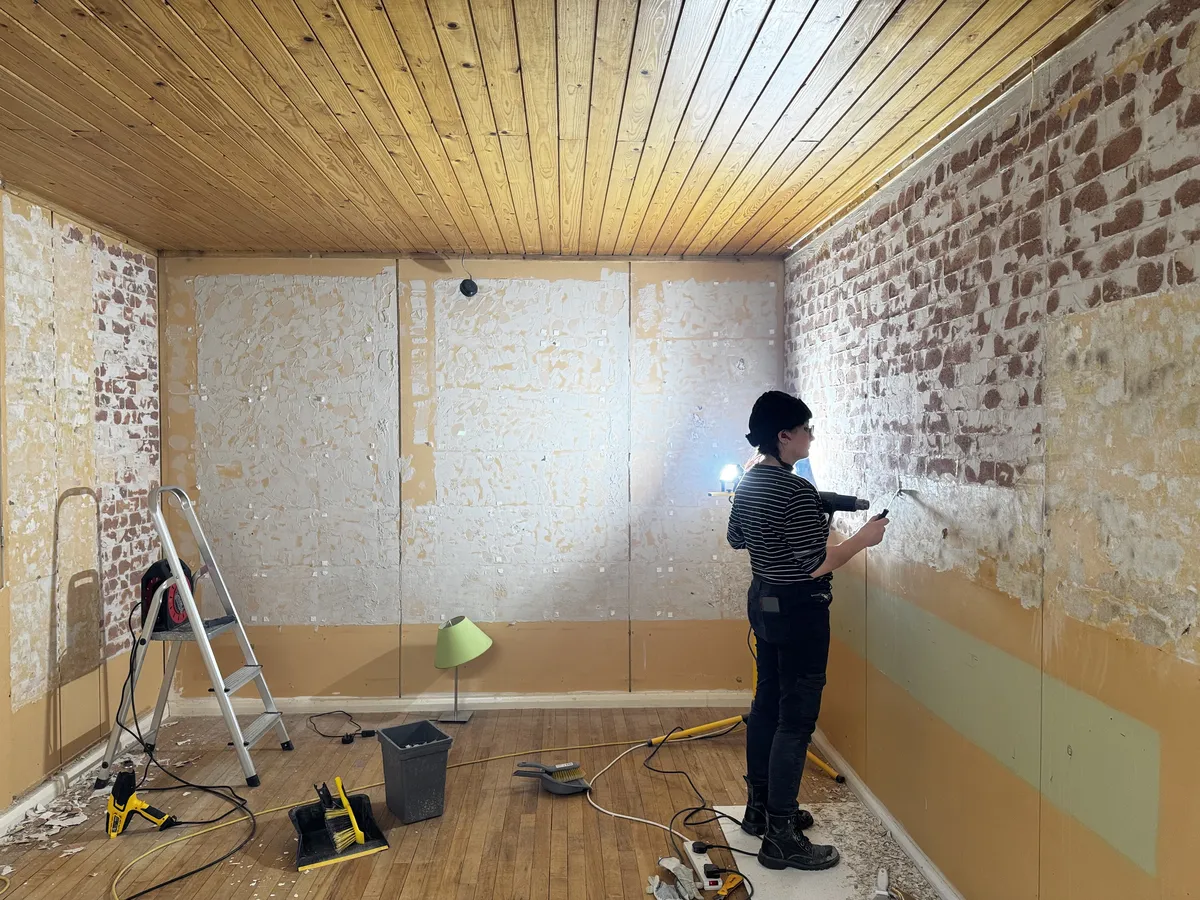
So we decided to try the heat gun we’d been using on the windows… and by heck, it worked. With enough heat to the surface of the adhesive to cook the paint underneath and with enough force (ie all my strength), we can just about peel off the adhesive.
It’s hot, exhausting, and slow work, but in two days, we have rid the master bedroom of the tile adhesive. It was made even more difficult by the thin wafer remains of the brick slip tiles that required extra effort to crack. We just have to be careful not to set fire to the chipboard, cook the surrounding varnish, or burn ourselves. It certainly feels like we are bonding with the house now.
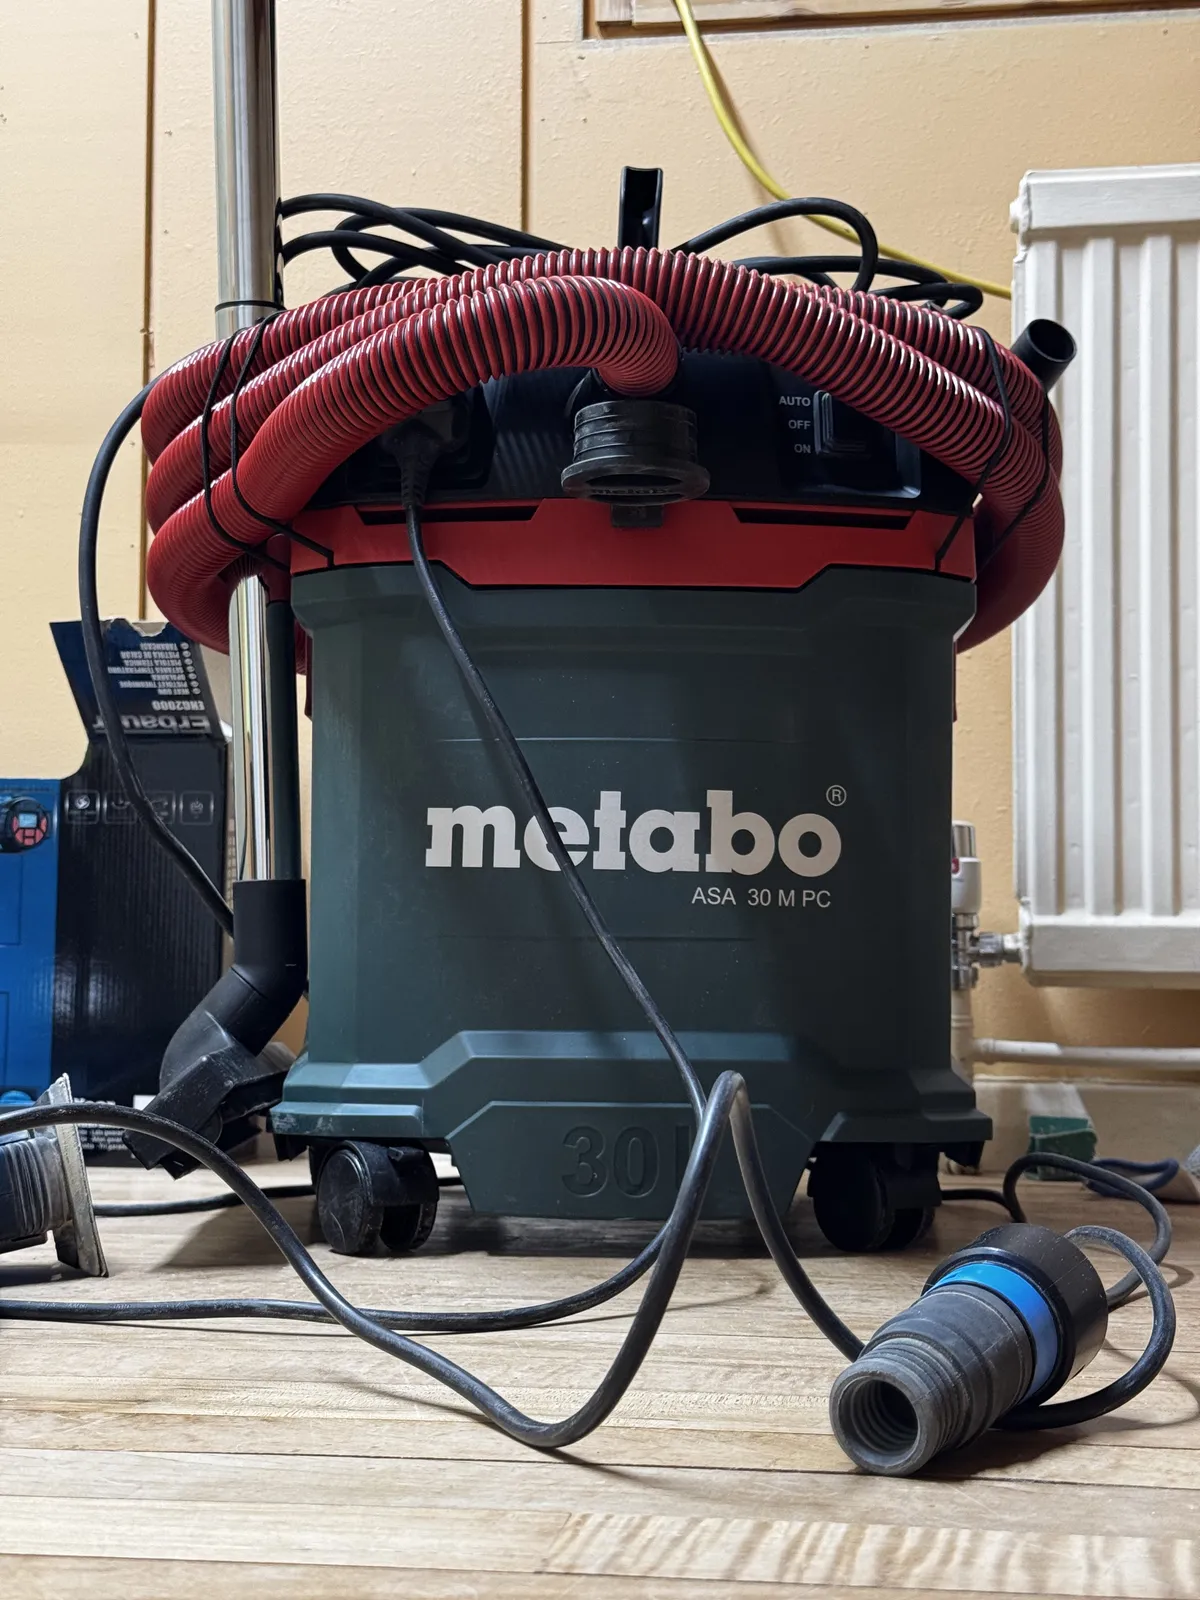
I’ve also nagged D into letting me buy a proper dust extraction vacuum. It’s lovely to see the dust disappear into the sander rather than coat the room and my glasses. But that’s meant I’ve had to lose an evening finding the correct adapters as all our tools seem to have unusual-size nozzles, and the hose keeps falling out.
I better get to bed. Plenty of work for me tomorrow, and the guys are coming to do some much-needed tree work outside.
